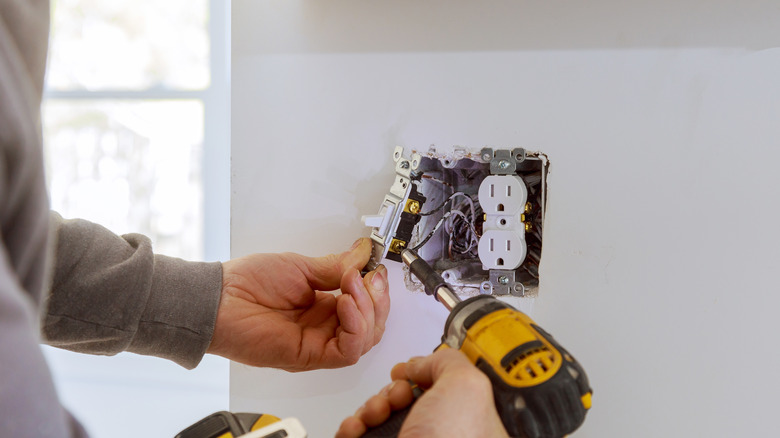
Perfectly Cut Out Electric Boxes In Drywall By Following These Steps
We may receive a commission on purchases made from links.
Whether you're remodeling, building an addition, doing a bit of rewiring work, or your drywall needs to be replaced, you may need to do some drywall field-cutting to accommodate an electrical box. When the time comes, you may well be nervous about making potentially inaccurate cuts that ruin your drywall sheets. Don't worry, though — with a few steps and a special technique, you'll be able to make a precise cutout that even professional drywallers will envy.
Making accurate electrical box cutouts boils down to a simple method that allows you to slice through drywall while leaving the box, and the wires within, undamaged. This technique entails using a rotary tool with a multi-purpose cutting bit, like this ⅛-inch multi-material cutout bit from DeWalt — a power tool accessory every homeowner should have. By angling the bit so that the tip points inward toward the plastic box while cutting, you prevent the bit's nose from digging into the electrical box. That said, you're still allowing the cutting edge to make a clean incision in the drywall sheet. Needless to say, you'll also need to make accurate measurements before you start cutting to ensure the hole is in the right place and to avoid inadvertently damaging any structural or electrical components within the wall. Below, we'll explain how to measure your electrical box cutouts and use a rotary tool with a cutting bit to make them without ruining your new walls.
Steps for making electrical box cut-outs in drywall
First things first, shut off the power to make sure that any wires inside the box are not energized. Then take a horizontal measurement from a known reference point, like the edge of the wall, to the center of the electrical box. Next, repeat the same process, starting your measuring tape at the top of the finished floor or at the bottom of the ceiling (whichever is easier) and terminating at the center of the box. Now that you have the horizontal and vertical measurements, mark the center of the box on the drywall sheet you'll be putting up.
Next, tuck any wires present in the box as far into it as possible to prevent accidentally damaging them with the cutting bit. Now, fasten the drywall sheet to the studs and get your rotary tool ready for action. Start the tool and plunge the bit into the center mark you've made on the drywall, then carefully move it sideways until you hit the edge of the box. Here's the vital part: the tip of the bit should be angled slightly toward the edge of the box, not away from it. So, if you move the bit to the right after plunging it, the tip — not the cutting edge — should be pointing somewhat to the right and contact the side of the box first. Then, carefully move the bit over the side of the box and follow the box contours on the outside to make the cut. As you do so, make sure that the bit is angled such that only the bit's tip is touching the box. This way, the bit will slice through the drywall without chewing up the plastic. Once you've traced the contour of the box, pull the drywall cutout from the sheet. You're done!
