This DIY Lawn Mower Shed Keeps Your Yard Tidy And Organized
A lawn mower is an invaluable tool that helps keep your lawn growing healthy. But like any other kind of machinery, lawn mowers are no fans of being left out in the elements. If you want the mower to last long, you need to protect it from moisture and keep it out of reach of the various pests. Storing the mower, and any other gardening tools you use in a dedicated space is also an excellent way to keep your yard looking tidy. If your garage or existing storage shed are not large enough to fit the mower, you may be at your wits end thinking how to store the machine safely when it's not in use. Buying a prefabricated lawn mower shed may seem like the way to go, but alas, this option isn't cheap. Even a small, 8 by 10 foot shed will set you back over $5,000.
But if you have a passion for DIY projects and a bit of experience with basic power tools, like drills and saws, you can easily build a simple lean-to shed to house the lawn mower by yourself. Considering that dimensional lumber costs as little as $3.50 per piece, and you can get a bag of ready-mix concrete for $6, you could well construct a small but quality home for your lawn mower for about $1,000. To build a basic lawn mower shed, you'll need dimensional lumber, such as two-by-fours, to create studs and sill plates. You'll also need gravel and concrete to build a base for the shed, and a sheathing material to enclose the walls and roof. Finally, it's worth investing in a long-lasting shed roofing material to keep your mower dry and the space mold-free.
How to plan and budget for your lawn mower shed
First things first, you'll need to plan your lawn mower shed's location and size. Ideally, you'll situate the new shed on an even grade and atin a spot where you can easily access the lawn mower without getting stuck between nearby fences or other structures. Likewise, the location should not be in the path of water runoff; so, situating the shed at the bottom of a slope (even a gentle one) is probably a bad idea. Like any other structure on your property, the shed should be in a place where water will not pool around it.
Location and size often go hand-in-hand when you're planning an accessory structure like a shed. Needless to say, the shed should be large enough to fit the lawnmower. But if you want the lawn mower shed to be large and accommodate other gardening tools, you may have to adhere to your jurisdiction's setback requirements and locate it a certain distance away from the property line. This distance may vary between jurisdictions, so it's best to inquire with the local planning department. That said, sheds under 120 square feet in size are generally exempt from permitting, but may still require setbacks and a zoning approval. The location will dictate the shed's dimensions in other ways, too. For example, if you're not subject to setback rules and want the lawn mower shed to sit between your larger tool shed and the fence, your shed's width will be constrained by the two structures. By the same token, you'll have to consider whether the shed's footprint and location will limit your use of the outdoor area — say, by blocking access to the side yard.
Steps for building a lean-to lawn mower shed
With the shed's location and dimensions established, you can get to work putting the structure together. First, you'll need a foundation for the shed. To build it, clear the topsoil layer, then excavate to a depth of about 6 inches. Make sure that the soil at the bottom of the hole you dug is as level as possible, then cover it with a 3-inch layer of gravel, and compact it while using a tamper tool. Then, use two by four planks to build a square or rectangular form, and place it over the gravel base. Now, you can pour the concrete mix into the form, and give it sufficient time to cure per the manufacturer's instructions. Once the concrete has cured, pry the formwork off and continue with the structure above.
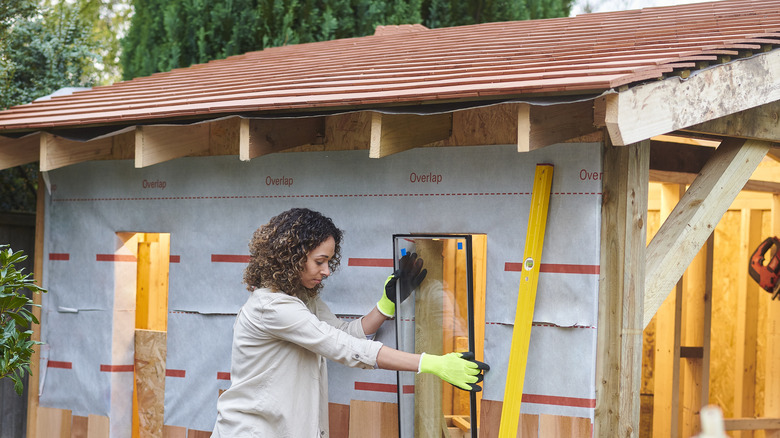
Start building the structure by cutting the two by four planks to size. First, you'll need studs that reach the desired height. Once those are ready, cut the sill plates that run perpendicular to the studs and hold them together at the top and bottom. With the lumber ready for assembly, use screws to fasten the pieces together to form the four walls, then sheathe them. Then, erect the walls around the foundation perimeter so that they're plumb, and clamp them together to keep them upright during installation. Now, use a drill and masonry anchors to attach the wall frames to the concrete foundation, and screws to join where they intersect. Next, fashion roof rafters out of two-by-fours and attach sheathing to the roof. Finally, all that's left is cladding the structure with a suitable siding, and attaching the roofing material to the roof sheathing.


