Get The Look Of A Headboard On A Budget With A Creative Design Hack
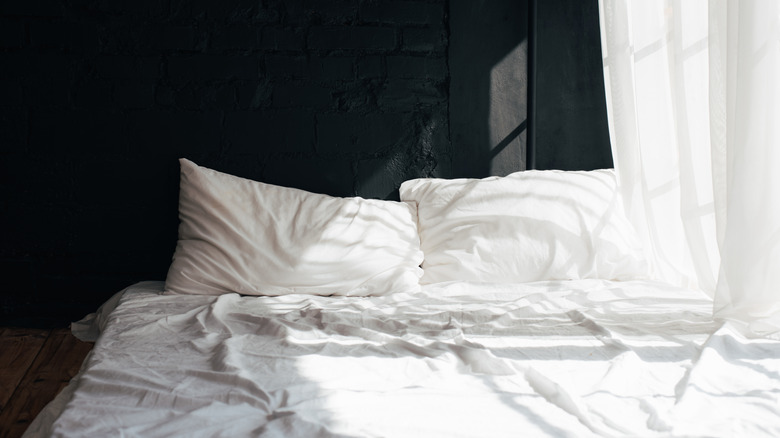
While having a headboard behind your bed is nice because it can offer some support or even padding between you and the wall, some of the main reasons to put a headboard behind your bed are aesthetic. Headboards can brighten a dark bedroom, add texture and depth to your space, and can help accentuate your bed if it's the stylistic focal point of your room. While they might look great, not all traditional headboards are cheap. In fact, most can run you around a hundred dollars, or more if you're looking at custom, handmade pieces. If you're trying to decorate your home on a budget, this might be unrealistic for you. However, you can still get the look of a headboard on a budget with this creative design hack that involves painting an arch on the wall behind where you will place your bed.
This is a great hack if you can't afford an expensive headboard, or even if you can't find a headboard that really resonates with your style. It also has a really unique and beautiful look that you really can't achieve with a traditional headboard. However, it's important to keep in mind that paint isn't cheap. When you consider the cost of paint to create the DIY headboard look, along with the cost you might incur if you are renting your home and need to paint over the wall before you move out, this DIY may not be worth it, and you instead may want to buy something basic like this Upholstered Channel Stitched Headboard, or opt for a different headboard DIY.
How to paint your headboard arch
If you were that student that couldn't draw a straight line no matter how hard you tried in art class, you're going to love this creative hack. Start by gathering your materials. You're going to need measuring tape, a nail, hammer, string, an extra short pencil, masking tape, large paintbrush, small paintbrush, a platter, and, of course, your favorite paint.
Once you've gathered your materials, you'll need to decide where the arch is going to go, and how big you want it to be. Then, use your measuring tape and find the very center of the arch, and hammer your nail right at the center, on the bottom. Once the nail is in, you can tie the pencil to the string on one end, and to the nail on the other. Then, with the string nice and taut, you can trace out the arch. After drawing out your arch and covering up all the outlets and baseboards with masking tape, you can begin painting. Start by tracing the outline of the arch with your tiny paintbrush, and then you can fill in the rest of the arch with your larger brush. After you finish filling in the arch and the paint has dried, you can slide your bed back up against the wall and enjoy your new beautiful, DIY budget "headboard."
Alternative budget headboard ideas
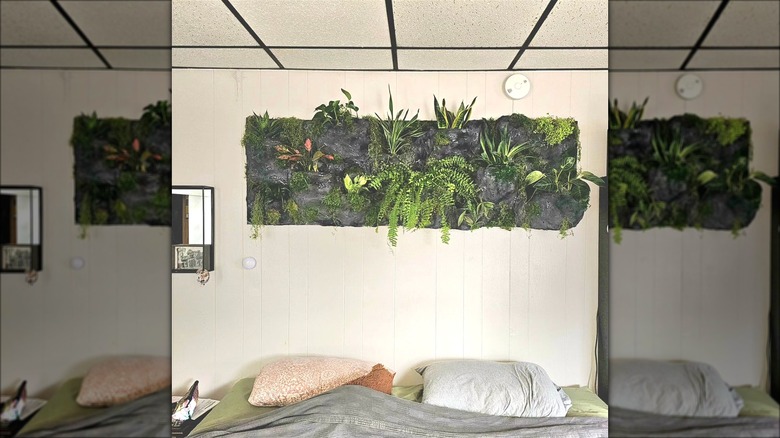
While this particular headboard alternative looks fantastic, it isn't the most practical for people who are renting and can't paint their walls. Luckily, there are some other headboard alternatives that won't break the bank. For one, you can use curtains to achieve the headboard look. All you need to do is hang up a set of curtains behind your bed, and you'll achieve the same texture and style of a headboard. You can also hang paintings behind your bed, display plants where the headboard would typically go, install a focal piece of macrame art, or even hang up a simple tapestry or piece of fabric to get the headboard look on a budget. A well placed shelf can also achieve the headboard look, or you can intentionally place your bed beneath a window for the same framing effect.
If you love the idea of having some paint behind your bed but are not yet totally sold on the arch, you can also paint an accent wall behind your bed for the same effect. You could even paint the wall with chalkboard paint to have a fun place to continue to utilize your creative side. Hanging some unique wallpaper will also create an attention-grabbing accent wall. Finally, if you're craving a combination of function and style, you could always DIY an affordable headboard using Dollar Tree picture frames, repurpose a giant picture frame from a thrift shop, or even use an old fence panel!

