The Genius Trick That Makes Lining Curved Drawers So Much Easier
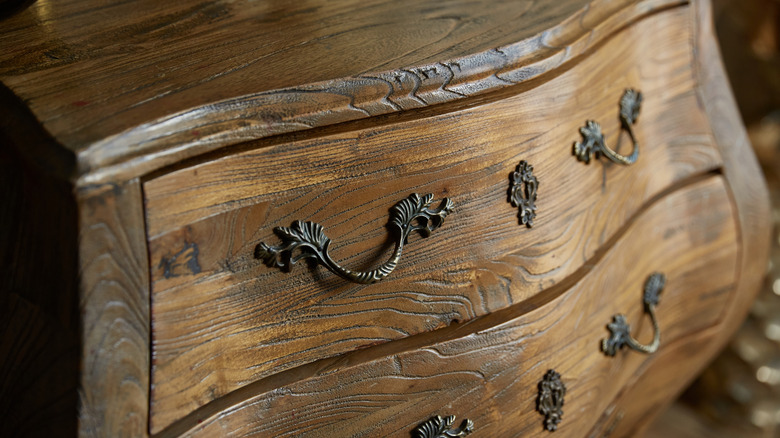
Drawer liners are a smart addition to your household drawers, saving your furniture from scratches, scrapes, and spills to make them last a lifetime. Drawer liners can even upgrade your organization. But while they're relatively straightforward to use, something as simple as a curved drawer front can throw many of us for a loop. Even though they'll mostly remain hidden, a well-fitting liner is ideal for keeping them in place and providing the most protection possible. So how do you manage the curve and get the perfect cut? With a pair of scissors and a utility knife, of course!
YouTube channel Ivy Lane Interiors Furniture Flips & DIY by Lisa shows off an easy technique to address rounded and wavy drawers. You can use this for several DIY liners for cabinets and drawers, whether paper or cloth, in any placement throughout the house. Measure the drawer and make your rough cut. If the sides and back are straight, cut the paper for a snug fit. On the curved portion, tuck the liner against the edge, and cut slits every ½ inch to 1 inch in the excess running up the drawer front. The slits allow the paper to flex into the curve.
Apply adhesive if desired, and lay the paper in place. Smooth the paper across the bottom and into the corners. Finish by trimming the excess on the curved part by running a sharp utility knife along the edge where the face and drawer bottom meet. When all is said and done, you should have a clean installation covering the entire curved drawer.
Simple tricks for cutting a curved drawer liner
This technique is one of the easiest and most versatile approaches to lining a curved drawer, but it's hardly the only way to get a perfect fit. Instagram user vintagefurniturefinds has another handy method for managing curved drawer fronts, involving a clever use of a guide wheel. Cut the liner to fit the drawer, but leave it longer at the front and back. Place the liner in the drawer so the sides fit into place, allowing a few inches of excess to run up the back. Place a pencil in the center of a small wheel, and roll it along the curved drawer to transfer the drawer's shape to the liner. Then, cut out the curved shape, fit the liner into the drawer, and remove the excess on the back portion with a utility knife.
While this process works well for more rigid options, like wrapping paper drawer and cabinet liners, you may have trouble with flexible cloth, which might shift as you wheel your pencil along the curve. For those drawer liner styles, the first technique will work best.
If you'd like an alternative, though, you can check out YouTube channel Vintage Revitalized. Here is an uncomplicated method of flipping the drawer over to create a flawless curve on your liner. Although it works only with drawers that are removable, it promises a comfortable process for getting the best cut possible and a custom drawer liner you'll be sure to love!
