How To DIY A Box Spring For Less
Nobody can dispute the benefits of a good night's rest on your physical, mental, and emotional health, and optimizing your sleep starts with a quality mattress. But given the cost of a high-quality system, finding the best value can be tricky. Box springs alone can cost several hundred dollars, taking a significant chunk from your mattress budget. Imagine the rejuvenating rest you could get if you saved that extra money for an even better sleep surface! All it takes is some 2 by 4 foot wood studs to build the structure and 1 by 4 foot studs to make the slats
Well, if you opt to build your box spring rather than shell out for a new one, you'll have more money for a quality mattress and a custom-fit foundation to maximize your comfort level. Even better, it gives you an option for additional storage. With enough height, you can use the cavity to hold spare sheets, blankets, pillows, and other items and save your closet space. With the wood studs, you can use a table saw or miter saw and pull the pieces together with a nail gun or drill, building a DIY box spring in only a few hours.
Building your DIY box spring
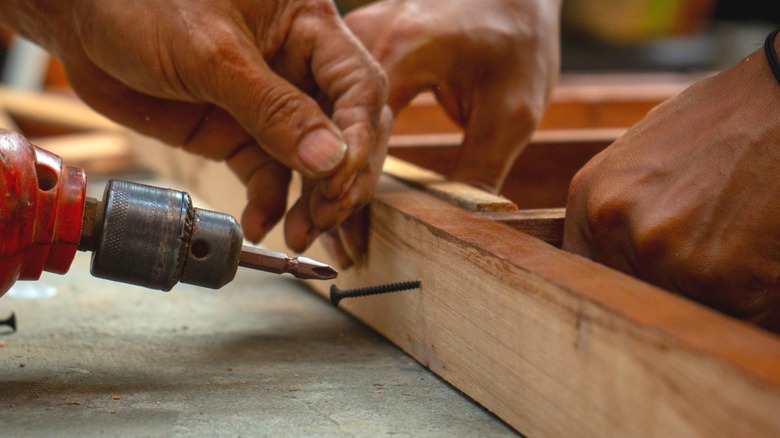
YouTube channel A Butterfly House offers an easy-to-follow video tutorial and detailed plans for constructing a sturdy, attractive boxspring. Start by measuring the dimensions needed for your bed, and build the supports with 2x4s. A long 2x4 forms the bottom, while 2x4 pieces (cut to the desired height) sit perpendicularly on it, adhered to the long piece with wood glue and brad nails (or wood screws). Another long 2x4 fixes atop the other end of the support pieces, completing one side of the box spring. Repeat this two more times to make the other side and a center support. Connect these support structures with 1x4s cut to match the width of the mattress. You can then lay 1x4s as slats across the top to create the surface that the mattress will sit on. For improved stability, add extra 1x4 spanners between the supports.
With your frame constructed, consider storage possibilities. You can leave the cavities open, laying plywood sheets in the frame to create a smooth storage surface. Alternatively, this could be an excellent opportunity to try some DIY drawers. In this case, planning how you space the upright 2x4 connectors on each support will be essential in creating practical drawer boxes. Figure out the function and size you need, and design your box spring accordingly.
Deciding on the best box spring style for you
Before deciding on your DIY box spring's final form, you should consider factors like the bed's style, mattress size, and mattress type. The side-to-side measurements are easy enough to find, as it will simply equal the mattress's width. But in terms of height, you'll have to measure your mattress's height and the bed's elevation. Standard box springs are 9 inches tall and low-profile models are 5 inches. While these heights are often ideal, you can customize your box spring for a shorter or taller platform or mattress so your bed is easy to get onto. The best height for many will let you sit on the edge of the bed with your feet touching the floor.
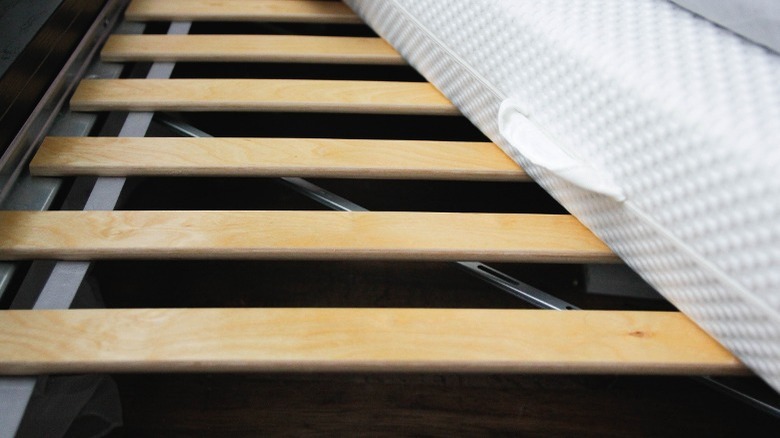
Apart from measuring a comfortable height, you'll also need the platform to accommodate your mattress type. Many mattresses come with a warranty, but manufacturers may not cover defects if the foundation is inadequate. Failure is especially problematic for mattresses that don't have much natural rigidity and may sag between the slats, like memory foam beds. To play it safe, ensure there is no more than 3 inches between the slats. Larger mattresses demand even tighter spacing of only 1.5–2 inches. Some mattress manufacturers may specify the spacing needed to preserve their warranties, helping you avoid confusion. You can also lay plywood over the top for added assurance against dipping and sagging. Make these considerations as you design your box spring, and you'll have an inexpensive yet dependable foundation for years to come.

