Signs That It's Time To Remove Annuals From Your Yard (& How To Do It)
The wonderful thing about flowering annuals that last all summer or annuals you plant for a colorful autumn is the beauty the plants add to your landscape. But the nature of annuals is that their life cycle completes within one year or season, and there comes a time when you need to remove them from your garden. The question is: When should you remove your annuals? The answer can be complex in some warmer climates because the seeds they drop can continue to produce long after the original plant dies. Still, to ensure the health of your garden over the long term, it's important to look for signs telling you it's time to remove those annuals.
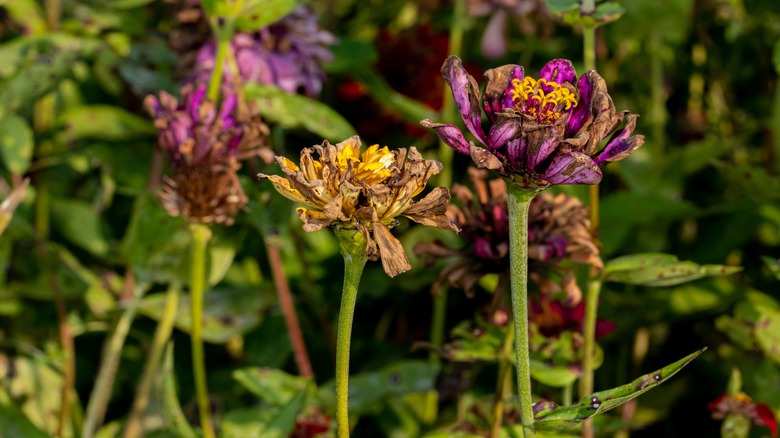
One sign to look for is the production of seeds. Oregon State University explains that the lifecycle stage following seed production in annual plants is death. So, once your annual plants produce seeds, collect them if you'd like, and remove the dying or dead plants from your garden. If you want those seeds to spread naturally, you could leave them until the plant withers completely — another sign it's time for removal. However, if you don't want to take the chance of your annuals spreading seeds untamed, start removing them right after they're done blooming and before the first frost. Black or yellow leaves, weak stems, and slowed growth also indicate it's time to say goodbye.
How to remove annuals
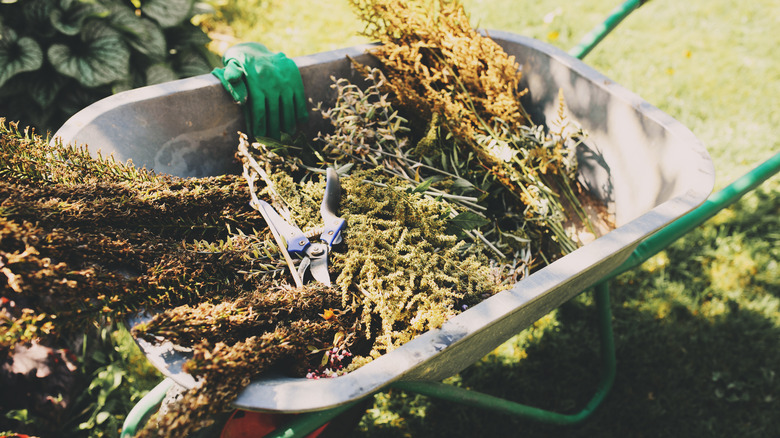
Using a sharp tool, cut your annuals down to the ground and put them aside in a pile. Be sure to clean the space completely, removing any dead flowers, leaf remnants, and stems from your garden. Leaving them in place could give pests or diseases a safe harbor to overwinter in your garden, infecting and spoiling your soil or at least giving you problems for the spring.
While cutting to the ground is one method, if you have perennials in your garden or even biannuals remaining, it's important to remove your annuals' extensive root systems, too — if they have one. That's because those roots could continue to compete for nutrients, causing problems for your remaining plants. That said, even if your annuals have shallow root systems, it might be beneficial to pull them out of the soil to prevent regrowth. That's especially true if you're planning to use that space to introduce other plants for the season. One unseasonably warm week or two could lead to your annuals reappearing unexpectedly and ruining your whole garden vibe.
What to do with the cuttings
The best thing to do with your annual plant cuttings is to compost them. But before you toss them into your pile, you want to be sure you're not introducing destructive insect larvae, mildew, or diseases into your compost. After all, once your collections become rich soil, you'll want to use it to support your future plants, so keeping it healthy is essential. Carefully examine your annual plant cuttings, looking for signs of disease or infestation, and throw away any plants not suited for the compost pile.
If you choose to wait until your annuals produce seeds, you can still add them to the compost pile, but keep in mind that they may germinate while inside. However, maintaining a good balance of composting material can reduce that risk, as proper maintenance should keep the temperature high enough to promote decomposition before germination can occur. Of course, another simple way to avoid that risk is to remove your annuals and compost them before they go to seed.


