DIY Chalkboard Paint With These Two Simple Ingredients
We may receive a commission on purchases made from links.
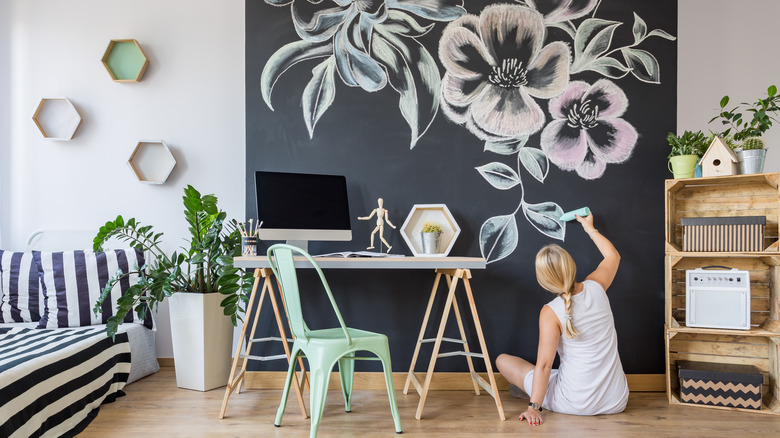
Chalkboard paint is super versatile. Whether you use it to create a unique accent wall, turn your refrigerator into a fun message board, or upcycle an old mirror, there are lots of possibilities to put your creativity to the test. What's even better? You can DIY chalkboard paint with two simple ingredients — non-sanded tile grout and paint.
This project is a clever way to repurpose leftover paint you might have on hand. It could also be more cost effective to make your own chalkboard paint than buy it from the store, especially if you're only covering a small area. It takes less than five minutes to whip up a batch and you just use the mixture like regular paint. Be sure to use non-sanded tile grout. Grout is the most tried-and-true method for making chalkboard paint, but baking soda and cornstarch are also substitutes that are worth testing out if you already have them on hand.
How to make chalkboard paint
To make the DIY chalkboard paint, start by filling a container with 1 cup of paint. You can use any water-based paint, with any sheen, in any color. Because the paint thickens quickly, it is best to mix just enough for one coat and create a new batch if you need a second layer, especially since you'll have to wait for the first coat to dry before applying a second. Then, use a sieve to sift 2 tablespoons of the tile grout into a separate container. If you don't have a sifter, you can mix the grout with roughly 1 tablespoon of water to break up any clumps. Next, slowly add the grout to the paint and mix thoroughly with a whisk or fork to avoid lumps. That's it! Now, your chalkboard paint is ready to use.
Apply the chalkboard paint with a brush, such as the Jen Poly Brush. Once it dries, you can smooth the surface with a sanding sponge and wipe it clean with a towel. Lastly, use a piece of chalk to seal the surface. Place the chalk on its side and rub it over the entire painted area, before cleaning it off with a towel. This should help prime the surface so that when you write on the board, the chalk erases completely and doesn't leave faint marks behind. Finally, the creation is complete and you can enjoy your creative chalkboard wall art or décor.
