Our DIY Guide On How To Install A Rubbermaid Closet System
The Rubbermaid closet system helps you organize your closet without spending a lot of money or having to hire a pricey professional organizer. Installing the system is a doable DIY project as long as you have your tools and the system ready before you start. Whether you want to maximize storage in your bedroom, hallway, or pantry, this DIY guide will walk you through the installation process. It's important that you work slowly and measure twice, drill once, and use a level for every step.
In order to get the correct system, you'll need to figure out the total area of the closet you'll be putting the Rubbermaid closet system in. Use a measuring tape and measure the closet's height, width, and length to get accurate measurements so you buy the right size system. Use a stud finder and a pencil to mark the area behind your closet wall where the studs are. You can fasten the system to the wall with drywall anchors if you don't have studs in the exact places you need them, but it's not recommended for holding shelves you'll be putting heavy items on. You're ready to install the Rubbermaid closet system at this point.
How to install the Rubbermaid closet system
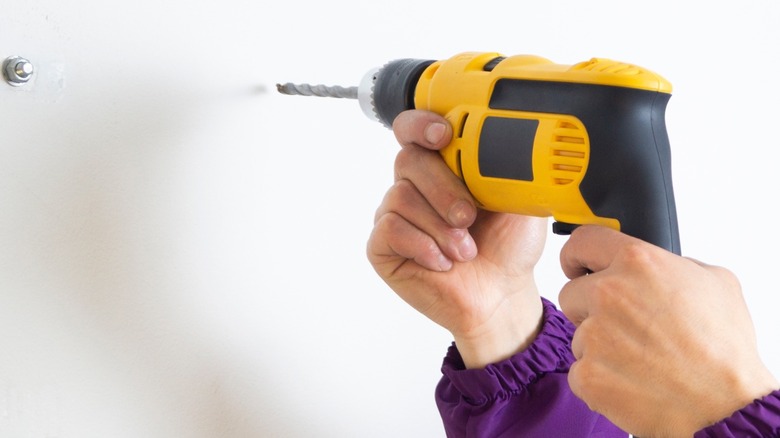
The horizontal mounting bar is the key piece of the Rubbermaid closet system. It's what everything else hangs from, so installing it correctly is crucial. Decide where you want the top of your closet system to sit, then use a level to draw a horizontal line across your closet wall at that height. This is where the mounting bar goes. Hold the mounting bar up to the marks you made on the studs and either drill the screws loosely into the studs or use wall anchors. Make sure the bar is level, then finish installing it by tightening the screws. Next, you'll hang the vertical rails that support the shelves of the closet system by hooking the vertical rails onto the horizontal mounting bar. The rails are adjustable, so slide them left or right to get the spacing you want. Once you've got the vertical rails in the right position, attach them to the wall, screwing the rails into studs wherever you can.
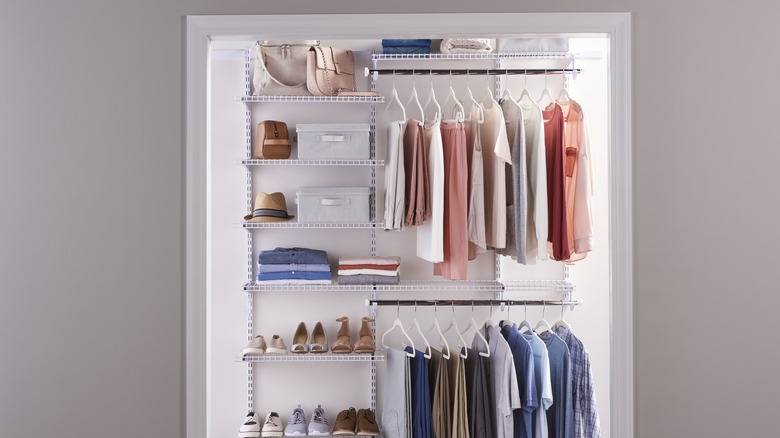
After the vertical rails are in, add your shelving. Start by attaching the shelf brackets to the vertical rails at the heights you want. When the brackets are in place, slide the shelves into position on top of them, making sure everything is level and stable. If your closet kit has hanging rods, snap them into place under the shelves. After you've finished installing all the shelves and accessories, make sure everything is level and spaced the way you want it. The Rubbermaid closet system is customizable, so experiment with different layouts to find the ideal fit for your storage needs.

