Can You Install An Undermount Sink With Laminate Countertops? Here's What To Know
Every cook's dream is a wide expanse of countertops to chop vegetables, roll out dough, and prep meals. Increasingly, that dream includes choosing an undermount sink over a drop-in sink, as they attach to the bottom of a counter so you can easily wipe the mess left over from cooking right into the bowl and avoid the trouble of cleaning around a drop-in sink.
In the past, people without the budget for stone countertops assumed an undermount sink was out of their reach, but that is no longer true. Today, thanks to new processes that make laminate more resistant to warping due to water damage, you can pair the sink of your dreams with a laminate countertop.
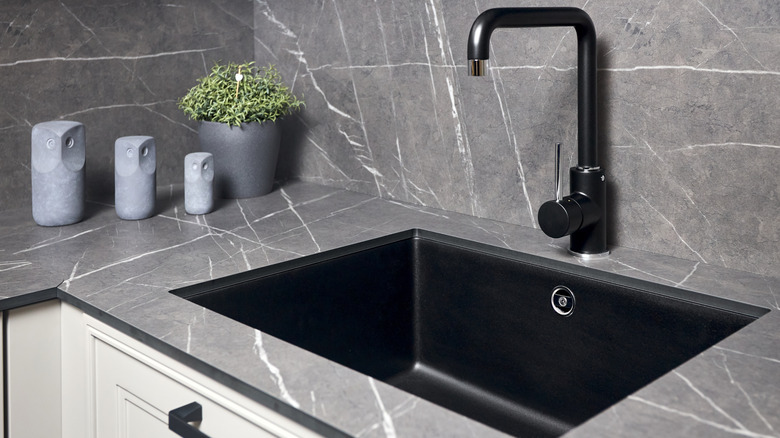
When choosing the right undermount sink for your kitchen with laminate countertops, you will want to keep a few things in mind, especially that "undermount" is a misnomer in this case, as they sit flush with laminate countertops, rather than attaching from the bottom. From the size of the sink's rim to installation best practices, homeowners should be aware of a few realities before heading to the store to make a purchase.
Things to consider when pairing undermount sinks and laminate countertops
Some sinks are specifically approved for use with laminate countertops, but you will want to look for a rim that is approximately 1 inch wide, made from resin, and completely flat. The bowl should be stainless steel or acrylic solid surface.
Getting the job done right is critical, as TikTok warns homeowners of possible sink collapse when installation mistakes are made. It is generally recommended to hire a professional to install the sink, as they have the specialized tools to get the job done right, but you can DIY installation if you like a challenge.
Start by marking where you want the sink to go by tracing it onto the particle board — about 2 inches from the back of the countertop — and using a jigsaw, cut out a hole big enough for the sink bottom to drop into. Once you have dropped the sink into the hole, trace around the edges of the rim, and route out a ledge that the sink can sit on. When the sink fits properly, you can use Bondo to seal around the rim and sand to make it level and smooth. From there, you will need to apply the actual laminate to your particle board and over the sink's rim. All these steps make it clear why many choose to hire a pro.

