Maximize Your Closet Space With These DIY Modular Cabinets For Small Walk-Ins
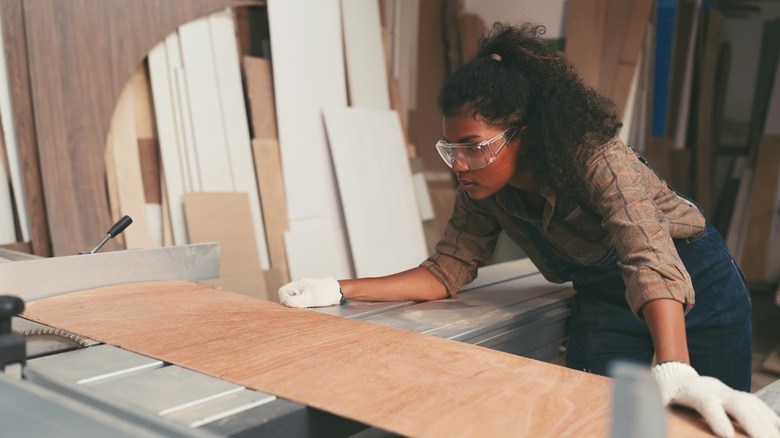
For anyone who dreams about a clutter-free walk-in closet, having a set of cabinets that can both hold all your clothes and serve as a fashionable addition to your home is a must-have. But finding cabinets that are functional, sophisticated, budget-friendly, and that can fit into smaller walk-in closet spaces may not be possible. Luckily, you can easily create closet cabinets that make your space functional while still being easy on your wallet. This is one element that your DIY walk-in closet needs for ultimate storage and organization. To build the cabinets, you'll need to cut plywood to fit the dimensions of your closet, creating the sides, top, and bottom. You'll then assemble the cabinets by drilling pocket holes into each piece and adding shelves, drawers, and a hanging rod, if desired.
All you'll need to build your cabinets are pieces of birch plywood, drawer slides, clothes rods, screws, knobs, and some woodworking tools that you can easily find at a Home Depot or Lowe's. Furthermore, if you don't want to purchase tools for just this project, Home Depot may be your best bet if you need tools for a day. Another option is to have your materials cut at your home improvement store. The first few cuts may be free, while additional cuts may cost extra.
Building your modular cabinets
To start, cut the plywood pieces to create two tall sides and the top, bottom, and middle shelf of your modular cabinet. The measurements for this will differ depending on the size of your space. Next, make the rest of the shelves and drawers. If you're not adding face frames to the shelves, edge band the fronts for a sleeker look. Then, assemble the cabinet by adding pocket holes into all of the pieces and drilling them together. To attach the drawers, install drawer slides. Also make drawer fronts to give the piece a sleek look and include small pieces of wood on the top and bottom of the cabinet for the toe kick and backboard.
You can also add a rod to the top of the cabinet instead of the drawers or shelves — or make multiple cabinets with various setups. To do this, cut a rod to fit the length of the cabinet, then drill holes into both sides of the cabinet and both sides of the rod. To secure it, drill screws through the cabinet's sides and into the rod.
Add the assembled cabinet(s) to your closet, using 2½-inch screws to secure the backboards to the wall. Install knobs on the drawers, and if desired, add another rod between the cabinets for additional storage. You can also personalize the cabinets by painting them after assembly. Prime the pieces and either use water-based acrylic-latex paints or epoxy paints. Neutral tones such as ivory, cream, or soft tan are usually the best colors to paint your closet, too.
