Tips And Tools That Make DIYing Soft-Close Cabinets A Breeze
We may receive a commission on purchases made from links.
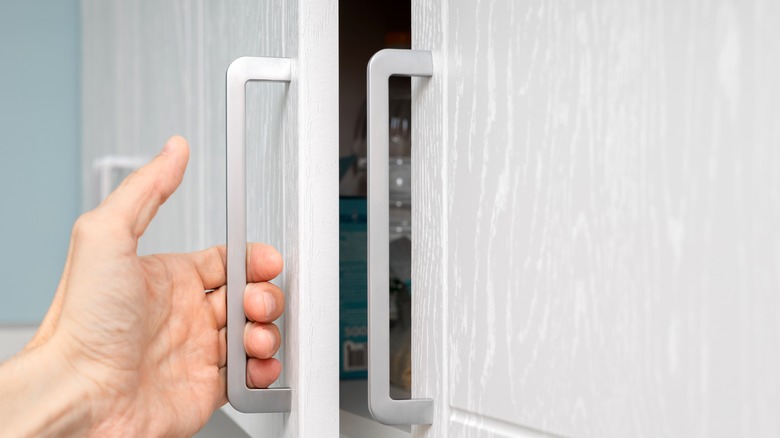
Tired of your kitchen and bathroom cabinets closing with a bang? The extra noise can quickly get annoying in the mornings and evenings, especially if you and your family operate on different schedules. Quickly closing the door on your fingers isn't fun either. Often, the impact of the cabinet door colliding with its frame can chip away at the paint and strain the hinges, which reduces the furnishing's lifespan. Soft-closing cabinets are a great solution to all these problems. These fixtures often feel luxurious and might look like they're only a good idea for a kitchen remodel. However, building them into your space might take less money and effort than you think.
DIYing soft-close cabinets in your home doesn't have to be a huge project. In fact, there are multiple ways to add this simple upgrade to your living space without breaking the bank. If you already have self-closing hinges on your cabinets, you can easily purchase and install a set of ROK soft-close cabinet dampers. Replacing your hinges with soft-closing ones is also a solid option, but it typically costs more. TikTok user @designingparkside has an awesome tutorial that lets you see how straightforward cabinet dampers are to install, as well as a few other simple DIY improvements that you can add to your cabinets, from replacing the hardware to restoring the paint.
How to make your existing cabinets soft-closing
There are two ways to implement soft-closing cabinet doors into your home: adding dampers or replacing the hinges. Soft-close dampers are small metal adaptors that sit inside the cabinet either above the top hinge or below the bottom hinge. When you close the cabinet, they will absorb the potential impact and prevent a direct collision between the door and the main section of the cabinetry. Soft-close dampers only work alongside self-closing hinges, rather than free swinging ones.
To put in a new soft-closing damper, you'll first need to remove the cabinet's door. Then, simply fit the main adapter snuggly into the corner of the cabinet across from the handle, and drill in the mounting screw. Make sure to remove any drawers or other items in the cabinet next to where you're drilling just in case the screw goes too far into the wood.
If you have free-swinging hinges and want to implement soft-closing cabinets into your home, you'll want to pick up a new set of Ravinte overlay soft-closing hinges instead. In this case, the dampers that create the soft-closing effect are located within the hinge itself. To install the new hinges, you may need to drill a slightly deeper hole into your cabinet doors depending on the type of your existing hinges, so make sure to read the product's directions carefully. Dahoo's adjustable cabinet hardware jig tool will help ensure the perfect hinge alignment. It will also help make hardware installation easy, if it's a part of your project.
More DIY upgrades for your soft-close cabinets
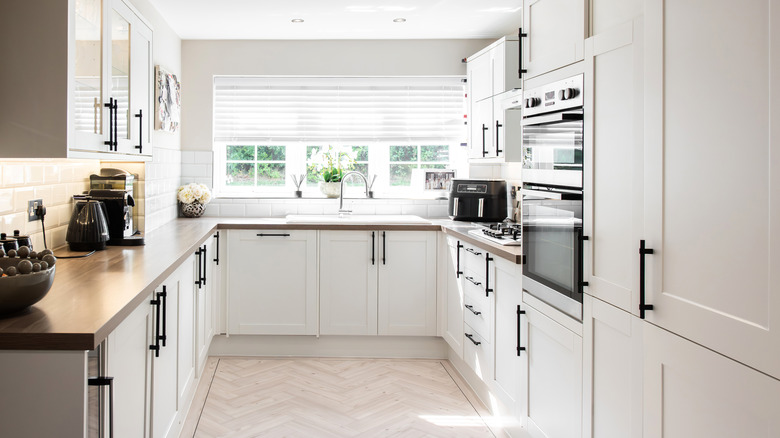
If you're looking to further upgrade your new soft-close cabinetry system, modernizing your handles and drawer pulls is often a fantastic place to start. There are many types of cabinet hardware to choose from, but you'll want to make sure that whichever material you pick matches the existing design of your kitchen or bath. A Ravinte hardware installation template is great for measuring and marking holes that you'll be drilling.
For a different budget-friendly cabinet upgrade that improves the functionality of your entire space, you might also want to consider choosing new under-cabinet lighting for your kitchen. You can hang up fixtures like MCGOR's magnetic under-cabinet lights with adhesives, which saves you the hassle of drilling. There's also no rewiring involved since you can simply detach the lights from their magnetic plates to take them down and recharge them.
A Slobproof refillable paint pen is another great DIY-friendly tool that lets you quickly touch up the areas in and around your cabinets where the color is beginning to fade. A paint pen works well for small spots and can go a long way toward refreshing the visual appeal of your cabinets. For larger blemishes, however, it's typically a good idea to use multi-purpose sanding paper on the affected area before repainting.

