17 DIY Wooden Pallet Shelving Ideas For Stylish & Affordable Storage
In our humble opinion, shelving represents the pinnacle of budget-friendly wood pallet DIYs to add extra storage around the house. Shelves are easy to assemble for beginners but offer endless possibilities for space-saving and display. With just a bit of preparation, pallet wood can be used to craft a pretty astonishing array of shelving pieces. Go basic with rustic open shelves that can work in both your living room and your garden shed. Things only get fancier from there — think space-saving corner units with pretty, round-edged shelves, super slim behind-the-door shelving, geometric floating shelves, and plant pockets for your outdoor entertaining area. You could even craft rope-hanging shelves, too.
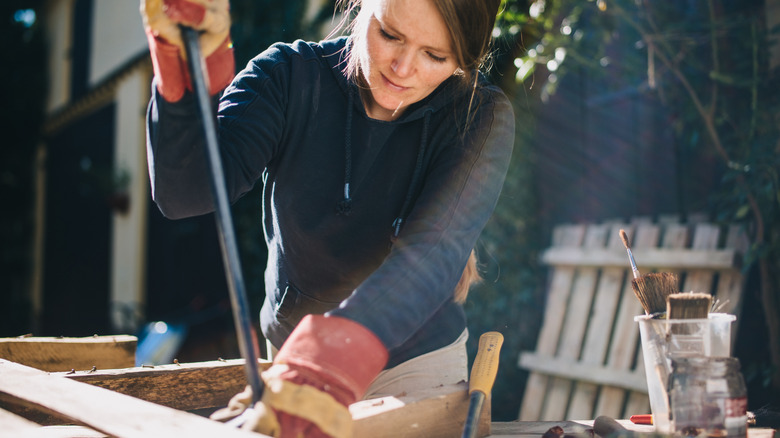
Whether you were given a few pallets or picked up some old ones up from the warehouse where you work, all pallets are stamped with codes. Pallets marked DB (debarked), HT (heat treated), or KD (kiln dried) are safe. Other pallets are treated to stop insect pests from crossing state and country borders. These will be stamped MB, which stands for a health-harming pesticide called methyl bromide. Avoid using any pallets with this stamp. Block pallets or stringer pallets work well; it just depends on the needs of the project. If the DIY only requires pallet deck boards rather than an entire pallet, you'll also need to factor in time to break your pallet down using a tool called a pallet breaker or pry bar, removing nails, and sanding down the planks to remove any stamping and roughness — unless you want a rustic look, of course.
1. Trending geometric shelf display
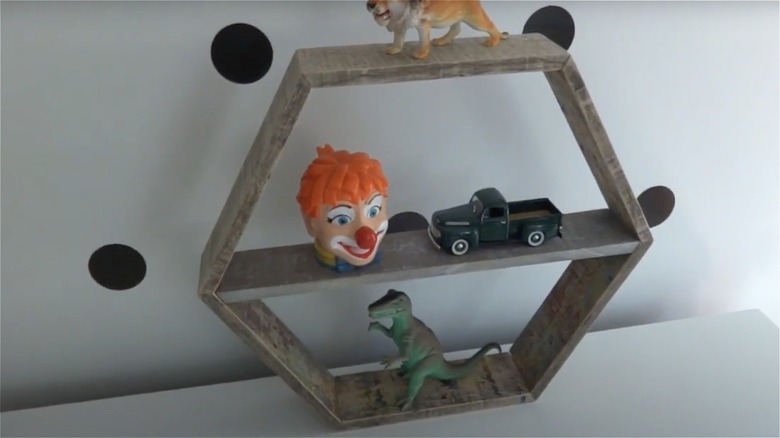
To create a hexagonal shelf, you'll just need planks from a dismantled pallet. It doesn't really matter what width they are, so long as you can cut six even-length pieces. Cut the ends of each piece — on the same side — at a 30 degree angle. Apply wood glue to the cut sides, place the pieces together, and secure them with wide packing tape until the glue has cured. Fill any gaps and stain or paint your shelving creation. Riffs on this simple style include adding shelves inside the hexagon or playing around with other geometric shapes, from mountains to interlocking or alternating triangles to triangles slashed through with a shelf.
2. A basic pallet shelf
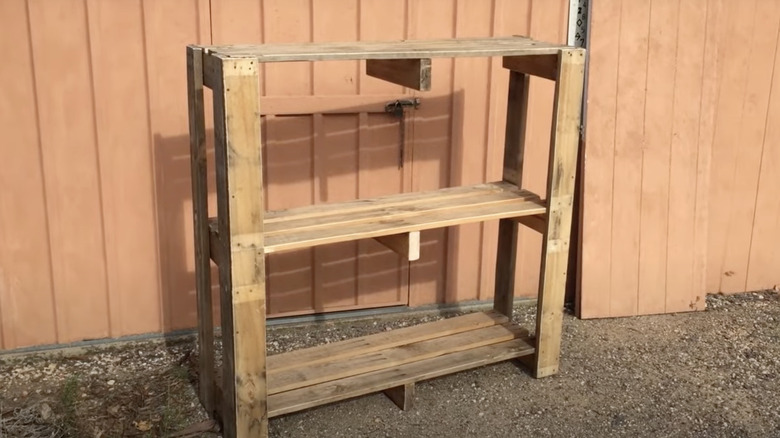
Interested in adding rustic storage to any room in the house with simple wooden pallet shelves? Discover how to create an open-on-all-sides, super practical, suit-any-room-in-the-house shelving unit. One method is to split a pallet into three even parts — those are your shelves — and create legs from the deck boards of another pallet. Another option is to saw the vertical stringer boards in half to create four legs and use the wider horizontal deck boards as the shelves. Pop your creation in your pantry or fill each shelf with baskets for a neat, attractive storage solution. An easy variation on the basic pallet shelf includes a ladder-style shelf with just two legs.
3. Wall-mounted pocket shelves
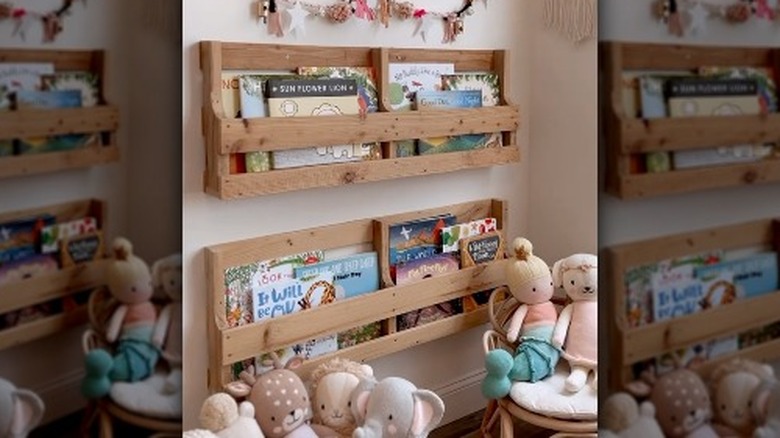
The center of a pallet is left open so it fits neatly around the prongs of a forklift. Take advantage of this design to make wall-mounted pocket-style shelves to use as a bookshelf for a nursery, a personal care products organizer for the bathroom, or a wine rack for the dining room. Cut out a two deck board-width section from one pallet, then remove one of the deck boards from the rest of the pallet. Attach this to the bottom of the two deck board section to create the base of the pocket. Double your storage potential by adding knobs or hooks to the front of the shelves to hang things.
4. Storage shelves for garage or shed
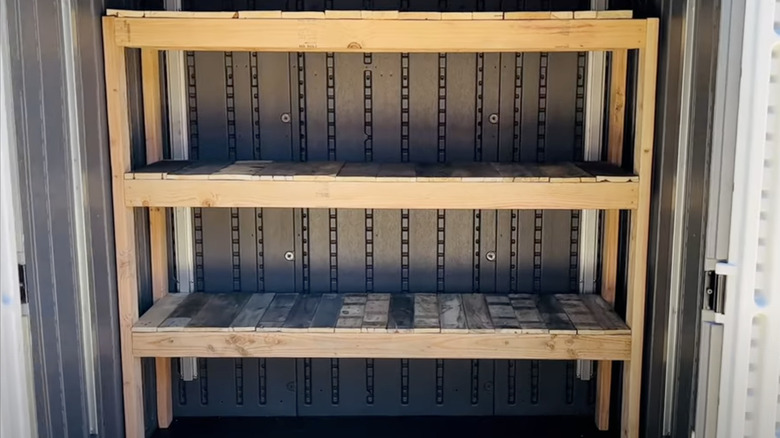
There are a few different ways to build a large, bespoke-sized shelving unit for a utilitarian space in your home from pallets. One involves using the longest deck boards for the frame, with the blocks as brackets supporting your shelves. Cut a corner out of your shelf planks so they fit neatly around the blocks. This, of course, limits your resulting shelving unit to the original size of a pallet. If you want something bigger or that's customized, then measure the space and build the frame from 2x4s. You'll cut pallet boards to size and attach them to each shelf one next to the other, piano key style.
5. Wall shelves
If you collect anything, be it family photos, seasonal decor, or cute crockery, you don't want the items stashed away in boxes. Put them on display in your home by building yourself some wall or desk display shelves from pallet wood. With the pallet in front of you and the deck boards running horizontally, nail a fresh timber plank vertically under the upper deck boards on both sides of the pallet. Cut along the outside edge of these planks, flip the pallet onto its side, and cut the upper deck boards off. Glue the freshly-removed upper deck boards onto the lower deck boards to form L-shaped shelves. Finally, paint or stain the piece.
6. Pallet shoe rack
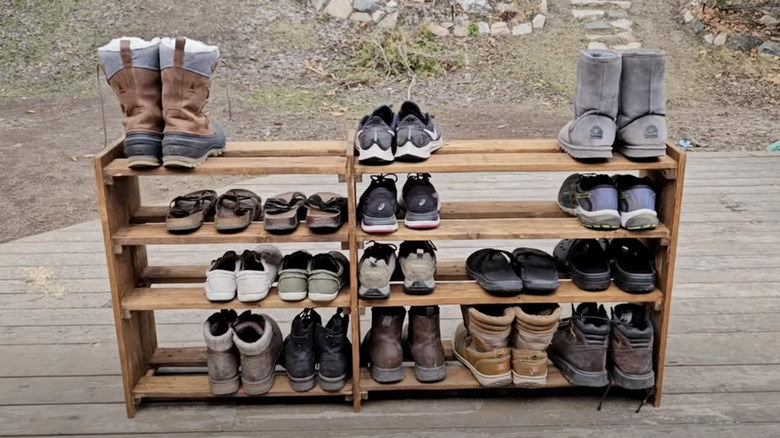
Shoe racks are an undeniably handy way to use wood pallets to increase your closet storage space. After all, you'll get all those bulky shoes, boots, and sandals off your wardrobe floor. Learn how to create a shoe rack from pallets. The side and center columns are each crafted from two pallet deck boards cut to your desired height. They're fused together using small strips of wood that will act as brackets for your shelves. The shelves themselves are also made from deck boards — once again, you can choose your desired length depending on your available space. Sand the pieces before you assemble the rack and paint or stain it after assembling.
7. Floating shelves
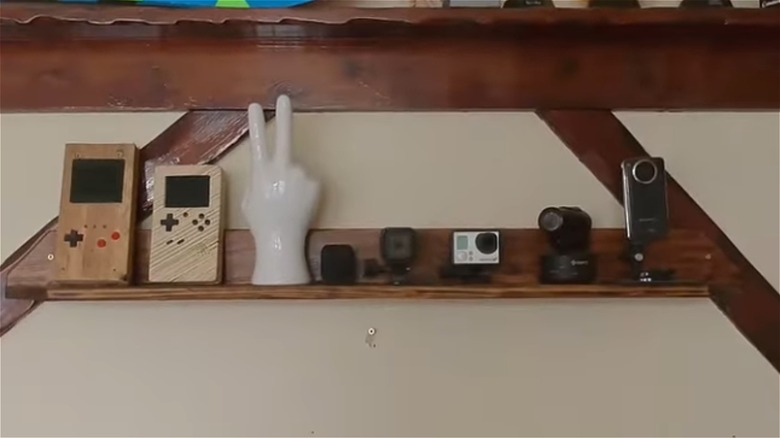
If you despise visible shelf brackets, transforming pallet wood into a floating shelf might be the project for you. These shelves appear to hover midway up your wall; the fixtures are neatly hidden away behind the back of the shelf. They also make great mantle shelves. Basically, you're going to create an elongated, entirely enclosed box by nailing together pallet wood deck boards cut to your desired size. Alternatively, simply glue or nail together two long deck boards in an L shape, one for the base and one for the back, angling the ends for a decorative touch.
8. Wall-mounted display shelf
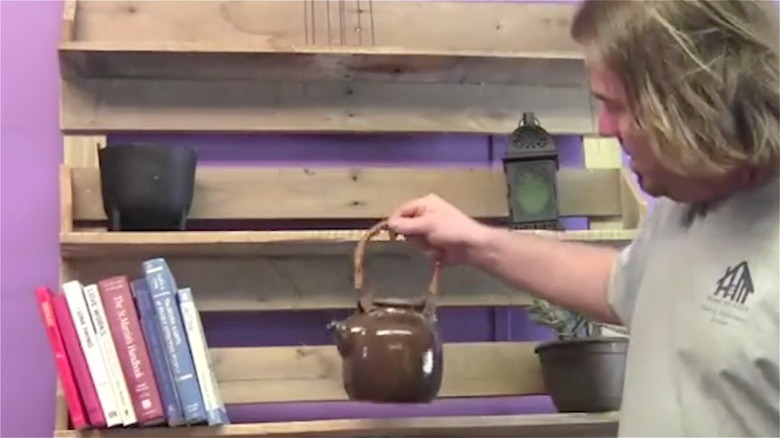
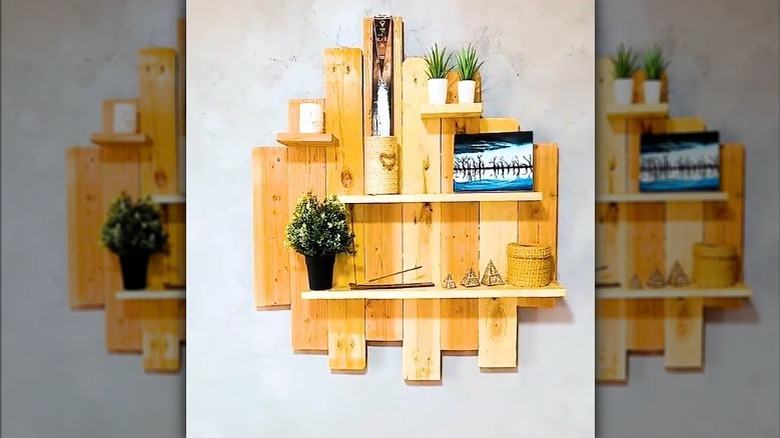
Broke a bunch of deck boards when you were busting up your pallet? Turn those oddly-sized planks into a tiered backboard for some unique wall shelves. Lay out the boards in any stacked arrangement you want and secure them in place at the back with a couple of horizontal deck boards. Flip this backboard over and glue on more deck boards as shelves. They have to be level, but they don't have to be exactly one atop another. Get creative and cut holes in the backboard planks and pitch the ends to imitate birdhouses, step the planks down or up like a stairway, or paint the planks in alternating colors.
9. Pool toys shelf
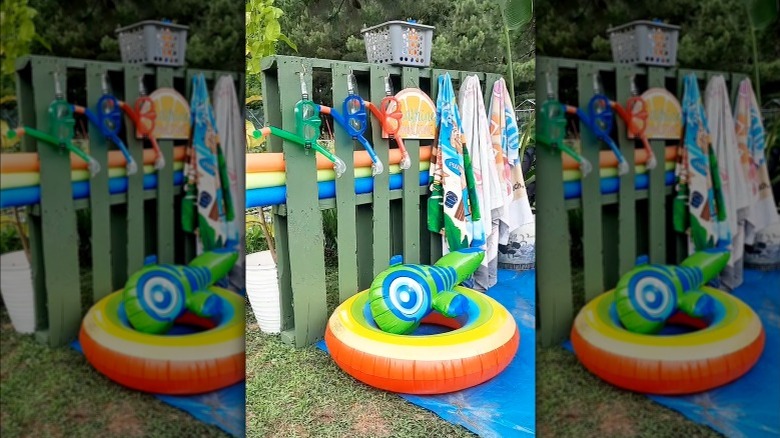
Pallets offer a simple way to contain that overflowing mess of pool toys you inevitably end up with during those long, lazy summer days. Instead of continuing to trip over them, stash them away neatly with a pallet. The simplest way to create this DIY organizer is by painting a pallet using outdoor paint and screwing it to a fence near your swimming pool. Or, make a free-standing organizer by screwing the pallet to a 2x4 embedded in the ground, then drill on some hooks. Take advantage of a pallet's built-in nooks and crannies to store pool noodles and paddle boards lengthways or vertically and hang towels, snorkels, and more.
10. Rectangular or square shelves
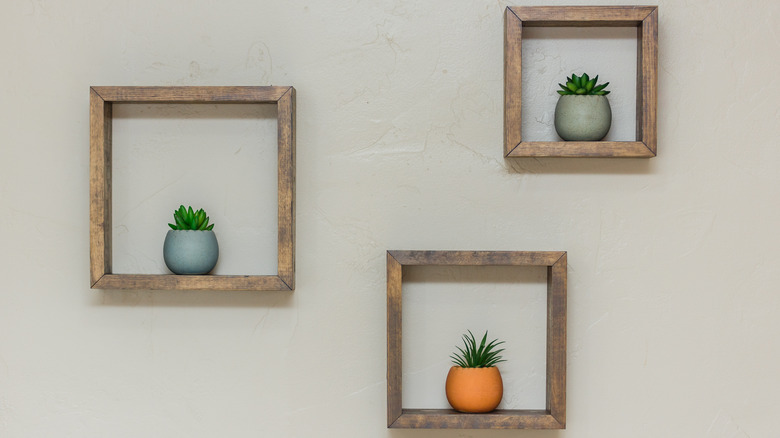
You can also create square or rectangle floating box shelves from pallet wood. To begin, decide how big you want them to be. For square shelves, you'll need four pallet deck boards all the same length, whereas a rectangle shelf needs two long deck boards and two short, each matching in length. Then, simply glue or screw the deck boards together where they join to form the shelf. Keep the wood bare and unfinished for a rustic look or sand, stain, and stack two boxes atop one another off-center for a mid-century modern vibe. These work just as well when either hung on the wall or sitting on a desk.
11. Plant nook shelves
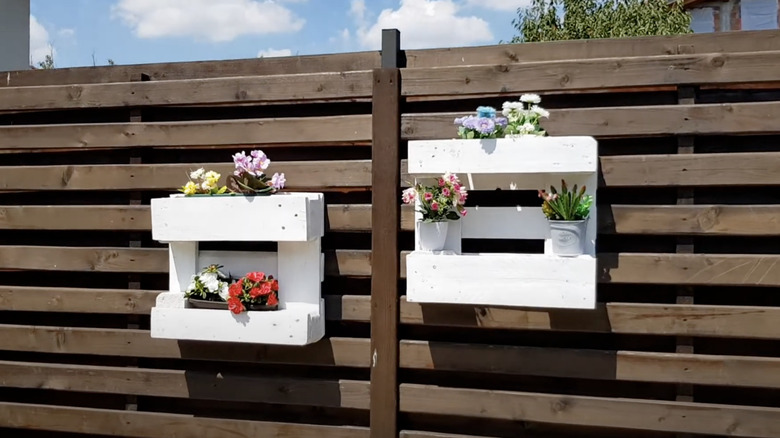
Turn a block pallet into some wall-mounted planter stands in a few steps. Measure and cut out squares that encompass two blocks and three horizontal deck boards. Cut off one end of that square and pull it apart. Screw the two blocks and the short string onto the open side. Sand, paint, hang, and add potted flowering plants. If you want something that's more decorative, cut both ends of a short plank at oblique angles, then glue on a square of wood about three-quarters of the way down from the top. Once set, add a small triangle of wood to the right of the square, then place a planter on the shelf.
12. Corner bookshelf
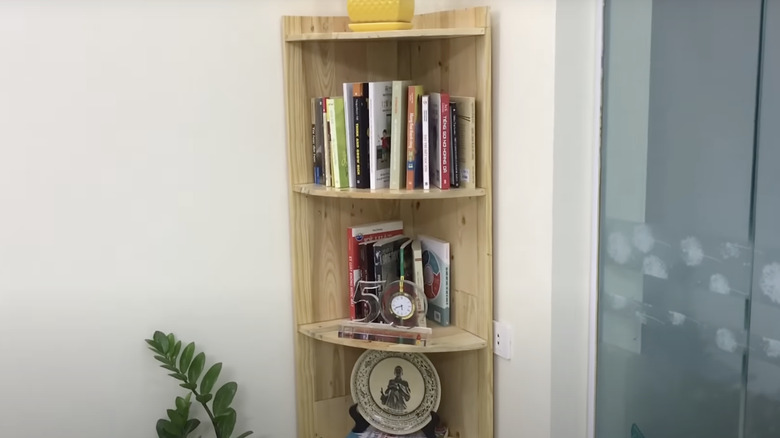
To create a corner bookshelf with rounded edges, begin by gluing three or more deck boards together to make a single wide board. Repeat this so you have two of these. These will form the walls of your bookshelf. Use a similar method to create boards to cut enough triangle shelves (each with two straight sides and one curved side) to fit into your wall pieces, creating the top, bottom, and interior shelves of your bookcase. Alternatives to this idea include simply attaching rectangular shelves to a long deck board and leaning it in a corner of a room, mounting L-shaped floating shelves across a corner, or creating a right-angled tiered backboard shelf.
13. Unique bathroom shelving
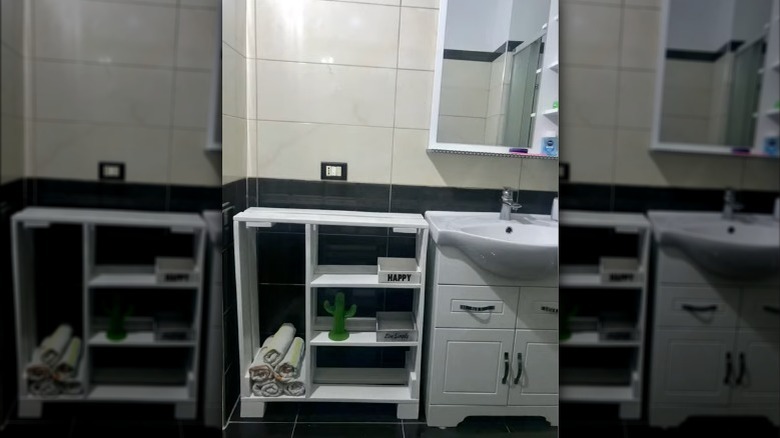
Looking for a super simple and quick pallet bathroom shelving unit? With the forklift holes facing left and right, cut a small pallet in half, following the line of the deck boards. Hang that on your wall and fill it with beauty products. Another floor-standing option involves dismantling a block pallet, using the deck boards to create a square frame (two deck boards per side), and attaching the blocks as legs. Fill the inside with as few or as many shelves as you need. Decorate with a moldproof paint or stain before popping it in place beside your vanity or bathtub.
14. Compact behind-the-door shelves
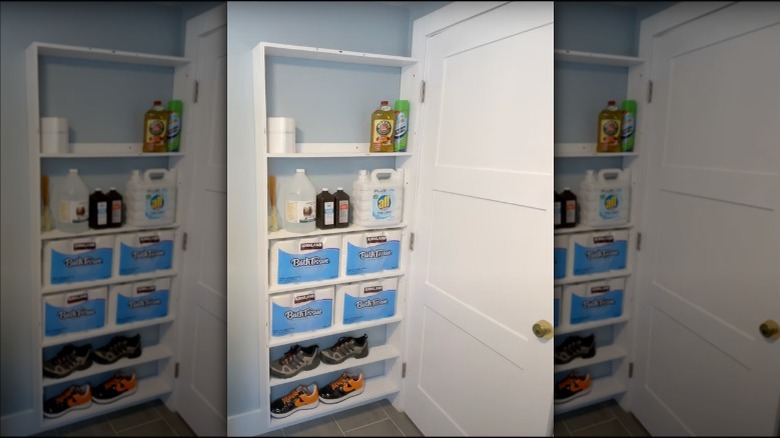
Need more space in a small room? There's actually a surprising amount of space behind the door that you can fill with a shelf. First, measure the space between the wall and your door frame. That's how deep your shelving unit needs to be. The height is limited only by the space between your floor and ceiling, and the width is just as flexible. Build the back and sides of the unit from any old plywood you have lying around, then fill the interior with shelves crafted from a pallet's deck boards.
15. Pallet tree bookshelf
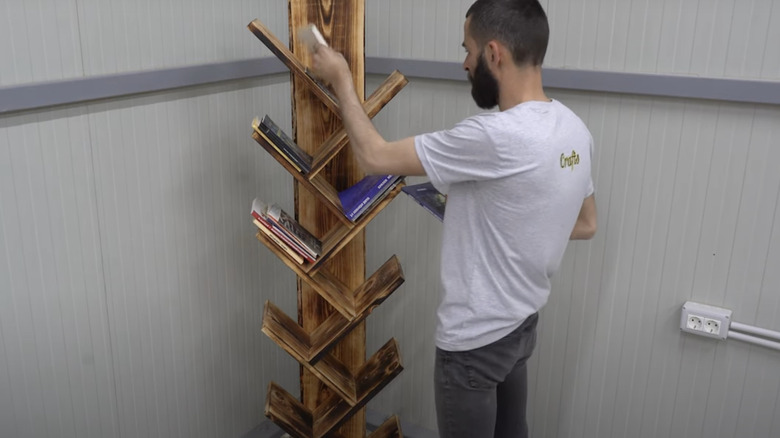
Okay, we admit it. Regular ol' bookshelves can look kind of boring. Instead, build a bookshelf inspired by the herringbone-patterned branches of pine trees. Take two stained and sanded pallet deck boards cut to your desired length (but at least a couple of feet long) and drill them together to form a T shape. Make as few as three of these Ts or as many as your ceiling height can handle. Glue them all together in an interlocking herringbone pattern. Add a single deck board for a backboard, and attach that to a sturdy wooden stand crafted from non-pallet wood. You could also hang the piece up on the wall, if desired.
16. Spice rack shelf
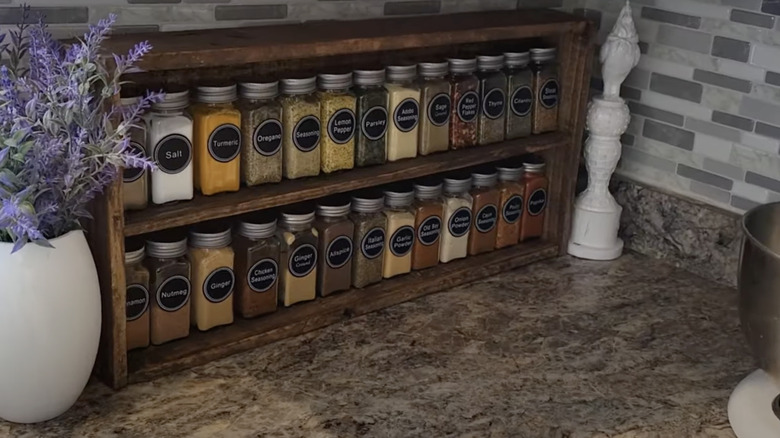
Pallet boards can also be used to create a small shelf for all your spices. First, determine how wide and tall you want your spice rack to be to accommodate all your bottles, and cut some pallet deck boards to those lengths. You'll need two short boards for the sides of your rack and two long boards for the top and bottom. You'll also need one more board for the central shelf. Sand the boards, stain or paint as desired, and nail the frame together. Measure the space between the shelves and cut wood to size — these will act as the back of your rack. Attach these boards and you're finished.
17. Rope-hanging shelf
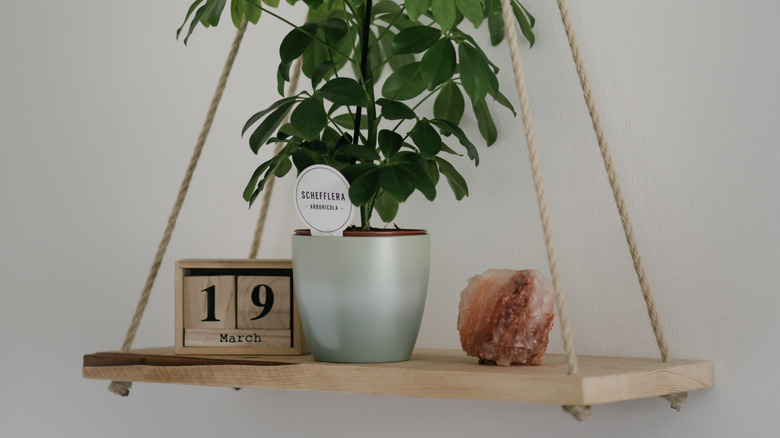
Think of a swing hanging from a big oak tree in a country backyard. That's basically what you're creating with this project — just a miniature version of a swing to hold decorations or useful items. Cut a pallet wood deck board into one or two short pieces — we're talking maybe two or three feet long maximum — and drill a hole in each corner. Sand the boards and decorate them as you wish, or leave them unfinished for a rustic feel. Thread some rope through each of the holes, knotting it below the bottom shelf. Tie the loose ends together and loop the knot over a wall hook.
