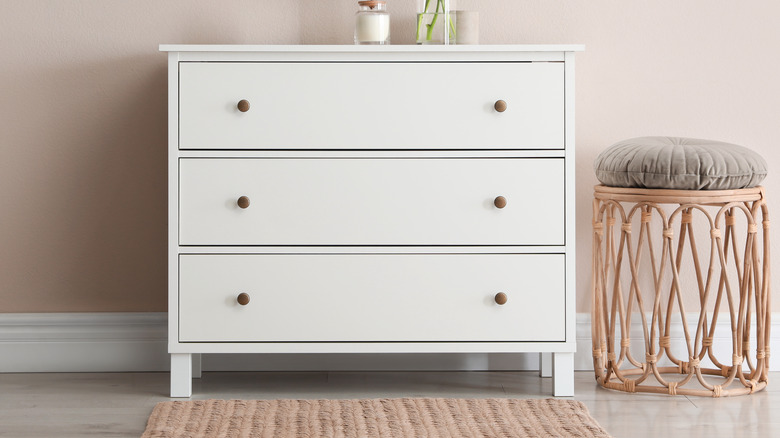
Give An Old Drawer A Quick Coat Of Paint To Create The Perfect Decor Tray
We may receive a commission on purchases made from links.
Before you get rid of a no-longer-used dresser or nightstand, consider repurposing one of the old drawers inside of it. This is a great way to save money and put your DIY skills to the test. One of the easiest ways to make use out of an old drawer is by turning it into a decor tray. To do this, you will need primer, paint, an electric drill, and some drawer liner material. You can use these items to create your tray by removing the slides from either side of the drawer, painting it, and setting drawer liner down to protect the inside.
The finished result of this old drawer DIY is a stunning decorative tray that you can use to display your favorite glassware, ceramics, or any other items that would look great there. You might also want to consider placing the tray in your kitchen and using it to store small packaged snacks or coffee essentials. If you already have a designated at-home coffee preparation station, you could even set the tray there to keep coffee pods, sweeteners, mugs, and similar items within reach. The possibilities are truly endless when it comes to this decorative tray.
How to make a decor tray out of an old drawer
Your first step is to gather all of the materials required for this dresser drawer makeover. You might want to consider using the Rust-Oleum ZINSSER primer because it is one of few options that can be used on nearly any surface. Spray painting the drawer is the easiest approach, but if you already have a different type of paint that is compatible with the material your drawer is made of, feel free to use that.
For those who do need to purchase new spray paint, consider snagging the Rust-Oleum Painter's Touch in a color and finish of your choice. You can skip out on priming your drawer altogether if you select this combination paint and primer. As for the furniture legs, the 2 Inch Wooden Furniture Legs are a great customizable choice because you easily could paint over them. For an affordable liner option, check out the Shelf Liners for Kitchen Cabinets.
After you have all of your materials, you are ready to complete this DIY. Start out by removing the drawer slides with the help of an electric drill. Next, take your drawer outside, lay it on a piece of cardboard, and coat it with your primer and paint. If you are using primer, be sure to let it dry completely before adding your paint. After the paint and primer have dried completely, you will need to attach your furniture feet to the bottom of your drawer with your drill. Finally, place your liner inside of the bottom of the drawer and display your finished tray in your home.
