Mistakes That Could Ruin Your DIY Peel-And-Stick Backsplash
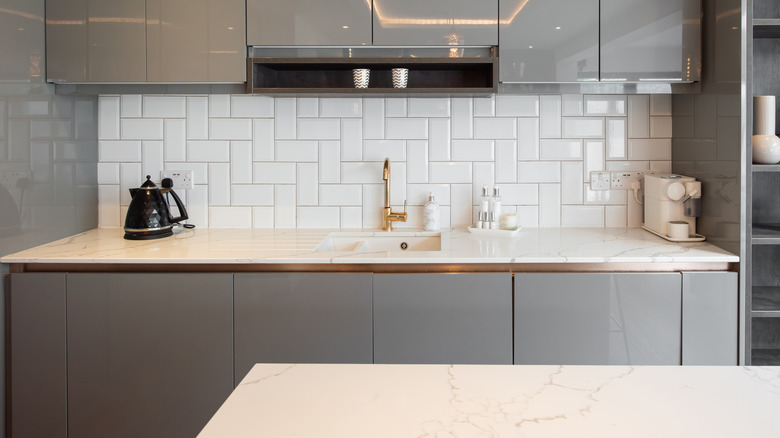
In bathrooms and kitchens, backsplashes are one of the best ways to add charm, character, and color to the space. But traditional tiling and grouting can be time consuming, costly, and require some advanced DIY skills, like precise tile cutting. Not to mention, renters can't install these permanent fixtures in their homes. That's why peel-and-stick tiles are the perfect creative backsplash idea for your home. They are essentially sheets of faux tiles or individual vinyl panels that have an adhesive backing that sticks directly to the wall. However, although peel-and-stick tiles can breathe new life into your kitchen and are easy to use for the DIY novice, there are some easy mistakes you can make that will ruin this project.
Most of these mistakes can come down to ignoring prep work, which is a bit like starting a paint job on an uneven surface and expecting it to come out looking smooth, as well as choosing the wrong kind of adhesive to mount your tiles with. Here's why these are such critical mistakes, and how to avoid them to create the perfect peel-and-stick backsplash design.
Skimping on the prep work
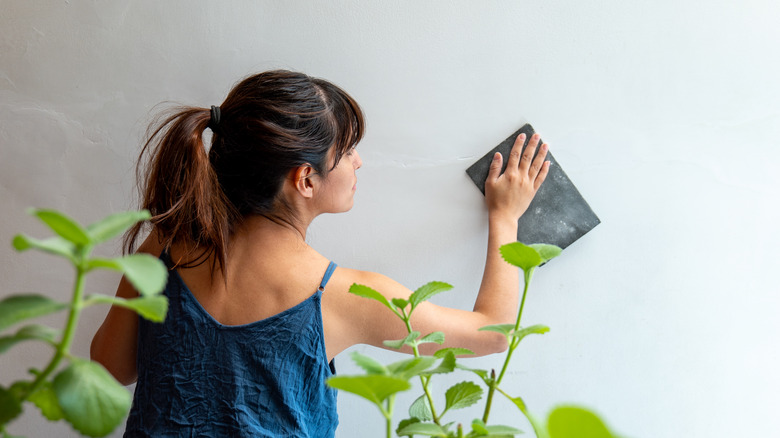
Because peel-and-stick backsplashes seem like such a simple project, a lot of folks assume it won't require prep. After all, it's basically just applying a giant sticker to the wall, right? Unfortunately, just like if you were painting, it's important to properly prep the walls first. At a minimum, you'll want to clean your walls with a degreaser, especially in the kitchen where cooking oils and food splatters may have flown onto the walls. If you don't clean the walls, the adhesive will not be able to adhere properly. The same issue may arise if there are a bunch of bumps and divots from patch jobs, so be sure to fill holes and sand these areas as well.
In the bathroom, ensuring that the walls are completely dry before installing tiles is key to making a DIY peel-and-stick tile last. Try not to shower in the room for a day or so before starting this project so there's no humidity. You can also run an extractor fan or dehumidifier to ensure the walls are totally dry. Prep works extends beyond cleaning and sanding the walls. You should also measure the length of your walls and compare them to the specs of the peel-and-stick backsplash you'd like to purchase. You don't want to end up with only half of your walls covered and have to wait a few days to finish the project, or worse, find that the product you ordered is no longer available and have to start the whole process over again.
Making the wrong choice for adhesive
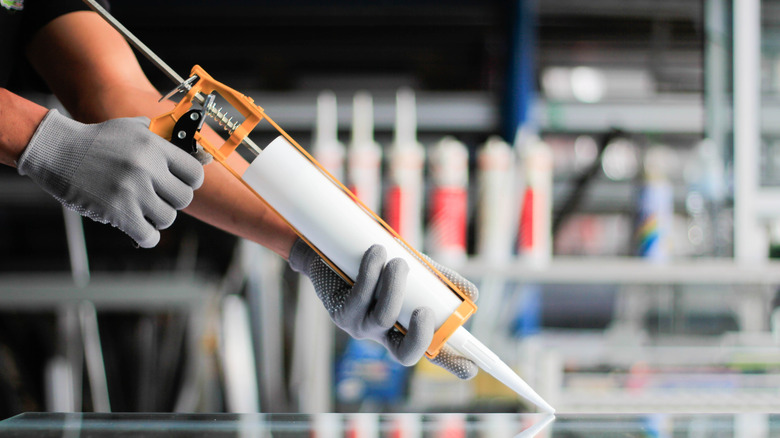
One of the beautiful aspects of a peel-and-stick backsplash is that it comes with its own, well, stick. You typically don't need to buy any specialty adhesive or bother with messy mortar mixes. However, some DIYers prefer to use some sort extra-strength of adhesive if the backsplash material is especially heavy, or if they'll be used in an room that experiences high levels of heat and humidity, like in the bathroom. The results of this are mixed, with some folks saying adding an extra layer of adhesive increased the longevity of the peel-and-stick tile project, while others say this was ineffective and made the tiles more likely to fall down.
Because the results are inconclusive, we recommend using the adhesive paneling that came with the tiles first. One advantage of this is that this adhesive covers the entire back panel of the tile. That makes it so the weight is evenly distributed over the entirety of the panel, not just a few spots. If you add extra adhesive to the original stuff, it may be incompatible with the material, which can cause gapping, lifting, and tiles falling. If you're truly committed to using an extra type of adhesive for this project, talk with a professional in your home improvement store to get their suggestions. Alternatively, you can try hanging a few pieces with different adhesive methods to see if any issues arise.


