Tips For Overwintering And Protecting Elephant Ear Bulbs
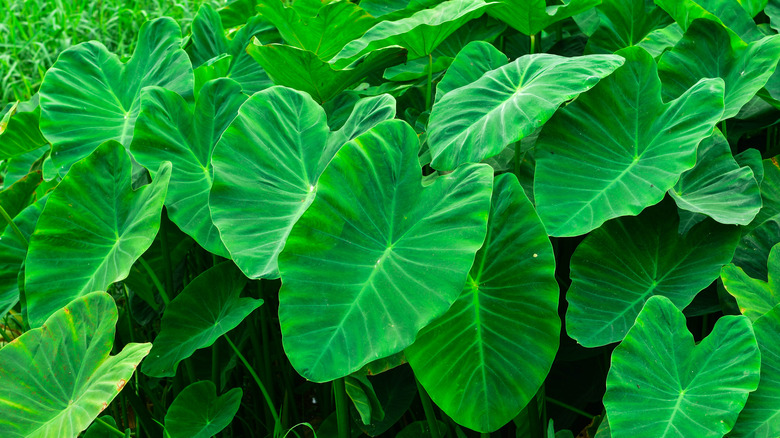
If you finally decided to plant elephant ear tubers this past spring, you may be wondering how to keep them healthy for next year as winter arrives. These tropical plants in the Araceae family make a great addition to your yard with their big, gorgeous leaves, but unfortunately, elephant ears aren't suited for the cold. For those who live in USDA zone 8 or higher, your plants will likely be able to survive outside, though they'll need some added protection. In colder climates, the bulbs of your plant will need to be removed from your garden, prepped, and stored for the winter; however, if your elephant ear is potted, you'll be able to relocate it indoors.
Before deciding how to overwinter your elephant ears, you'll need to determine what genus your plant belongs to — likely Colocasia, Alocasia, or Xanthosoma — and its species. While some can survive in zone 8, other types require an even warmer environment, making it crucial to know if your winter climate is the right temperature for your elephant ear. If you're certain your plant will survive outside, there are ways to help it through the chilly season. As it gets colder, your plant will enter dormancy, and its leaves will start falling off. At this time, you can trim back the stems a few inches and cover the base of the plant with mulch or yard clippings. This will help to insulate the soil until the plant re-enters its active growing period in the spring. For those below zone 8, your bulbs will need more help.
Preparing elephant ear bulbs for winter
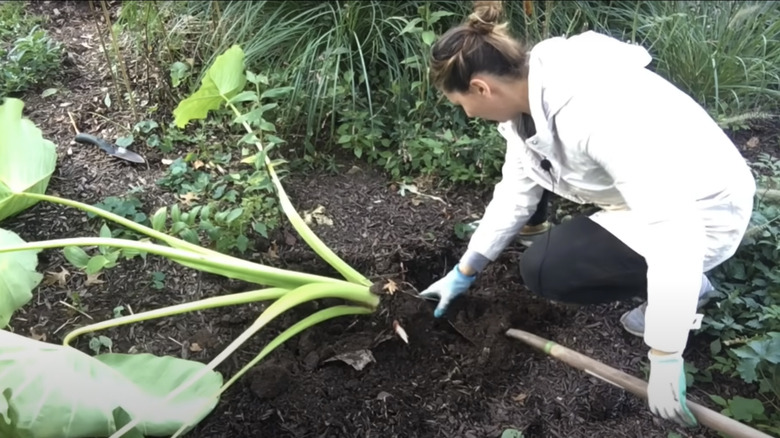
In places that experience winter frosts, elephant ear bulbs must be dug up and properly stored for the winter. Because elephant ears and their bulbs start to decline and may die in the cold, this popular plant needs to be overwintered before temperatures start dropping. Once it is in the 40s (Fahrenheit) outside and your plant is entering its dormancy period, it's time to dig up your elephant ear tubers. Dig up the bulbs by inserting your shovel or garden fork into the soil about a foot away from the plant. This will help prevent you from accidentally damaging the tuber, as any cuts could make it prone to rot. When your shovel is beneath the bulb, carefully pull it up from the ground. Now, you'll need to prepare the bulbs for winter.
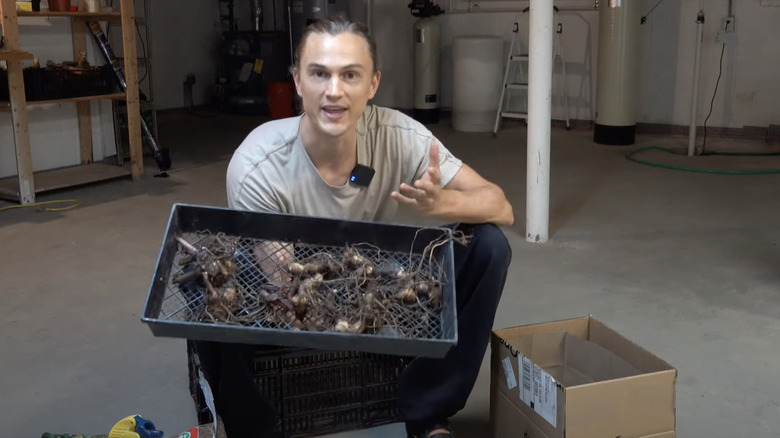
Rinse any dirt from the tuber with water, removing as much as possible to try to prevent issues with fungus later. Allow the bulb to begin drying in a dark, warm spot for a few days before trimming the leaves. Cut back each leaf individually so that several inches of stem remain when you're finished. This is to keep you from accidentally cutting the top of the bulb. Let your bulb finish drying in a dark area of your home with good air circulation for about a week. Finally, your elephant ear tubers will be ready to be stored away until spring.
Storing or relocating elephant ears
Once your bulbs have dried, you can either store them with paper or a natural material like wood shavings or peat moss. With paper, simply wrap up each tuber and set them inside a box together. Otherwise, you can place the bulbs into your box, then add peat moss around them, filling the spaces between each tuber. Your box of elephant ear tubers should be kept in a spot indoors that is dry and between 45 to 60 degrees Fahrenheit to keep them mostly dormant. Check each bulb for signs of rot or insects occasionally. With pesky bugs, you can use an insecticide, but rotted tubers need to be discarded. In the spring, your bulbs can be planted again so you can enjoy your beautiful elephant ear plants.
If you happen to grow your elephant ear in a pot, simply bring the plant inside once temperatures start to lower. Set it in a bright spot and keep the soil somewhat moist, though don't overwater, to continue successfully caring for your elephant ear plants throughout the winter. You may also want to prune all the leaves aside from the top two. With these tips, you can ensure your elephant ear bulbs or plant is safe from the cold this winter.


