Paver Patterns That Will Add Interest And Texture To Your Patio
Pavers make DIYing your patio low-stress and rewarding while adding a professional look of lasting elegance. With tons of different paver stone options to shape the look, it's easy and fun to get the style you desire to match your home. By incorporating a stylish pattern into your DIY patio paver project, you can further enhance the appeal for a gorgeous custom creation you'll adore for years to come. There are countless layouts to choose from, many of which almost anyone can create. These include basic stacked bond, running bond, basketweave, herringbone, and some additional randomized-looking patterns. In some ways, the hardest part may be choosing the style that works best!
Beginners can always fall back on the most essential of paver patterns, the stacked bond. Equal-sized pavers stack together with lined-up sides to form a checkered layout. It's clean and simple, offering versatility for nearly any patio shape and size. On the other hand, the plain-Jane arrangement can become boring. Plus, the lack of stability can make them shift more readily than in other setups, a key hazardous problem with patio pavers. Fortunately, it doesn't take much skill or extra time to boost the aesthetic with a few minor tweaks.
Simple paver patterns to add interest to your patio
Stretcher styles have rows of pavers to make installation easy but shift each piece to increase durability and interest. The running bond is a familiar version. The classic brickwork pattern offsets each row by half a brick's length, creating a look that works well in traditional or modern designs. You could also take this a step further with a one-third offset, shifting each row a third of a brick up from the one preceding it.
Want something a little fancier? Although they are more eye-catching than a stretcher, simple styles like basketweaves and herringbone patterns are hassle-free to pull off using only one paver size. Basketweaves consist of two rectangular pavers running next to each other to form a square. These alternate with squares made of bricks running the opposite direction (i.e., up-and-down vs. left-and-right). The approach works well for a traditional style, and you can add to the appeal with variations. For instance, you could place three rectangular pavers beside one another instead of two, or you could turn them to create a 45 degree angle. But for the strongest hold, the herringbone pattern is the paver pattern to choose. Herringbone paver ends butt up to the side of adjoining pavers to form an L, creating an attractive texture that lasts. Lay it at a 45-degree angle, and you'll create a stunning appearance that never gets old.
Leveling up with more advanced patterns and adding color
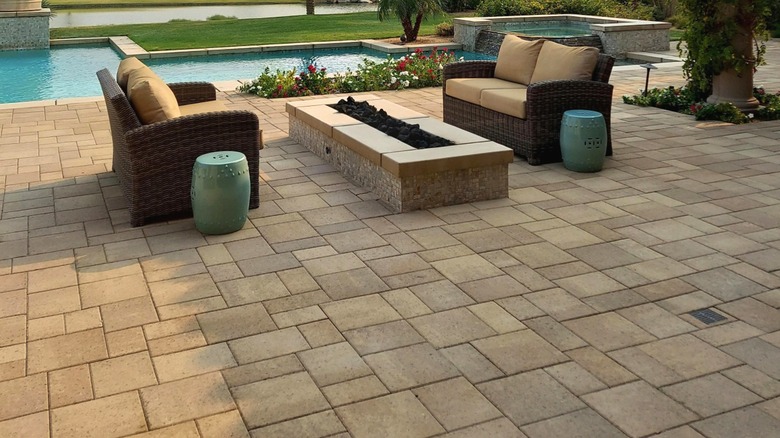
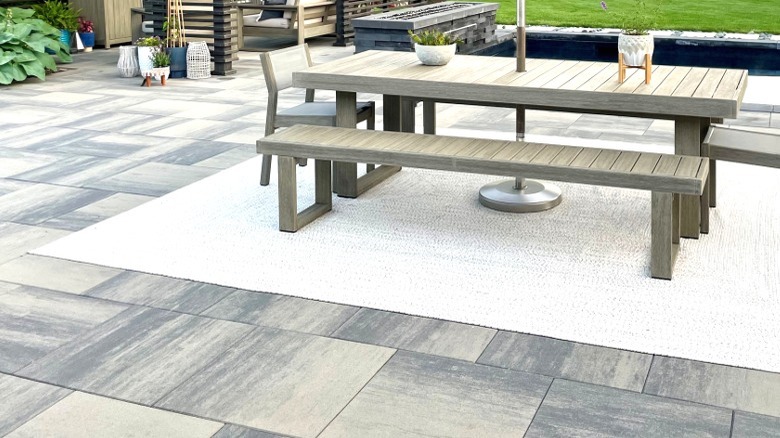
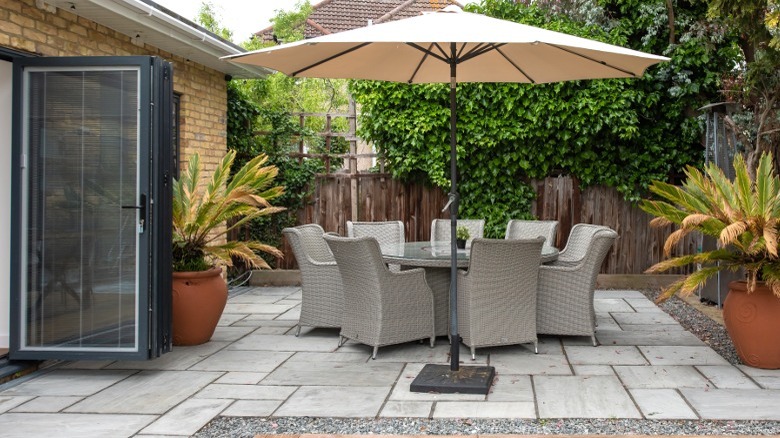
Getting the most appealing look for your DIY patio may demand pavers of different sizes. Randomized-looking patterns become possible with multiple shapes, or you can lay out unique patterns to make your patio a one-of-a-kind surface. You can get sets of two, three, four, or even more paver sizes for all kinds of opportunities. For instance, the soldiered look uses large squares framed by smaller squares and rectangular pavers. Meanwhile, a plain weave style uses three bricks — a larger square, smaller square, and rectangle – in an intricate yet easy-to-understand pattern. You could also do a more complex ashlar style to truly elevate your patio's design and provide a randomized look with a rustic feel. There are several different possibilities for placement with this pattern.
After figuring out your style, you have yet another chance to bring texture and life to your patio with color. Pavers of different colors will add interest and define the pattern, drawing the eyes of anyone who goes to the backyard. Pick the perfect paver color for your home as you would for any interior space. They can coordinate with other fixtures around the patio and home and with other outdoor paver projects to create cohesion. Mixing neutral and colored pavers is a safe choice. Or, you can create contrast in borders and accents to make the patio pop. Regardless of the look you want, all it takes is a little planning to pull off a beautiful, hassle-free installation.


