You've Been Sharpening Pruning Shears All Wrong
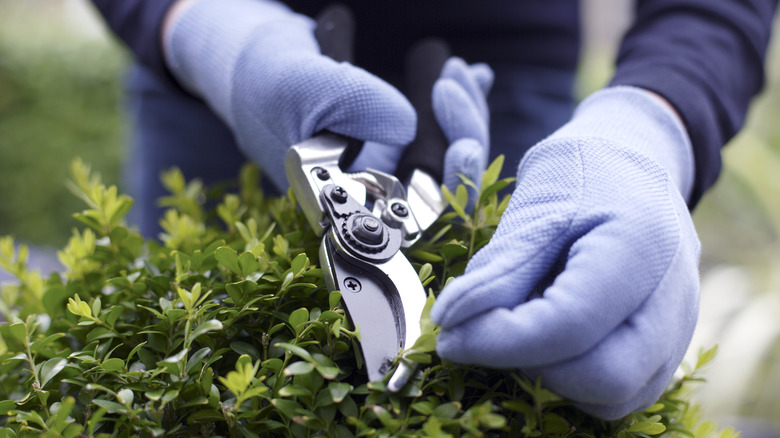
Pruning shears are an incredibly handy tool to have around when trimming branches, cleaning up greenery, and creating floral arrangements. They're typically fairly small and pack more of a punch than a plain pair of scissors, helping you more seamlessly cut through stubborn branches without having to utilize cumbersome equipment. After using your pruning shears for such a large number of projects, however, it's likely that they're not in the best shape. Constant contact with branches and stems will inevitably cause your pruner's blades to dull, but many people make one major mistake when sharpening that could actually completely ruing their pruners' cutting ability. Rather than sharpening both sides of the blade like a knife, you should only sharpen the side with a bevel.
The actual process of restoring and sharpening your pruning shears is fairly simple, but going about it the wrong way can cause you to create more damage than you started with. As long as you follow instructions, however, you should be able to ensure that these must-have gardening tools last for years to come. A simple online search can mean the difference between having to replace your tools every season and keeping them in your collection for decades, so this little bit of guidance can go a long way in helping you take your garden from drab to fab on a budget.
What to avoid when sharpening pruners
Before you get to sharpening, it's necessary to know how to clean and disinfect your gardening tools. You should be cleaning your tools after every use to help remove any built-up gunk, and, while there are plenty of different ways to go about this task, there's one thing that's important to remember: Water causes rust. Whether your tools are caked in mud that's trapping in moisture or weren't properly dried off before being placed back into storage, there's a high chance you'll be stuck with rust that deteriorates the integrity of the blade if you're not maintaining your tools properly.
When it comes to the actual sharpening process itself, the main mistake that many people make is sharpening a part of the blade that doesn't need to be sharpened. On pruning shears, the blade is flat on one side and beveled on the other, unlike most knives, which are beveled on both sides. You only need to sharpen the side of the blade that's already been sharpened. While it might seem like a blade that's sharpened on both sides will cut more efficiently, you're more likely to compromise the strength of your pruners and end up needing a replacement.
How to properly sharpen pruning shears
The first step in sharpening your shears isn't about sharpening at all — you'll want to begin by giving them a good scrub with some soap and water to help remove any residue, surface dirt, or stuck-on sap. Once they're sparkling clean, thoroughly dry them off to prevent the formation of rust and dip them in a solution of 70-100% isopropyl alcohol to further sanitize the surface and prevent the spread of any diseases between plants.
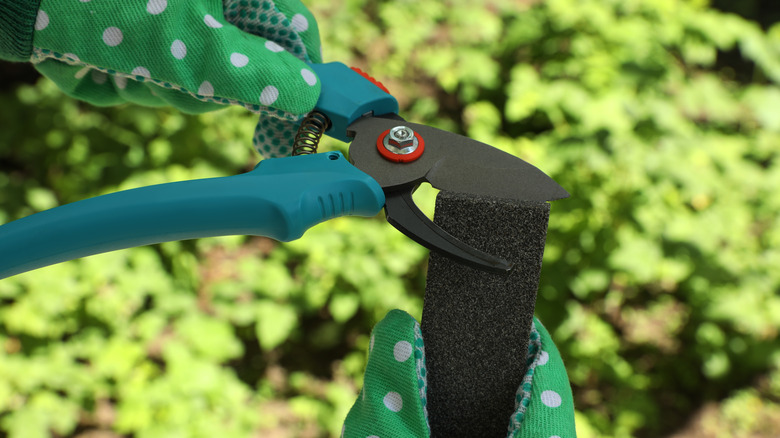
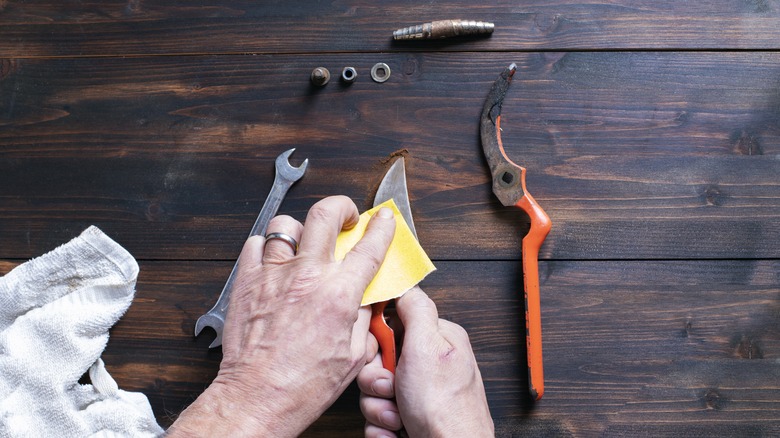
Next, it's time to get sharpening. You can either leave your pruners in one piece or disassemble them to make accessing the blade easier. If you're unfamiliar with how to sharpen a blade, splitting things up is likely the way to go. Make sure you're wearing hand protection and closed-toed shoes to reduce the risk of any cuts or nicks, then get to work with your flat file.
You're going to want to run the flat file along the blade at the same angle as the original edge, making sure to pay special attention to any nicks or bumps. This file gradually removes thin layers of material and help to resharpen the blade, but it should only be used on the beveled side. Once you're done, all that's left to do is test out your pruners and ensure they're sharpened to your liking.


