Transform An Old Blanket Into A Seat Cushion You'll Cherish Forever
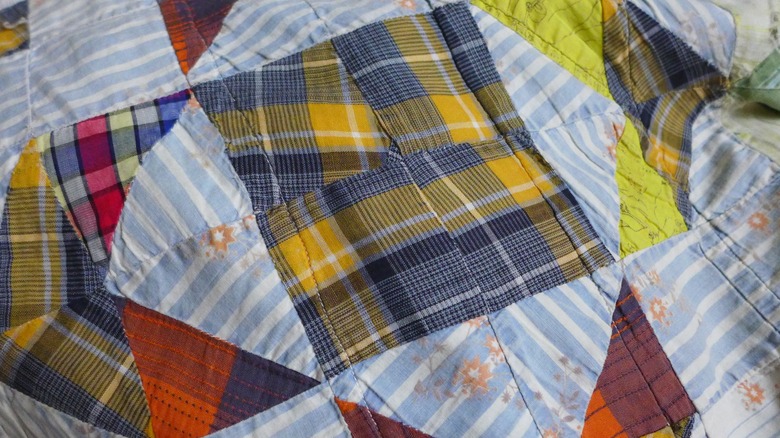
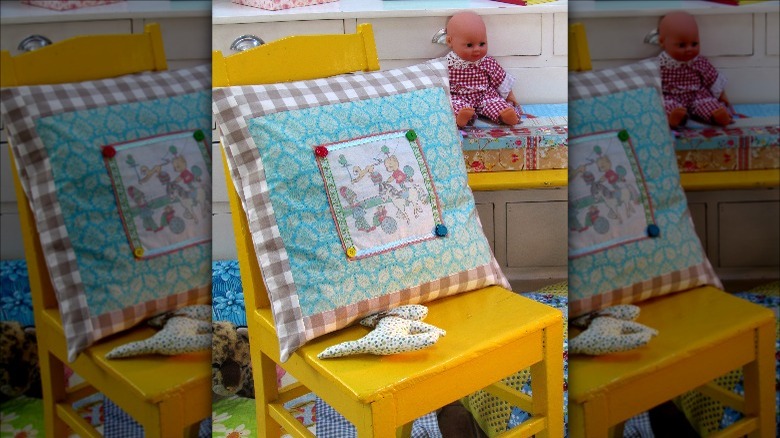
If you're lucky enough to have crafty loved ones, you probably have a blanket or two that they pieced together skillfully with you in mind. The more loved the blanket has been over the years, the more likely it is to be in a state of disrepair. Getting rid of the tattered coverlet is out of the question, so how can you elevate it from its worn state to something special? Salvage the best sections of it and stitch it into a seat cushion. This DIY works best for quilts and other blankets made out of woven fabric, rather than ones that are knitted or crocheted, and its ribbon ties are meant to go around the spindles and arm rests of a wooden chair.
All you need is the beloved blanket, some scissors, pins, wide ribbon, and polyester stuffing. This is a clever way to repurpose old cushions for stuffing, too. If you have a sewing machine, load it up with a thread that matches the blanket's material. For old-fashioned hand-sewing, grab a needle, thread, and a thimble. Even without a sewing machine, hand-sewing the short seams for this DIY is easily manageable.
It's also a practical way of dealing with sentimental items when you're decluttering, giving important objects a new purpose. If you're worried about taking the shears to your long-adored blanket, keep in mind that you'll enjoy it more in its new display-worthy form than you would if it were still packed away. If you don't have a blanket to transform, a piece of clothing like a sports jersey can also stand in for a blanket.
Crafting your cushion from an old blanket
Start by choosing a chair that will hold this cushion; you'll be basing your pattern on the dimensions of its seat. Measure and mark the seat dimensions onto a piece of paper. If you don't have large sheets of paper, you can repurpose a paper bag by cutting it open into a large sheet. Cut the paper to the size of the seat, and use it to cut two equal-sized pieces from the blanket.
On the paper pattern, mark where you'll sew on ties for the back spindles and arm rests. Using the pattern, mark on the fabric where you'll be sewing on the ribbons. With the side of the fabric that will be on the outside of the cushion facing up, place ribbon pieces on the spots you've marked for the ties. Set the other fabric piece face-down on the first piece, and sew the front and side edges together. Stitch just far enough on the cushion back to hold the ribbons. Turn the cushion inside out, and fill it with stuffing. Fold in and pin the opening, and hand-sew it closed.
If you don't have a blanket that fits the bill for this DIY, most of us have cloth items from times in our past. They sit in drawers, too precious to part with but also occupying valuable storage. Candidates worthy of cushion-conversions should be thicker fabric; instead of your high school senior T-shirt, pick a sweatshirt, a heavy jersey, a terry cloth towel, a jacket, or even a sentimental tote or backpack.

