Convert A Cube Storage Organizer Into A Chic Cabinet For A Stunning DIY On A Dime

We may receive a commission on purchases made from links.
Seasoned DIYers know almost any furniture piece can be transformed into something new, offering loads of potential that's seemingly only limited by our imagination. The more bare-bones, the better. Simple constructions are blank templates we can throw our creativity behind to make unique pieces perfectly adapted to our style and needs. And it doesn't get much more basic than a cube organizer shelf! From building a backpack organizer to creating living room storage, these can factor into countless projects. As the YouTube account freshcupofjoy details, you can even repurpose your old cube organizer into a stunning cabinet with a bit of wood, hardware, and fabric.
The build incorporates an old Walmart organizer, like this Better Homes & Gardens 4-Cube Storage Organizer, but any similar square can work. As you can see, this style has thicker walls than many other cube organizers. It's an important consideration, as you'll have to drill into the edges to attach the cabinet doors, which may be challenging with thin walls. With your cube built and ready, you only need some lumber and decorations to complete your DIY cabinet.
Tools and materials for assembling your cube storage cabinet
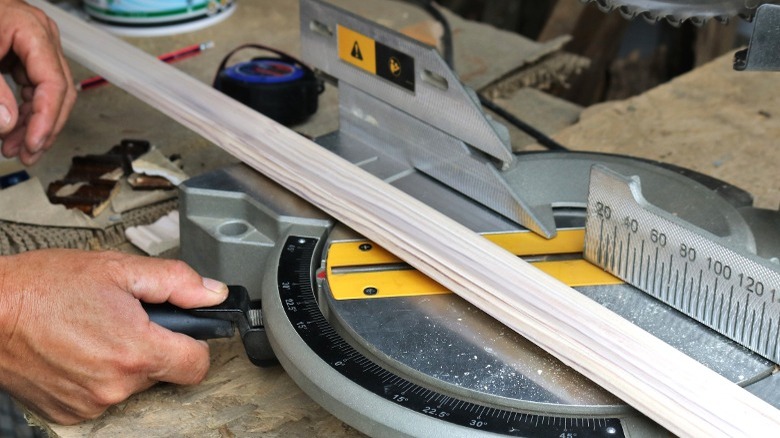
To build your DIY storage cabinet, you'll need wood 1x2s, 3/4" wood screws, corner braces, hinges, knobs, and cabinet legs. The Walmart cabinet measures roughly 30 inches wide by 30 inches tall, so you'll need two 8-foot 1x2 boards. You can buy pre-primed or natural wood, but watch for finger joints that might distort the shape. For tools, this project will require a miter saw, drill, and staple gun to attach your door fabric.
You'll also need sandpaper, primer, and paint to prep your organizers and door frames. Choose a paint color to match your interior aesthetic, and grab a roll of painter's tape if you want to make fun, geometric designs. Meanwhile, the doors can take almost any treatment, whether you want to use the burlap shown in the video or another patterned fabric. Here's another great place to save money using old materials, like a repurposed shower curtain or bedsheet. The cube organizer will set you back, but in terms of the other pieces you'll need for this DIY storage cabinet, everything can come in under $30.
Build a stylish cabinet from a cube storage organizer
Start your cabinet build by cleaning, sanding, priming, and painting your cube organizer. Cut your 1x2s into door frames, joining the pieces with mitered edges. You can then attach your corner braces at each corner of the door to hold the pieces together. Or, you could first put wood glue on the joints and clamp the frames until the glue dries. Doing so will create a stronger hold and make it easier to install your corner braces. You'll also have a tighter seam between the joints, potentially saving you from caulking the gaps to fix the look. Paint the doors, and install your fabric cover on the interior side with your staple gun.
Measure your hinge placement for the cabinet and the matching points on the doors. Attach the hinges to the doors first, and test the fit on the cabinet to ensure there's a small gap between the doors so they open and close easily. Mark your hinge positions on the cabinet walls and install them. Now, all that's left is to choose your cabinet handles and legs, opting for those that give your cabinet the desired height. Attach the legs to the base by pre-drilling holes and inserting a bolt to attach to the supports. Finish up by attaching door catches (like these magnetic JQK catches), and you're ready to fill up your latest DIY storage cabinet!