Add Texture And Charm To Blank Walls With A Flexible Molding Diy
We may receive a commission on purchases made from links.
Got an empty wall in your living space? Don't search for accent wall ideas just yet because you can add texture and charm to plain walls with just a few materials. A series of TikTok videos by the home DIY expert Olive & Oak Home demonstrates the steps to creating unique arches that merge effortlessly with the surrounding wall and infuse the space with contemporary flair. The TikTok creator uses flexible molding tape for the arches and incorporates a mitering technique to make the corners as seamless as possible. The final touch is to paint the molding tape the same color as the wall and then decorate the interior of each arch with a framed photo and wall-mounted light.
The best part of creating gorgeous DIY wall decor is that it can be totally customizable to suit your personal style. Once you have the important steps and materials, there are many ways to play with this wall decor idea to make it entirely your own. For example, you can take an entirely different approach to curating the interior of each arch by using live plants, picture ledges, and decals. If you're looking for ways to create an accent wall without painting it, this DIY is worth trying.
Create stylish wall decor with flexible molding tape
The TikToker used this flexible molding tape from Amazon for her project (around six strips in total), so leave room in your budget for several rolls. You will need precision tools for mitering the corners, wood filler, a sander, caulk, and paint in the same color as your wall. Installing the arches will require two-inch Brad nails and a Brad Nailer.
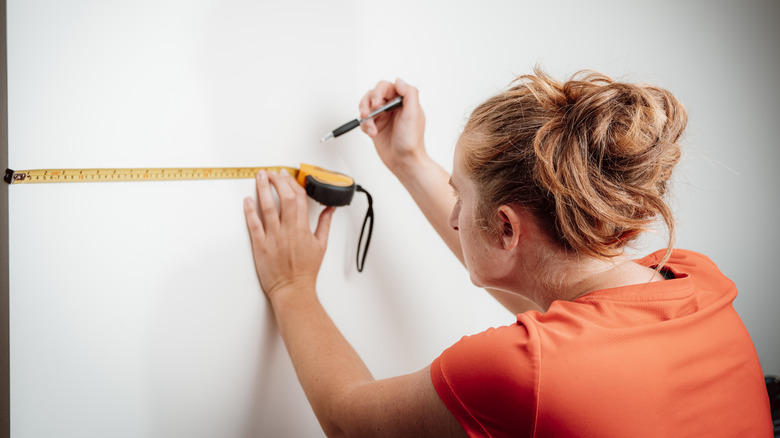
Though the video makes it look effortless, getting these wall arches to look just right takes some skill. First, it's essential to space them apart evenly using a measuring tape. In a separate video, the TikToker explains she used painter's tape to mark the placement of each arch and set them one foot apart, with two feet of empty wall space on either side. The wall in the video is 15 feet wide and 9 feet high, and the arches are roughly 35 inches wide and 44 inches tall. If the dimensions of your wall are different, modify your design accordingly.
To create the arches, the TikToker says she essentially created the bottom part of a rectangle and a rounded top, mitering the corners to achieve a seamless angle. Mitering corners can be a tricky process and you may need additional supplies to make those precision cuts. The TikToker explains that for this project, every corner was cut at a 45-degree angle, then sanded and filled with wood filler to get the seams to disappear. She used a Brad Nailer and two-inch Brad nails to install the tape, then caulked and painted it the same color as the walls to make the arches appear integrated.
How to decorate your wall arches
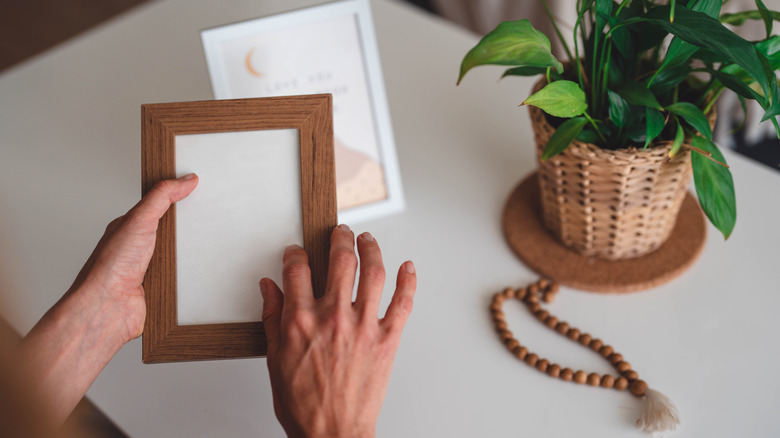
Once your arches are complete, the fun part of decorating can begin. To recreate the look in the TikTok video, purchase black frames that are 24 inches wide and 36 inches tall, and place a set of decorative prints, artwork, or photos inside. For simplicity, the TikToker installed battery-operated lights above the frames, eliminating the need for hardwiring.
There are many ways to decorate the interior of your arches depending on the design theme of your living space and preferred aesthetic. Instead of frames, you may opt to fill the empty space with stick-on decal prints or decorative wallpaper. As an alternative to a traditional picture frame, consider a picture ledge instead. IKEA's online store has a wide selection of affordable picture ledges to suit any taste. This way, you can curate a row of framed art or photography in various sizes instead of having to choose just one piece for each. Another option is a live element, such as a few small wall planters in each arch. Those with a creative eye may curate each arch differently, with a combination of plants, prints, and photos in gallery-style.

