The Easy-To-Use Product That Makes Moving A Light Switch So Much Simpler
We may receive a commission on purchases made from links.
If you've ever tried to move a light switch more than a few inches in a finished wall, you understand just how set-in-stone home wiring can be if you're not willing to knock holes — sometimes many holes — in your walls. A Chinese company called Thinkbee has solved the problem about as simply as it can be solved.
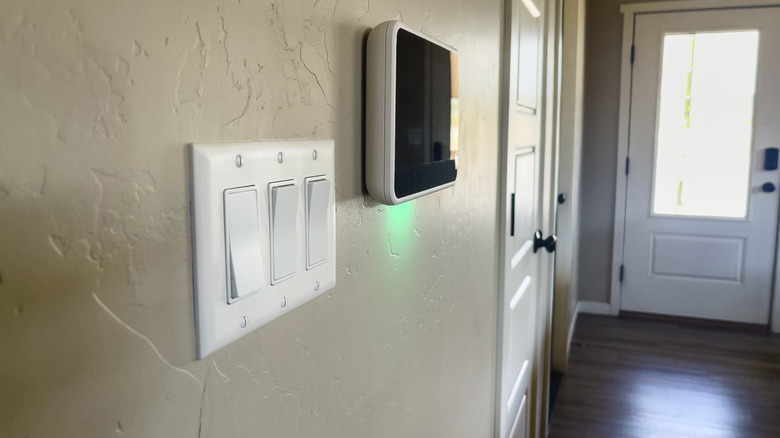
Designer Erin Zubot (@erinzubotdesign) posted on Instagram about her need to move a light switch to a wall that couldn't hold an electrical box, and how the Thinkbee Wireless Light Switch and Receiver Kit was the perfect solution. All that's required is to remove the old switch, connect the receiver where the switch was, and put a blank cover plate over it. Then pair the Thinkbee switch with the receiver and stick the switch to ... well, whatever you want to stick it to. The current model will work up to 328 feet indoors and as much as 1,969 feet outdoors. Paired with multiple switches, the Thinkbee will function like a three-way switch. The only limitation is that you won't be able to use Thinkbee with wireless lights like the ones in our DIY wireless wall sconce hack.
While the Thinkbee devices are wireless, they don't use Wi-Fi, but the 433 MHz UHF band. The IP66 waterproof devices can be used in damp places like bathrooms, laundry rooms, and outdoors. Thinkbee is careful to call this a light switch, and for good reason. The receiver is rated for 10 amps — less than even the smallest circuit breaker in a home. So don't plan to install one of these switches to operate something like a space heater, unless you're positive it won't pull more than 10 amps.
Installing the Thinkbee Wireless Light Switch and Receiver Kit
Installation is similar to replacing a wall switch. After turning off your breaker, you'll need to un-wire the light switch and connect the hot and neutral wires to one side of the receiver, and the two hot wires that lead to the light fixture to the other side. The wire colors used are confusing for the U.S. market. Typically, you'll connect your black hot wire to the device's red wire, and your white neutral to the blue Thinkbee wire that's paired with the red. Both of the wires leading to your light should be either black or marked black with ink or tape. These connect to the remaining brown and blue wires on the receiver. If you feel at all unsure of this process, hiring an electrician to install the receiver will ensure everything is up to code, and likely still cost a lot less than getting the existing switch moved.
Next you'll pair the receiver to your switch. Press the function button on the receiver for two seconds, then release it. Immediately press the switch panel, and the devices should pair. Then simply tuck the receiver into the electrical box, cover it with a blank wall plate, and stick your switch in place.
Note that a neutral wire is required, and one might not be present in some homes, depending on how the light switches were wired. If one is not present, as is the case with switch loop wiring, check at the light fixture itself. If you have a neutral there, the receiver can be installed at the fixture rather than at the old switch location.