Build Your Own Barnwood Kitchen Countertop For A Rustic Vibe

We may receive a commission on purchases made from links.
Barnwood has few equals if you're trying to infuse your kitchen with rustic decor. Barnwood is essentially reclaimed wood from century-old homes and barns, and it gets its innate rural aesthetic from long decades of being subjected to use and the elements. One of the ways to use barnwood in the kitchen is to fashion a new wooden countertop — an easy enough DIY task as long as you take the proper steps to prepare this reclaimed wood.
Barnwood requires special preparation for the very same reasons that give it its characteristic look. Thanks to the effects of time, the wood is often somewhat deformed, and its surface may be unclean. What's more, since you're not sure how the wood was used in the past, it may have nails or other fasteners stuck in places where you don't see them. You need to rectify these imperfections carefully so as not to eliminate its one-of-a-kind character in the process. Then, the process is as simple as gluing the boards together, finishing them with a sealant, and installing them in place of your existing countertop. Below, we'll walk you through the entire process of creating and installing a barnwood kitchen countertop from start to finish.
How to prepare the reclaimed wood
Before you do anything else with your barnwood, take a metal detector and thoroughly scan all the boards. The last thing you want is to start working on the wood only to run into rusty old nails or staples, as these can damage your power tools or injure you if you don't see them. If you find any nails, pull them out of the boards before proceeding. Then, use a wire brush to clean the reclaimed wood and vacuum up any residue produced in the brushing.
While the decades-long aging process imbues barnwood with its one-of-a-kind rustic character, it also causes the boards to warp a bit. Since you're planning to build a countertop — one with a nice, smooth, even surface — you'll have to do your best to get rid of this warping. Not only will straightening out the boards help you create a functional and level countertop, but it will also help the boards bond together when you glue them. The more contact area you allow between each plank, the more robust the bond between them. You'll need a planer for this task. First, figure out which side of each board is better to even out. Then, run the boards through the planer, one by one, until each has one smooth, level surface. Next, use a track or table saw to cut the narrow edges, creating 90-degree angles that facilitate good contact between the boards when you glue them. While you're at it, make sure the boards are all cut to size so that the final product — once you glue it together — will fit the required dimensions of the countertop space.
Steps for building and installing a barnwood countertop
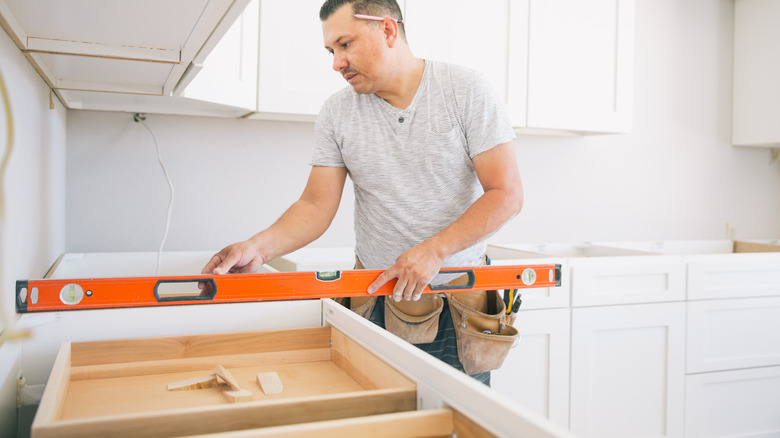
With all your boards ready, you can glue them together and clamp them to make sure the adhesive bonds well. Once the wood glue has had enough time to dry, you may find that some gaps remain between the boards. You can either opt for wood filler or mix wood adhesive with sawdust and use the mixture to putty over the gaps. Once the mix dries, sand the treated areas down gently. Now, you need to protect your wood countertop from moisture by sealing it (this process can be used to give it the desired color). Tung oil and polyurethane (Seal-Once Nano Penetrating Wood Sealer provides a waterproof, durable clear seal) are both acceptable sealant options since they're food-safe after curing. Finally, bring the newly built countertop into the room where you plan to install it and allow it to acclimate there for at least three days.
Once you're ready to install, the first step is to prepare the counter space. Remove all drawers, doors, and any items that may get in the way of installation. Your appliances, sink, and plumbing lines should also be disconnected and temporarily stowed elsewhere. The only item remaining should be the cabinet framing that will soon support the new top.
With the installation area ready, apply wood glue (Gorilla Ultimate Waterproof Wood Glue is a good option) to the top edges of the cabinet framing. Then, place the countertop you've built on top and secure it to the frames with clamps. Allow the glue sufficient time to dry, then remove the clamps and caulk the counter edges with silicone. Finally, reinstall the sink, any appliances, and plumbing lines, and your barnwood countertop is ready to enter service.