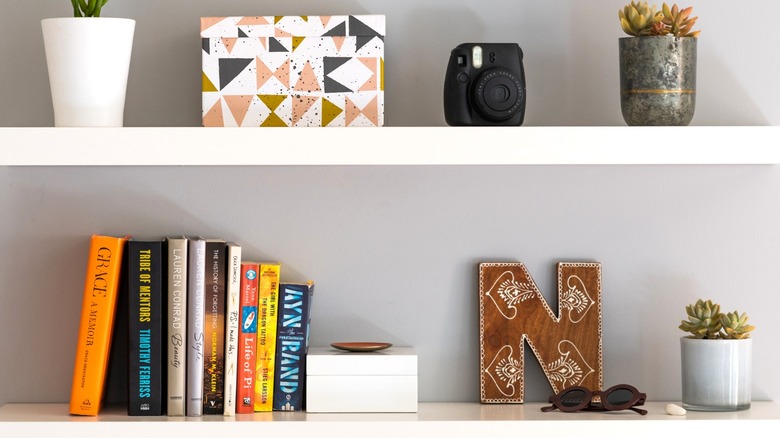
Add Style & Extra Storage To Your Living Room With A Stunning IKEA Hack
We may receive a commission on purchases made from links.
IKEA's LACK shelves take the guesswork out of adding attractive, sturdy storage to your living room walls. Level and install a holder, slip on the shelf, and you're up and running with a bracketless look that adds a clean style to your aesthetic. But if you think the possibilities for these user-friendly additions begin and end with a series of stacked floating shelves, you're underestimating their potential — and the creativity of avid DIYers. Case in point: TikTok user @miztermiller flipped the idea on its head (or side, rather) by reimagining shelves as sides for a custom floating design that can be a centerpiece in your room's decor.
With four LACK shelves of similar size, you can create a floating frame with top and bottom horizontal pieces and two side walls. The shelves come in three lengths (43 ¼"-inch, 74 ¾-inch, and 11 ¾-inch). Since they're all the same depth, you can mix and match different lengths into square or rectangular frames to fit your wall space. You can also add extra shelves as you wish. Decide on how you plan to style your floating design so you can find the ideal arrangement. Once they're installed, you can begin decorating!
Putting together your floating LACK shelf
Before building your floating shelf, it helps to know the limitations of this hack. The vertical sides of the frame connect to the outside edges of the horizontal top and bottom pieces. But the IKEA LACK shelves have MDF veneers over a honeycomb paper core, leaving little room for fasteners. YouTuber Gosforth Handyman dissected one to show its internal construction, and the only places to connect fasteners are the corners, where there's a narrow block of particle board. With this in mind, attach 3 to 4 double-head nails (like these ZEYIYER models) at each side of the horizontal shelves at the front-facing corners. Afterward, apply wood glue to reinforce the connections. Tap each vertical side piece into horizontal pieces, driving the nails until they're tight against the edges. You can also apply glue to the edges before inserting the nails so it can then seep into the holes and bond the fasteners to the particleboard.
Now you need to secure the two brackets for the top shelf and bottom shelves at the desired heights and attach the frame to them. If you can't drill into a stud, you'll need to use wall anchors for mounting into drywall. Toggle bolts like these options from Swpeet disperse the weight for a reliable hold. Use a level to position the brackets, screw them into the wall, and attach your floating shelf. You can also enhance the stability of the frame by attaching brackets for the vertical side pieces as well.
Creating a design to suit your style
From here, you can add additional shelves to the interior of the frame. Attach horizontal ledges of the same length with mounting brackets to span the gap between the vertical sides. In @miztermiller's tutorial, he leaves the interior open and adds a large painting, letting the bookshelf frame it. For added function, though, you can stack 11 ¾-inch LACK shelves against either side of the frame, creating symmetry while still leaving space in the center for hanging artwork. These smaller units also work wonderfully as dividers if you mount them vertically between shelves to make DIY storage cubes.
While the LACK's simple style is versatile, you can make your shelf seamlessly fit your color scheme with a fresh coat of paint. Just be sure to follow the process for painting IKEA's furniture surfaces. You can even pull off a natural wood look with some savvy painting techniques, as YouTube channel House Ganda demonstrates. With one clever IKEA hack, living room storage gets a seriously eye-catching upgrade!

