Simple Ways To Waterproof Your Outdoor Wood Storage Box
We may receive a commission on purchases made from links.
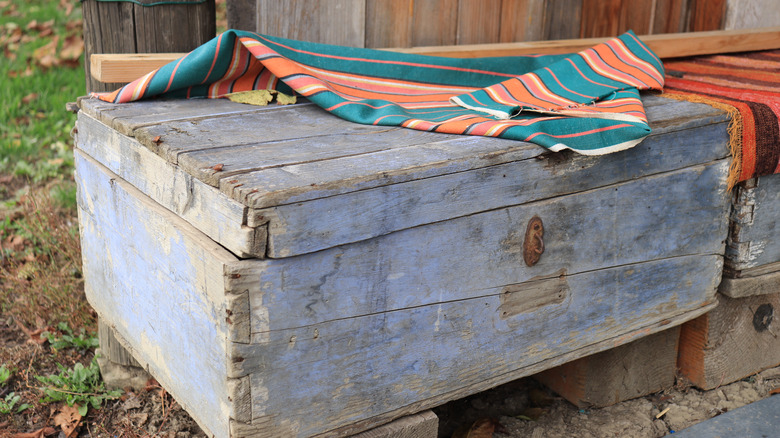
An outdoor storage box ranks high up on the list of essential backyard furniture. Functional and practical, it's the perfect solution for storing outdoor cushions, mats, garden tools, or other backyard paraphernalia, saving you the trouble of hauling them indoors at the end of the day. If made of durable materials, it can also transform into extra outdoor seating space.
But just like all the other beautiful outdoor patio storage, it's important to ensure its resistance to the rain, snow, wind, and extreme heat it constantly gets exposed to. It goes without saying that it's best to weatherproof all your outdoor furniture — and your outdoor storage box is no exception, especially if it's made of a material that's not naturally waterproof, like wood. Fortunately, waterproofing it with the help of varnish, felt roofing, or rubber weather stripping is a task you can easily carry out yourself on most storage boxes.
Before tackling any of the waterproofing methods above, ensure that your outdoor storage box is clear of any external damage. Clean the interior and exterior surfaces with a cloth or sponge dampened with a mild dish soap and water solution, rinsing it with water when done. Alternatively, a solution made from equal parts of water and vinegar can limit damage to wood without compromising on its cleaning performance. Make sure that the box has completely dried before proceeding.
Clean and prep surfaces before varnishing
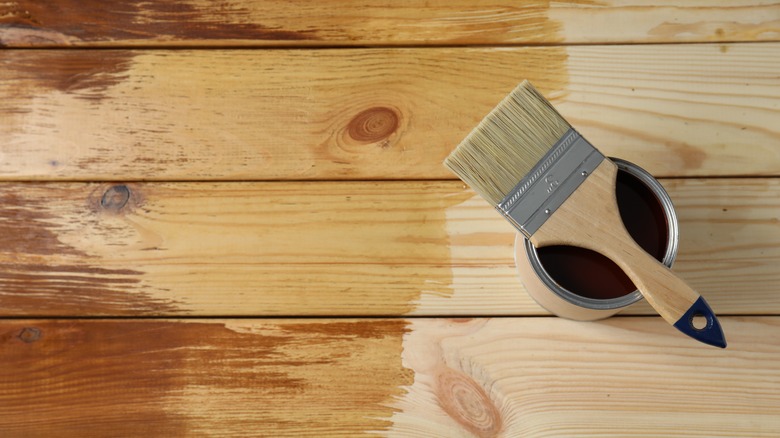
Mainly used for nautical settings, marine varnish not only waterproofs your outdoor storage box, but gives it a protective layer from harsh UV rays, prevents wood rot and warping, and generally makes outdoor furniture last longer. You can purchase marine varnish for under $30, like this can of Old Masters Spar Marine Varnish from Amazon for $27, or Rust-O-Leum Spar Varnish from Walmart for $24.
Start the varnishing process by taking 180-grit sandpaper to its surfaces, sanding in the direction of the grain to even out any rough spots and pave the way for a smooth and seamless first coat. After lightly wiping away the dust with a tack cloth, apply a mix of ten parts marine varnish to one part thinner evenly to its surfaces. Wait it out for another 8 to 16 hours before another course of sanding, remembering to swap out your previous sandpaper with a 220-grit one for a glossier finish. Remove the debris once again with your tack cloth before laying down another coat of varnish. It's recommended to apply varnish a minimum of three times, but aim for four to six coats to ensure a proper and efficient seal on the wood, allowing the requisite drying time in between coats.
Felt or rubber weather stripping
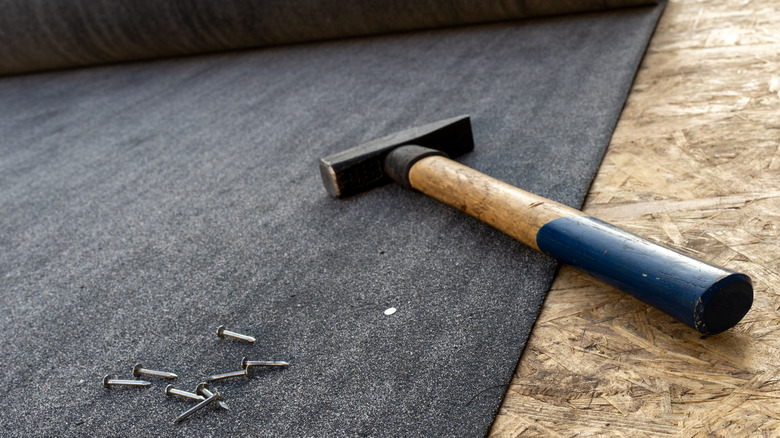
Another way to waterproof your outdoor storage box is by covering its lid with roofing felt, an affordable and lightweight material commonly used for outdoor sheds or roofs as a barrier against water leaks. You can get a roll of Interwrap Roofing Felt on Amazon for $96. The felt should cover the entirety of your storage box's lid, with an additional five centimeters added to each side as a trim. Fold the felt along the top edges and secure it along the side of the lid with 13mm clout nails. For clean corners, make a small cut from the corner edge outwards, creating two flaps. Tuck one flap underneath the other, and secure it in place with a nail. Trim the excess felt with a box cutter. You can also add a wood trim along the sides of the lid to secure the felt in place.
Lastly, you could also apply a weathering strip along the edges of your outdoor storage box's lid or frame, with the goal of sealing the gaps between them. The process is similar to weather-stripping doors and windows to keep cold air out. Take a roll of rubber weather stripping — these Neoprene Rubber Strips on Amazon are affordable at $11 and come with adhesive backing for easy installation — and test fit it along either the inside of the lid or the outside of the frame. Cut the rubber strip to its precise length, then firmly press the adhesive side along the lid or frame.