How To Safely Get Rid Of An Unused Dryer Vent & Patch Up Your Wall
We may receive a commission on purchases made from links.
Once you get past their weight, appliances are generally straightforward to move as you rearrange your home. Unplug them, and they're ready to roll. Until you get to the dryer, that is. Not only do you have an electrical outlet or gas line to contend with, but once you take out the vent outlet, you'll also have a massive hole to seal. But this isn't just a simple drywall patch job. You'll need to fill the interior and exterior holes, which can be daunting — but is absolutely necessary if you want to keep the draft and neighborhood critters out of your home.
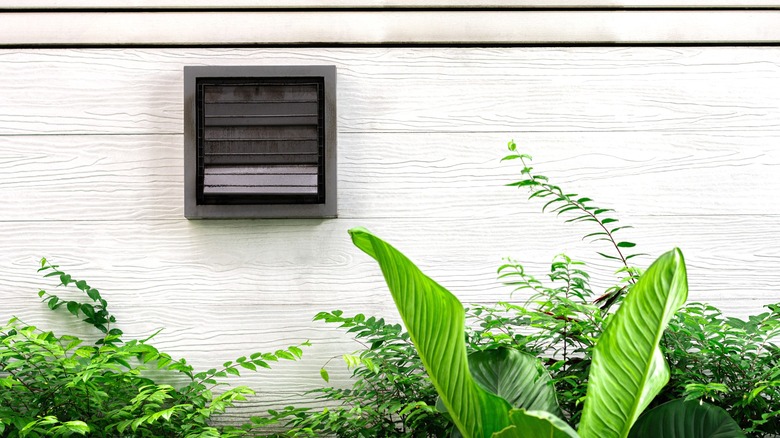
Before all that, though, you need to take your dryer vent outlet out of the wall. Unplug the appliance and remove the flexible vent tube. With work gloves on, detach the exhaust cover on the exterior wall by removing the screws at the corners. Some ports will also have silicone caulk around them, which you can cut out with a utility knife. Now, pull the cover off. Sometimes, it's built into a single piece along with the tubes — in this case, the metal tubing might easily slide out as you pull it off. If your duct is surrounded with insulation, cut it away with a knife to loosen the unit. With the vent cover and tubing removed, you'll have an empty hole to fill on the interior and exterior sides of the wall.
Cover the old vent exhaust port
Since you'll need a few supplies to fill the hole, cover it with a metal mesh (e.g., lath screen or hardware cloth) or fill it with steel wool to temporarily seal out any rodents or bugs until you can make your repairs. The vent hole will be at least 4 inches in diameter, so you can't simply pack in joint compound for a reliable fix. Still, there are a few options for quick and easy drywall repairs. The simplest is a California patch, which YouTube channel Make It Work demonstrates using only a spare piece of drywall and some joint compound (above).
Alternatively, you can use a furring strip as wood backing to hold the drywall patch in place. Get a piece of scrap wood about 1 to 2 inches wide and at least ½-inch thick. It should be longer than the diameter of the hole so both ends can sit behind the intact drywall. Center the wood vertically in the hole and attach it to the wall with drywall screws. Use a countersink bit to rest their heads below the board surface. Now, cut a patch out of your spare piece of drywall and screw it into the wood brace to cover the hole. Tape the edges (tip: adhesive mesh tape is easier for DIYers because it prevents unsightly bubbles). Smooth a few layers of joint compound over the patch with your putty knife, letting each application dry for at least 24 hours. Finish by sanding and painting.
Patch your exterior wall to make a dryer vent outlet disappear
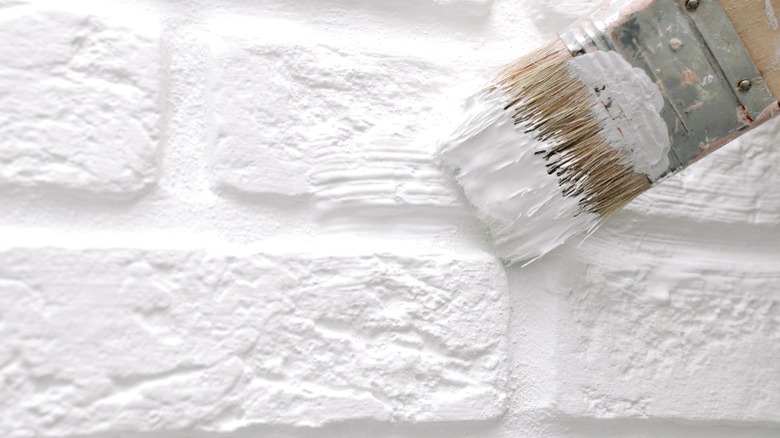
Your approach to repairing the exterior wall will vary depending on its construction. But before you can fix the hole in your siding, you'll need to patch the openings in your wall's internal insulation and sheathing layer. With these out of the way, get to work on the outer wall. Among siding materials, stucco and painted brick are, in some ways, some of the simplest to repair. For these, you can fill the hole with concrete and smooth it flush with the surrounding surface. Fake the look by adding texture and, if you're patching brick, drawing mortar lines. Once the concrete is dry, apply paint to cover the patch. If you have unpainted brick, though, you'll have to remove the surrounding blocks. A grinder will work quickest, but you can also chip out the old brick and mortar with a chisel, as YouTuber Wes Hamstra demonstrates. You can then lay fresh materials to fill the gap.
If you have vinyl siding, you'll need a new piece to match your exterior. Unsnap the old piece, pull the nails from the top, and snap and nail the new piece in place. YouTube channel HouseImprovements details the process, which is relatively uncomplicated to complete with basic tools. Wood siding is a bit easier to repair, especially when painted. You can cover the hole by gluing in a spare piece of wood and covering the area with acrylic latex caulk. Add texture to match the surrounding area, paint the patch, and you're all set!

