Your Bathroom Will Never Be The Same After Trying A Shower Stencil DIY
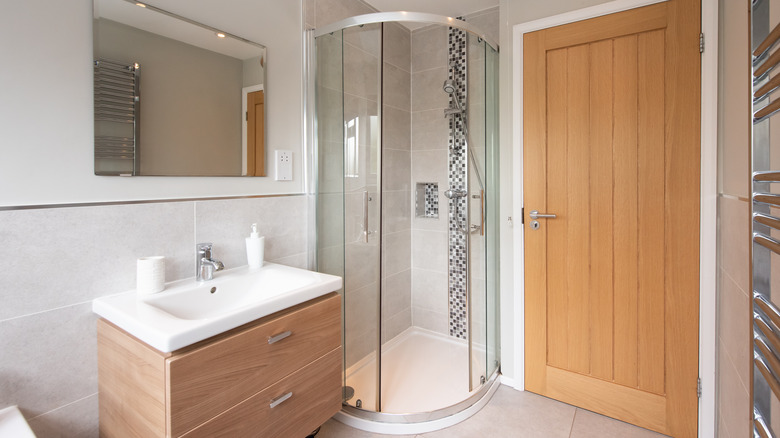
When the words "bathroom makeover" come to mind, most people usually think of an expensive project that includes new tile, lighting, or countertops. But it's fully possible to give one of the most important rooms in your home a facelift without the high price of a bathroom remodel: a DIY shower stencil!
Stenciling a pattern onto your glass shower door is a great way to bring your personality and home decor style into the bathroom. Plus, it's easy and requires just a few things, which include a large stencil, paint, a foam paint roller (one usually comes with your stencil), a paintbrush, painter's tape, drop cloths, and sealant, to give this often-overlooked space a new look. When picking your stencil, consider an allover stencil. These stencils are specifically designed to cover large spaces, making it easy to consistently match the pattern for a professional look.
How to DIY stencil your shower door
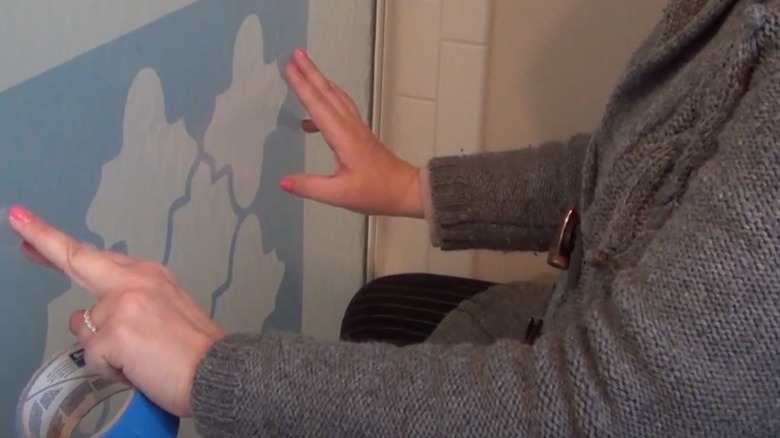
When you're ready to start this weekend DIY, gather your supplies and spread the drop cloths out in front of your shower. Use painter's tape to line the shower door frames and any other areas that might get smudged. Next, decide where to start your stencil on your shower door. Starting at the bottom left corner and working over, then up, will help you easily keep track of the pattern as you move the stencil. Now, attach the stencil to the door with painter's tape, ensuring it lies flat. Dip your foam roller lightly in paint. Keeping it on the drier side will ensure the paint dries quickly and you can easily move the stencil without smudging. Apply the paint over your stencil, pressing evenly to distribute the paint equally across the surface.
Once the stencil is covered in paint, gently lift it up, line it up with the next area, tape it down, and repeat. Continue until the entire shower door is painted, then let it dry. If it looks like the pattern needs another coat after it has dried, add a second layer, or use a small paintbrush to touch up as needed. If your stencil pattern has 90 degree angles, a square paintbrush is great to get sharp edges. Or, if you want to just clean up the borders, a paint marker is a great option. Once you're happy with how the pattern looks and it is completely dry, use spray-on sealant to make sure your artwork lasts.
What is the best paint to use for a shower stencil DIY?
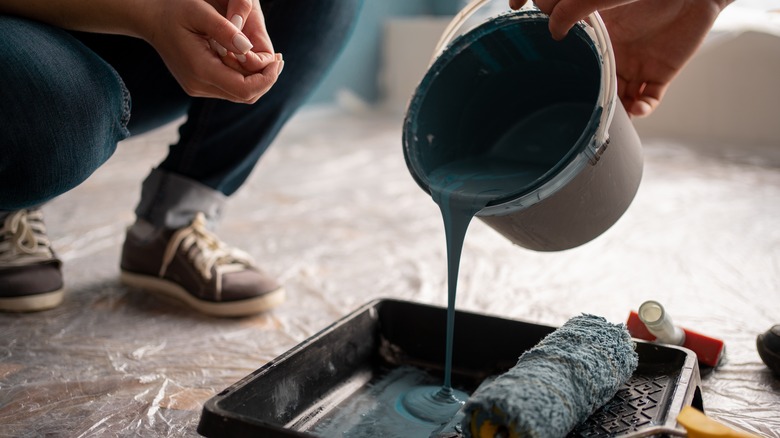
There's a lot of different types of paint out there, so how do you know which one you need for this bathroom DIY project? Because this project is painting on glass, regular paint meant for walls doesn't have the necessary chemically-tight grip and can make a mess when exposed to the water and humidity common to bathrooms.
Instead, acrylic enamel paint is a great choice because its unique mixture means it can resist water and humidity, making it ideal for bathrooms and showers. Glass paint or acrylic glass paint are also good options because they are chemically engineered to ensure they adhere to non-porous surfaces. To make sure your project is even more water resistant, look for paints with a gloss finish , as they're capable of repelling water, preventing mold, and creating a smoother surface to wipe clean.