The Hazardous Problem With Paver Patios You Should Mitigate From The Start
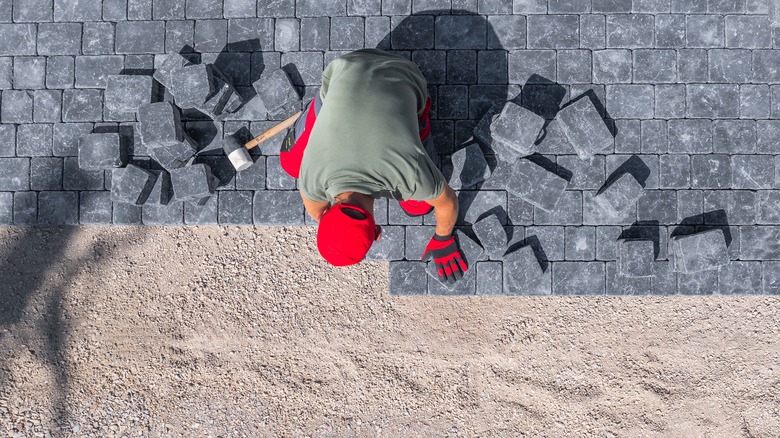
When you want to improve the look of the landscaping design around your home, creating a DIY paver patio gives the space an immediate boost. However, this project involves more than simply laying a bunch of stones side by side and calling it good.
If you don't take some preparation steps for creating your paver patio, you may notice some stones popping upward and out of place over time, whether from weeds growing in between them or from poor drainage that causes some stones to sink. They also may shift, causing gaps to appear between the stones. Eventually, these uneven pavers can create a significant trip hazard. If you're lucky, you might only stub a toe against a slightly raised stone. If a particular raised stone wiggles as you step on it, you could lose your balance and roll an ankle. In the worst-case scenario, you could trip and fall on the unforgiving surface and suffer major injuries, like soft-tissue injuries, broken bones, or a concussion.
The key to avoiding a trip hazard with paver patio installations is to focus on creating a sturdy base at the start of the project. The more time and care you put into the work at the beginning before you lay the first stone, the better results you should have over the long term with avoiding trip hazards. With the sturdy base in place, you can focus on the aesthetics, such as creating a checkered color pattern in your DIY paver patio design.
How to prepare the ground to safely create a paver patio
The first step in creating a safe paver patio area is preparing the subsurface properly. If you have uneven ground underneath the pavers, they could wiggle out of place while you're using them. Situations where you have exposed or growing tree roots underneath the patio stones eventually cause them to pop out of place. To cut out underground tree roots, use a hand saw, reciprocating saw, or lopping shears.
The key to ensuring a sturdy base layer is to excavate the site to at least a 12-inch depth. For those who have soil that drains well in climates where the ground never freezes, a 6-inch depth may be enough. Depending on the square footage of your patio paver layout, you may want to use power tools, like a skid steer, to remove the dirt efficiently. Otherwise, you can always use muscle power, a shovel, and a wheelbarrow.
Some people may already have a concrete patio, and they want to lay paver stones over the top to improve the look. This is a simple paver DIY project — as long as the concrete underneath is level. If you have a heaving concrete patio underneath, the paver stones are not going to be level, which could lead to a trip hazard. You will want to repair concrete cracks by applying a patching compound before you put down the paver stones. If the concrete is in terrible shape, you may need to completely remove it with a jackhammer.
How to create a level base for your DIY stone paver patio
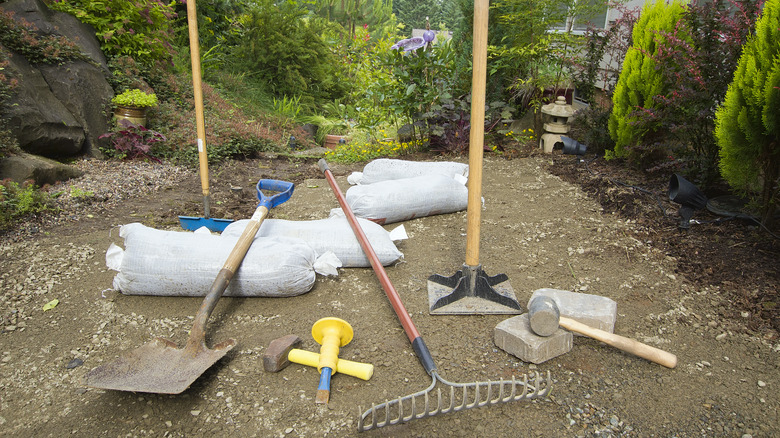
After excavating the space, you can move on to the steps required to create the base for an affordable DIY patio with pavers. Compacting the base properly is vital to giving the paver stones the ability to support the weight of patio furniture and people without sinking or heaving, which causes a trip hazard.
Start by using landscape rakes to remove any remaining stones or debris inside the excavated area. You then should use a manual or power compactor to compact the soil as much as possible. You probably only need to manually compact the area unless vehicles will be driving on the finished paver patio, which means you should use a power compactor. Put down a layer of gravel or crushed stone, which creates a stable base for the pavers and enhances drainage. This layer should be at least 3 inches deep. You'll want to compact the gravel layer, too. As you create this layer, make sure it has the proper grade (or slope) to help you divert rainwater away from your home.
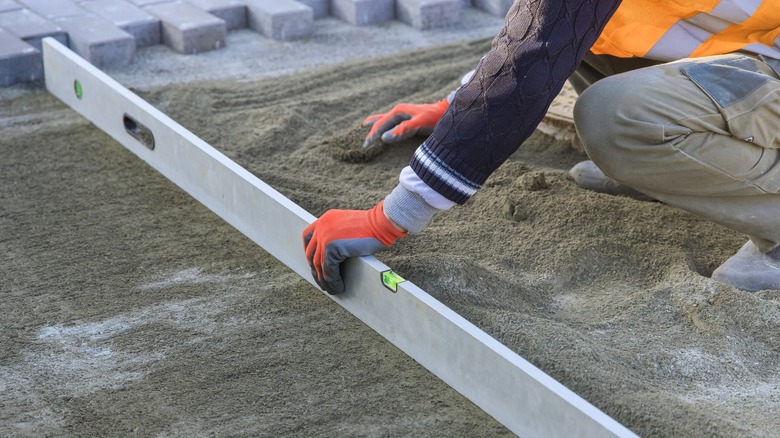
Next, add a sand layer that fully covers the gravel. Drag a board or long level across the sand layer to be certain it follows the grade you want for the paver patio stones. The sand will naturally fill in around the gravel, creating a sturdy base. Finally, you can begin laying the pavers over the sand. You can place plastic edging or edging stones around the perimeter to help hold everything in place.