The DIY Shelving System That Turns Any Closet Into A Dream Storage Space
We may receive a commission on purchases made from links.
Are towers of blankets and towels ready to avalanche out of your closet? Does it look like your closet doors are working overtime to hold everything inside? A walk-in closet with every item neatly organized and easily accessible may seem like a dream. The good news is, it doesn't have to be. Adding shelving is a practical way to expand your storage space, and if done right, can look super high-end. With the right tools and a little planning, you can DIY a shelving system that turns any closet into a dreamy storage space.
The best thing about building your own shelves is that you can customize the size and arrangement to suit your needs. The DIY closet shelves shown by @thenavagepatch on TikTok demonstrate how simple materials like spare lumber can help you make the most of any walk-in closet, pantry, or storage room. This approach is definitely a good idea if you have a tight renovation budget, but want to achieve an upscale look. By covering pine framing with MDF and plywood @thenavagepatch constructed sturdy floating shelves that look generously thick.
To create the same closet shelving system, you'll need some pine strips, MDF wood, plywood sheets, a measuring tape, power drill, pocket screws, wood filler, caulk, construction adhesive, and paint. You can find plywood and MDF panels at your local hardware (The Home Depot sells 4-by-8-foot MDF panels for $48.99 and plywood panels for $49.88). Don't have a saw to cut everything to size at home? Outlets like Lowe's and The Home Depot might be able to make the cuts for you.
How to build your own shelves with pine framing
Like TikTok user @thenavagepatch, you'll want to start by completely removing everything from the closet, then measuring and marking the spaces between your shelves from the bottom up. Now is the time to determine the amount of space you'd prefer between each, such as more space between shelves reserved for larger items.
Next, cut your pine strips to size and mount them to the wall to create frames for the floating shelves, using your power drill and pocket screws. Feel free to customize how you do this step, too. Depending on the closet dimensions, you can create L-shaped shelves, U-shaped shelves, or a combination of both. Cut and glue your MDF and plywood panel pieces to the top, bottom, and exterior sides of each shelf frame, placing the MDF boards on the sides that'll see less wear. Then, use wood filler and caulk around the corners and sand smooth.
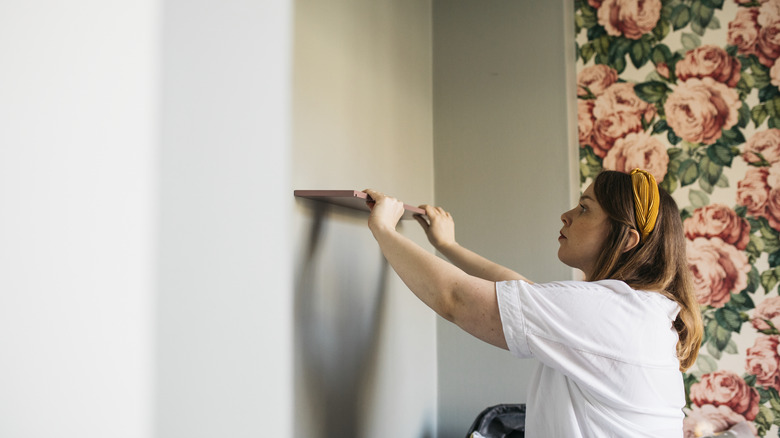
You can paint the shelves a bold color (or the same color as the wall for a monochrome look) or cover them in peel-and-stick wallpaper. If you want to make the project shine even further, add new lighting for a complete closet transformation. Install shelf lighting to accentuate shoe and accessory storage, or mount an attractive overhead fixture. The last step, of course, is repacking everything back, so here's how to organize closets the smart way.