Easily Label Your Fabric Storage Bins With These Nifty Tricks
We may receive a commission on purchases made from links.
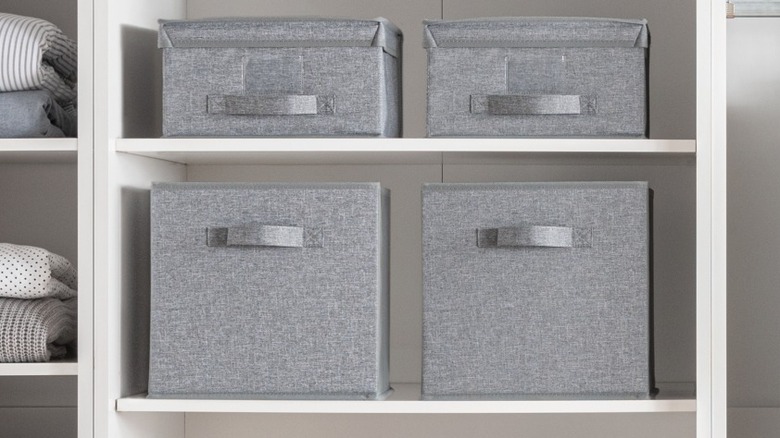
Pretty colors and lovely textures make fabric storage bins an attractive way to organize. We don't mind having storage bins sitting out for all to see when we've made an effort for them to look good. After going through all the trouble to find fabric bins that catch our fancy, we want to get the most out of them without making them look cluttered or damaging the material. If you're considering fabric bins for home storage but are worried about making them last as long as possible, these two ideas for tagging without snagging are worth considering. If your bins have handles, you can either loop customized labels around them or tie labels to them with twine. Dust off your printer, Cricut, label maker, or just scissors and a marker for these easy labeling tricks that help you get the most out of your fabric storage bins.
While easy-to-read labeled bins are a smart organization habit to help you declutter your home, labeling fabric containers without damaging them is difficult. That's why these tricks are so helpful, as the labels can easily be replaced without causing any damage to the bin. However, for these ideas to work, your basket will need to have a front-facing handle. If it doesn't, you could attach your labels over the top lip of the bin with a binder clip. If you're not concerned about damaging your bins, they could also be connected to the containers with safety pins.
Making and attaching your labels
The first option is to make customized tags that wrap around the storage bins' handles. This sturdier option has the potential for longer life, since it's laminated and less likely to catch on things as a hanging tag. These can be made with a Cricut. You'll create a cross-shaped form with a large horizontal face and two smaller tabs on the top and bottom. The horizontal face will display the lettering, while the vertical tabs will fold over and attach together at the back of the bin's handle with packing tape. Finish off the project with a layer of laminate adhesive, like the RowinsyDD Self Adhesive Laminating Sheets, on each side of the tag. If you don't have a Cricut, you could cut out the cross shapes yourself with scissors.
However, if you're looking for a simpler solution, the lowest-effort way to alert eyes to fabric bins' contents is with hanging tags. Paper gift tags are inexpensive and are available in tons of styles. You'll simply choose the ones you want to use and hang them with twine from your bins' handles. You could purchase the Primbeeks Premium Gift Tags for a simple option or go more custom with ones in a shape, like the G2PLUS Craft Scalloped Gift Tags in bright colors. If you want a longer-lasting option, purchase the N+B Chalkboard Tags or Dollar Tree's Crafter's Square Galvanized Metal Tags that you can write on or upgrade with an adhesive label. Also check out this genius way to make chic home labels without a label maker — you could use this trick on your gift tags.
