Add Texture And Charm To Plain Walls On A Budget With A Subtle DIY Spackle Design
We may receive a commission on purchases made from links.
Texture is an amazing way to spice up otherwise boring walls. It adds visual depth, instantly calling our eyes to attention. It's an especially great method of enhancing your space if you're not a massive fan of vibrant colors or bold patterns. You can easily DIY a subtle yet beautiful textured design to elevate your walls with spackle. Spackle is a paste typically used to repair holes in drywall, but in this case, the material is used to create a repeating textured pattern on the wall, kind of like 3D wallpaper. The finished product is a unique way to add texture to your home – and all for under $50.
For this project, you'll need spackle, stencils, painter's tape, paint (optional), and a putty knife. You can find spackle at your local hardware store for roughly $5 to $15. The design's style all depends on the stencil, so naturally, this is where you can really have fun with the look and show off your creativity. For just $10, try QSZKeer's Wildflower Stencils, which are perfect for a delicate botanical look, or WODICY's Mandala Stencils, which are fabulous for a more intricate, abstract style. Or create your own stencils to customize this DIY and make it even more budget-friendly. Just print a pattern you love onto stock paper and use a crafting knife to cut out the design.
This look is great for creating an accent wall without paint, but it also works on canvases to make some fun textural artwork or furniture and trims for hints of pattern. It's easy, inexpensive, and gorgeous — a win-win-win.
How to create a textured spackle wall design
First, you'll need to prepare the spackle. The drywall paste is usually premixed and an off-white color. You can add a little paint to the spackle to incorporate bold color in your design if you wish. A similar shade to your current wall paint will keep this design minimal and charming, but a varying darker or lighter shade, or a different hue entirely, creates contrast and increases the depth of the design. However, paint is optional. You can always paint the finished stenciled design once it dries if you think it needs a pop of color.
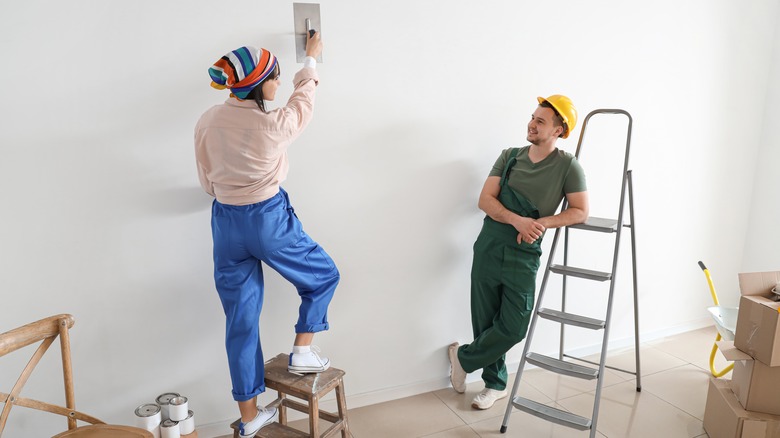
Next, use painter's tape to attach the stencil to your wall. Make sure they are lined up evenly. If you're nervous, shade the stencil in with a pencil first to test the design before going in with the spackle, and make any needed adjustments accordingly. Once the placement passes your inspection, use the putty knife to smooth a thin, even layer of spackle over the stencil. You only need enough spackle to fill your design — you don't want a super thick layer.
Once it dries, carefully remove the stencil and you'll have your first 3D sticker. If it's uneven, don't worry — that adds character, but if it bothers you, use a sanding block to even it out. Then, repeat the stencil and spackle process across the wall. Place the textured detailing randomly, around windows and doors, as a stripe, or however your heart desires. To enhance the design even more, add a glossy finish, gold leaf, or paint to the spackle.
