How To Install Gutter Guards & Why You Might Want To
We may receive a commission on purchases made from links.
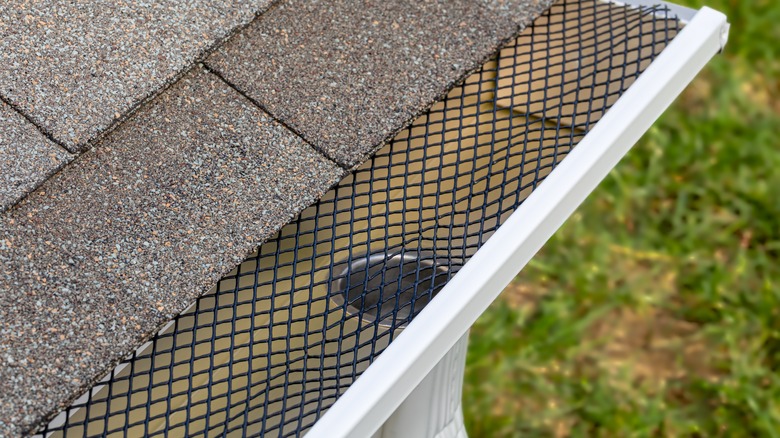
Gutter guards are designed to minimize maintenance, reduce gutter cleaning mistakes, and keep you off the roof as much as possible. These devices act as a debris shield of sorts when installed on top of gutters, keeping items such as leaves from accumulating and causing blockages. Without guards, debris piles up in your gutters and rainwater no longer has a clear path for reaching the downspouts. Neglecting to clean your gutters exacerbates this condition and causes the water to flood the perimeter of your home and damage the foundation. Likewise, blocked gutters often lead to problems with the roof, soffits, and fascia, as well as a greater potential for pest infestations.
Clearing gutter blockages is a hazardous and tedious task that requires you to go up on the ladder and manually remove the debris. By fitting guards, you're making gutter maintenance much easier. The guards serve as barriers that don't allow debris, like leaves, twigs, and feathers, to make it inside the gutter, while letting rainwater flow freely in. That's not to say your gutters no longer need maintenance — they still do, but your efforts are limited to occasionally brushing (or pressure-washing) junk off the guards.
Despite all their benefits, gutter guards only work when they're fitted properly. To make sure the job gets done right, it may be wise to call a professional to install the guards for you. However, if you feel confident in your DIY abilities, you can attempt attaching them to the gutters yourself by securing the mesh screen to the outer edge of the gutter system and the shingles above it. Below, we'll show you how.
How to prepare for gutter installation
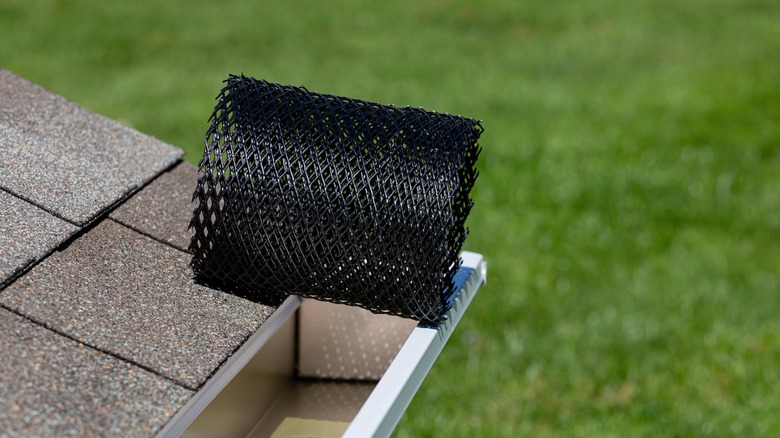
Preparing for gutter guard installation involves choosing the ideal guard type, assembling the necessary equipment, and cleaning the gutters thoroughly. Gutter guards come in several forms, and the cheaper ones usually comprise flat plastic or metal screens that still allow smaller items through the mesh. Meanwhile, full guards like this Raptor Gutter Guard have their screens configured to block all debris from entering the gutters, but typically cost a bit more.
Once you've landed on the best gutter guard, it's time to assemble the rest of the gear needed for installation. To perform this task, you'll need a ladder, protective equipment, like gloves and goggles, and a gutter cleaning scoop like this one from Amerimax Home Products. You'll also have to check the gutter guard manufacturer's instructions for specific tools required to affix the guards to your home.
Finally, get up on the ladder and really clean the gutters well. Make sure the ladder is properly secured and someone on the ground is there to help you out if needed. Then, having removed the larger items (like branches or leaves) with your hands, use the scoop to clear out any remaining debris. Also, take this opportunity to fix any portions of your gutter system that are damaged. With the gutters clean and in good state of repair, you can begin installing the guards.
Steps for installing gutter guards
The exact installation steps differ depending on the type of gutter guard you bought, so be sure to read and follow the manufacturer's instructions. That said, the process typically involves securing the lip to the gutter, then sliding the screen in between the lip and the roof shingles. To start, measure the guard system and cut it to size, so that it fits individual gutter runs. Then, affix the lip (i.e. the horizontal rail that secures the screen at the bottom) to the outer edge of the gutter. Typically, the rail should clip onto the gutter's edge. Once you have the lip installed, you should be able to slide the screen between the lip and the roofing material above the gutter. Then you can repeat the same procedure for each portion of the gutter system.
Some gutter guard systems come with two rails — one for the front and another for the rear gutter edges. In this case, you should attach both rails, then slide the screen between these two components. In places where the gutter guards meet, you'll have to overlap the screens. The best practice is to have at least a 1/2-inch overlap, although your manufacturer may well specify a different dimension.
Now, if the roofing material is bonded to the roof's base layer, you won't be able to slide the top edge of the screen under the shingles or tiles. In this case, you'll have to bend the screen, then use screws to fasten it to the gutter or the fascia above it. Likewise, you can use screws to secure the screen at the outer edge of the gutter.


