Protect Your Hydrangeas During Cooler Weather With A Simple Mulching Tip
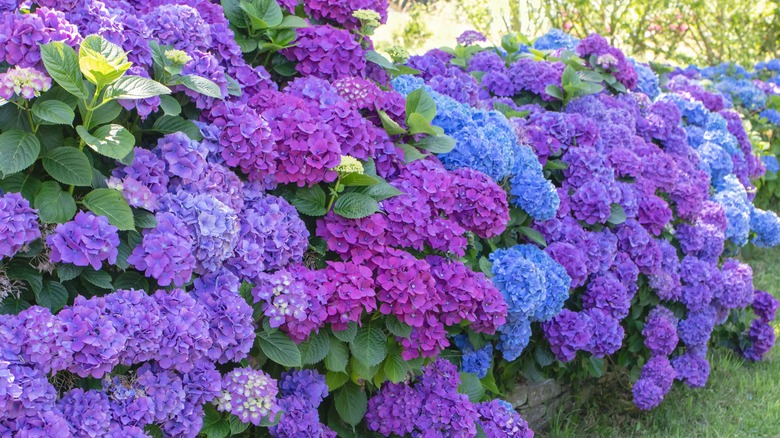
Lush hydrangeas bring life to any garden as long as they are properly taken care of. Unfortunately, growing and caring for hydrangeas becomes particularly difficult during the winter months because cold temperatures will ruin the plant if you do not take the proper precautions. You can protect the plant from the winter frost with the help of mulch. All you have to do is spread a 6-inch layer of it down around the base of the plant. The mulch acts as much-needed insulation that helps the roots remain around at the same temperature rather than fluctuating along with the weather. This helps preserve the health of the plant because it does not have to struggle to adapt to temperature changes.
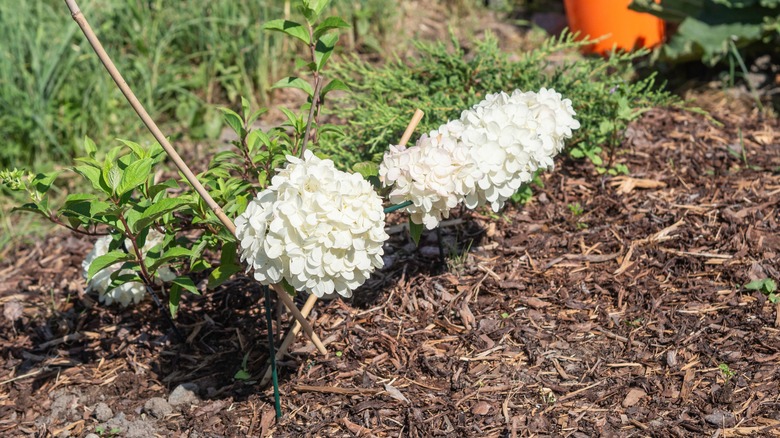
If you are preparing to try this hydrangea care tip to help achieve successful blooms, avoid using decorative mulch. Fine bark mulch or leaves are a better option. This Bark Mulch for Landscaping would be a great choice for those who would like to use fine bark. Once you have your mulch on hand, you can easily lay it out on your soil following a few simple guidelines to ensure that your hydrangeas are protected all winter long. You can then look forward to welcoming beautiful, healthy blooms when the weather warms up.
How to use mulch to protect your hydrangeas from freezing temperatures
You need to ensure you add mulch to the base of your hydrangeas within the appropriate time frame. This task should be completed at the start of winter. If you add the mulch during fall in an attempt to get ahead of your gardening chores, you may end up doing more harm than good. The mulch can actually cause diseases or rot if it is placed over the soil while the weather is still warm. It can even attract pests that roam around near your garden during the warmer months.
When adding mulch to your hydrangeas at the start of winter, pour 6 inches down on top of the soil around the plant. You can loosely lay burlap over the mulch if you are worried that harsh weather may scatter it around. Just be sure to secure the burlap it place so that it does not get swept away with the wind. That is the final step in this incredibly simple process.
The only other reminder to take note of is that you need to remove the mulch at the start of spring right before the weather warms back up. Make this part of your yearly spring hydrangea prep. If you do not like the look of mulch in your garden, feel free to consider other insulation methods. Setting up a tomato cage around your hydrangeas and filling it with leaves works great too.