We Turned Dollar Tree Scarves Into Cozy Throw Pillows With This Simple DIY
We may receive a commission on purchases made from links.
Each year as the weather cools, interior decor transforms to warm the home from the inside out. Comfy blankets, furry rugs, and flickering candles fill the living room and bedrooms. Before holiday decorations take over my house, I like to ease into fall and winter with subtle touches. Throw pillows are items that I find easy to swap as seasons change. They add new color and festive designs to current furnishings with no major upheavals. This year, I'm feeling the plaid vibe. There's something jolly in this lumberjack-esque design that evokes thoughts of snow-covered trees and crackling fires. While printed pillows are an easy find at any home outfitting store, I didn't want to spend a fortune. Luckily, YouTuber The DIY Mommy had the answer.
Using discount store plaid scarves and rectangular stuffed inserts, this innovative crafter sewed stylish cushions straight out of a winter wonderland. The process looked so easy and affordable — I had to try it myself. These throw pillows will take your sofa from fall to winter using a Dollar Tree scarf or one you have lying around the house from last year. Check out how to make your own decorative pillows on a budget, and learn how mine turned out, with this simple sewing DIY.
Shopping for supplies and prepping to sew
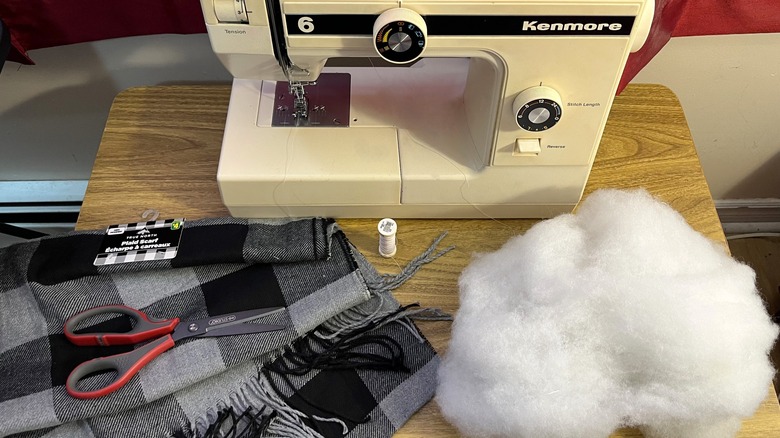
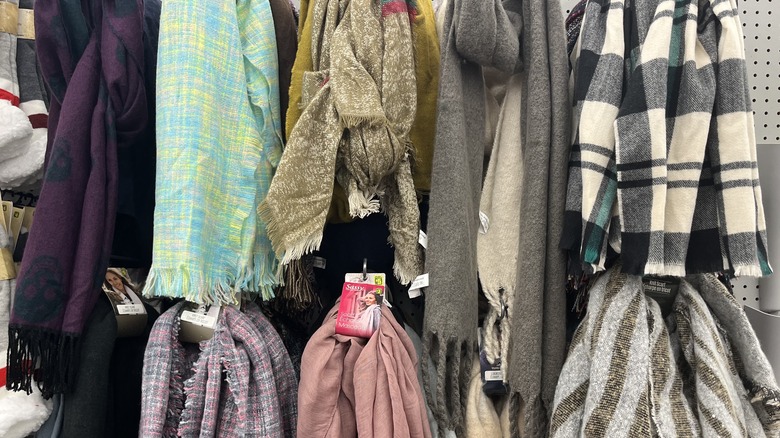
I love the idea of having DIY pillows for cozy vibes in any room of the house. To accomplish this, I headed out for supplies. Every year it seems like discount vendors have a wide assortment of winterwear lining the shelves. If yours doesn't have plaid scarves in yet, don't worry. You can grab a solid Dollar Tree scarf year-round for $1.25, upcycle an old one you have at home, or buy one from Amazon for $9.99. I purchased two in different patterns with tasseled edges. My discount store didn't have Poly-fil or stuffing material, so I bought a pillow insert for $4.00. If your Dollar Tree doesn't have either, Amazon sells fiber fill for $14. I had thread, a sewing machine, and sharp scissors at home, so I headed back to get started.
A big part of any sewing craft involves building a pattern. The amazing thing about plaid is that it's already marked with straight lines to cut on. I simply decided how long I wanted the pieces of fabric and snipped. Then, I measured the section of the scarf against the opposite end and cut it to match. If you use a fringed product like me, remember to measure from the fringe inward on both sides to retain the decorative edging. I also snipped off tags to remove bumps in the finished product. Then, I was ready to put the sewing machine pedal to the floor.
Sewing stylish fall throw cushions
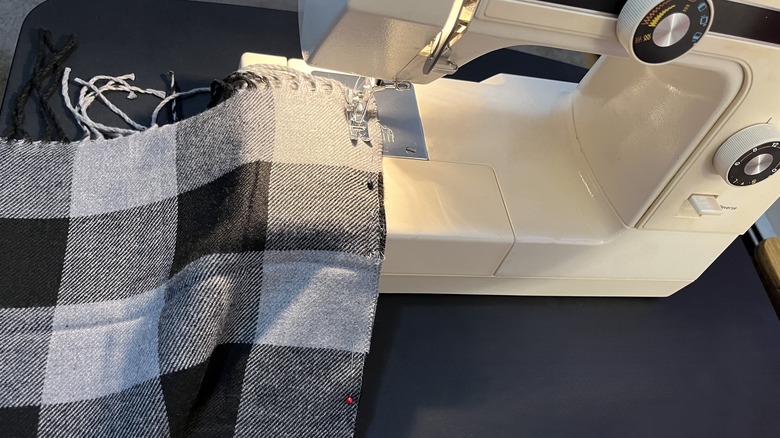
To prepare the material, I placed one piece of scarf on top of the other with fringe pointing in either direction. Remember as you do this step that whichever side is facing out now will be inside the cushion later. I used sewing pins to hold the material in place. If you don't have these, they're available on Amazon for $5.99. Finally, I situated the double layer of fleece under the foot and needle and stitched down one fringeless side, then the other. Now for the tricky part.
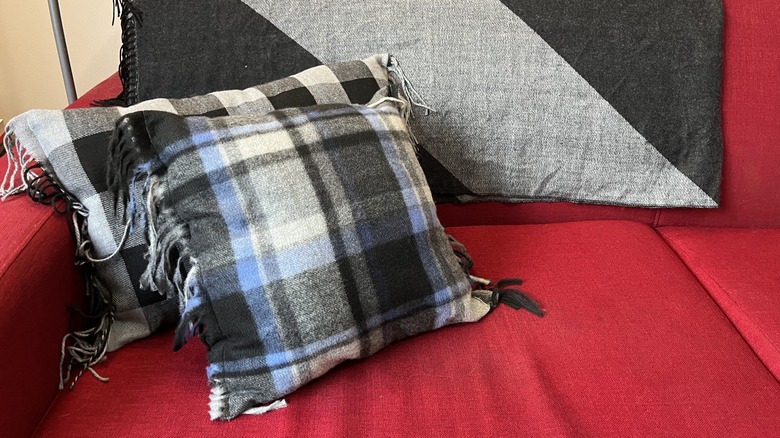
I flipped the material inside out, brushing the tufts out on either end. I knew the tassels would be my arch nemesis for this project (and they were). I recommend using alligator clips to keep them out of the way while sewing. These cost $6 through Amazon. I sewed up one end, then half of the other, leaving a small opening to add the Poly-fil. Once stuffed, I finished sewing the last bit of open fabric and was shocked to find myself holding, not a chopped-up dollar store scarf, but a cozy plaid throw cushion. I repeated the process with a more square shape to my second scarf and was floored by cuteness overload. I wanted an affordable alternative to fancy $59 Pottery Barn cushions and I got it, but there are some things you could do differently to customize these to your taste.
Reflecting on the finished product
DIYing your own plaid throw cushions gives you carte blanche on design. Embellish each one with decorations of your choice. Before stuffing the cushion, customize the fabric with iron-on vinyl or add a decorative button to the center. If you've chosen one without tassels, add beads or lace to the edging for an upscale look. You can even sew on fabric leaves, like the ones Dollar Tree sells for $1.25. It all adds to the snug seasonal ambiance.
If you're looking for one budget-friendly item that makes your living room so much cozier, this Dollar Tree DIY is it. I'm obsessed with the finished product, and I would definitely do it again. For non-sewers, the idea of using a sewing machine might be daunting, but don't let it overwhelm you. I'm no seamstress, but I firmly believe anyone can sew a straight line, which is exactly what this project calls for. You can simplify it further by losing the fringe and going with a tube scarf, like the seamless neck warmers on Amazon for $8. Sew one side, stuff it, and sew the other, instead of sewing four. I fully plan on repeating this DIY scarf project with a few different patterns to amp up the comfy vibes all over my home.


