What Causes Orange Peel Effect In Paint (& How To Fix It)
When it comes to paint, there's a lot that can go wrong. One major issue that you may come across is something called the "orange peel effect," which can be a headache for anyone who just wants a completely smooth finish.
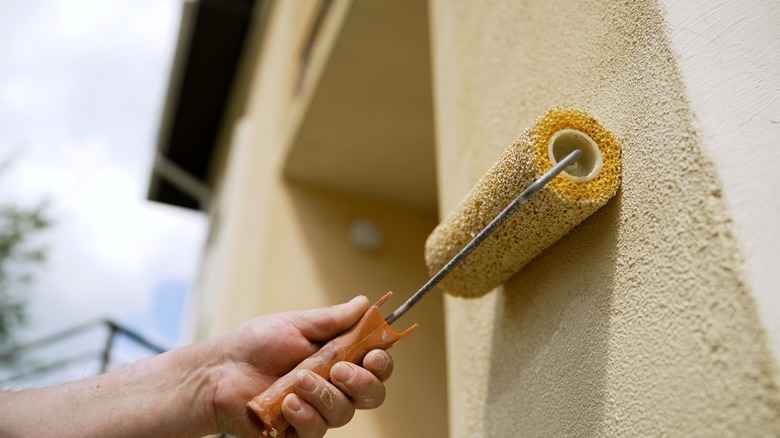
The orange peel effect is a textured imperfection resembling the rind of an orange — all bumpy, lumpy, and nowhere near flawless. There are several culprits behind the effect, with incorrect application of paint being a leading cause; if you don't maintain the right pressure or rhythm with your painting equipment, the paint may land unevenly. When the paint is applied too thickly, it doesn't get a chance to settle and level out, causing the dreaded texture to appear as the solvent evaporates too quickly.
On the other hand, it could be your tools that are the problem; using an old or worn out paint brush can cause an uneven finish. There are also environmental factors to consider. Humidity, whether too high or too low, can significantly impact drying time, as can extreme temperature variances. And let's not forget the importance of preparation: Painting over an unsanded, gritty wall can lead to a wall with the texture of an orange peel rather than a smooth, even texture. You'll want to figure out what the exact cause is before continuing to paint. Thankfully, we have some helpful tips to get you painting like a professional and a few easy ways to get your walls looking smooth.
How do you fix an 'orange peel' wall?

Luckily, there are a few things you can do to give your walls the look they deserve. First, grab a ⅜-inch paint roller, dual-angle sand block, eye protection, 220-grit sandpaper, a high-hiding primer, a premixed wallboard compound, and interior paint that matches your final look.
Start by preparing your paint tray with a premixed compound, thinning it with water until it reaches the smoothness of pancake batter. Apply it with your roller, working outward from the center of the textured area to blend seamlessly with the surrounding paint. Allow this to dry thoroughly before gently sanding down any peaks with your 220-grit sandpaper, and once sanded, wipe the area clean and prepare to prime and repaint the surface. Achieving uniformity might mean repainting larger sections to get a consistent, even look.
Of course, your best bet when it comes to avoiding this unwanted citrus texture is to adopt a few important pre-painting practices. Consistency is your ally here — practice your technique to master an even application, and ensure your tools are not old and don't have missing or bent bristles. Also, take notice of environmental conditions: Aim for room temperatures and low humidity, and always prep your walls for painting by cleaning and sanding them thoroughly for that sleek, orange peel-free finish. With these strategies in hand, you'll be well-equipped to conquer your DIY painting projects without the unnecessary extra texture!