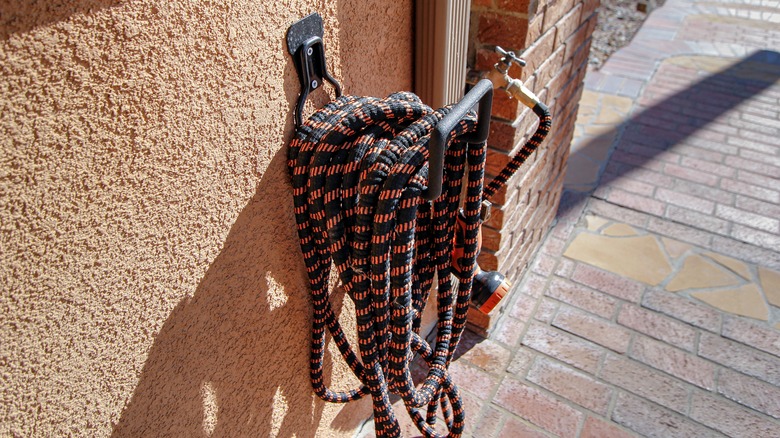
Is It Possible To Repair An Expandable Garden Hose Or Is It Bound For The Trash?
We may receive a commission on purchases made from links.
Should you invest in an expandable garden hose if it's just going to spring a leak? One of the reasons gardeners question these hoses is that they wear out. In most cases, however, fixing a leaking expandable garden hose is relatively easy. Barring your time, the cost of repair is substantially less than buying a new expandable hose. All you need is a willingness to troubleshoot, a few simple tools on hand (like clamps and scissors), and a few dollars to spend on a hose repair kit or some spare parts. Check, check, and check? You're set to keep your old hose out of the trash for at least a little longer.
Your hose likely has a leak in one of two places: right in the middle of the hose or near where it connects to your outdoor faucet. In either of these cases, it's the interior rubber hose that has a hole or tear, even if the fabric sheath enclosing it remains intact. The design of this type of hose features an inner tube that expands while the outer tube keeps it from expanding too much. The tubing inside an expandable hose is typically made of latex, a soft plastic that's vulnerable to deterioration. While they're protected from sunlight, other issues like time, heat, freezing, and stretching affect how long your expandable garden hose might last before a tear develops. Another issue you could face is the deterioration of the fabric sheath that encloses and protects the rubber hose.
How to repair a leading expandable hose to avoid throwing it away
Tools-wise, you'll need two ratcheting hand clamps, a set of screwdrivers, and some heavy-duty scissors. Don't have clamps? Some large, strong clothespins should work. If your hose is leaking near the connector, you'll need an expandable hose repair kit — Amazon sells one for under $10. Mid-hose and fabric sheath-only tears require the same repair; for this, grab a double-ended hose barb connector like this one on Amazon — plastic or metal will work. For all types of repairs, you'll also need a few steel hose clips.
Making a mid-hose repair requires clamping the hose using the hand clamps a few inches above and below the leak or damage, then cutting out that section of hose. Hold the inner tube of one side and pull back the fabric sheath, then reposition the clamp to keep the inner tube exposed. Repeat on the other side. Push the double ended-hose barb connector into each tube end and release the clamps. Re-secure the fabric with one or two hose clips tightened with a screwdriver.
To fix a hose leaking near the faucet end, clamp the hose below the leak, remove the original components from the hose, then cut and discard the damaged section of tubing. Insert a replacement connector from your kit, tightening it as much as you can. And if the hose is beyond repair, no need to throw it away — you can turn an old garden hose into a storage tool.
