The Clever Way You Could Be Using Leftover Pavers For Stylish Home Storage
We may receive a commission on purchases made from links.
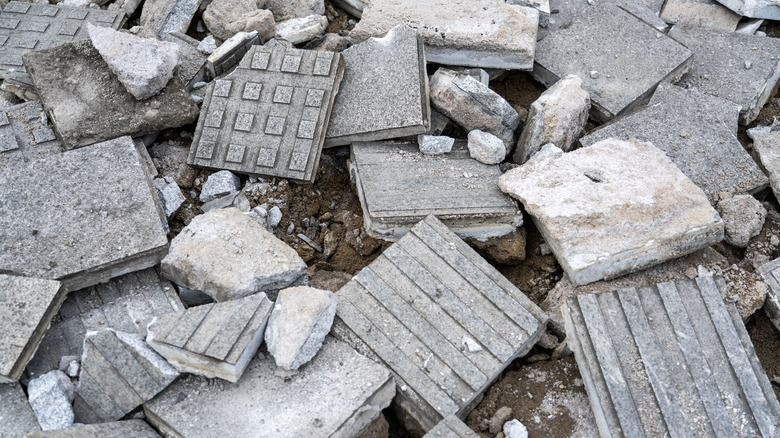
Finding affordable, stylish home storage can be tricky. You want to bring the latest trends into your home, like a stunning, natural stone floating shelf, but the price tag doesn't always agree with your budget. Luckily, you can create your own stylish floating shelves with the broken paver stones you probably still have lying around from your latest landscaping project. The amazing part about this DIY floating shelf is that it creates on-trend home storage — perfect for showing off your succulents or small knick-knack collection — that looks like it comes straight from the latest high-end store.
All you need to make this shelf is a paver with one corner edge (travertine, limestone, or sandstone are generally the best because they're hardy and easy to find) and a heavy-duty construction adhesive like Liquid Nails, available on Amazon for $4. To attach your shelf to the wall, you will also need shelf brackets (we find angle brackets work best) and screws that work for your wall type. Make sure to grab a stud finder, pencil, and screwdriver from your toolbox as well.
How to reuse broken pavers as a floating wall shelf
Consider where in your home best suits your paver stone shelves and what you plan to place on them before jumping into the installation process. The amount of light and foot traffic the area receives will be major factors if you plan to store houseplants, valuables, or breakable items on the shelves. Conversely, people with pets and children will want to take factors like shelf height and location into account so the pavers don't come crashing down if your babies mistake it for a climbing wall.
Once you decide where in your home you want to add your floating wall shelf, use your stud finder to make sure there is proper support. Lightly mark the studs' placement on the wall with your pencil. Pick up your paver piece and hold it at the height you want to install it. Mark both above and below the paver with your pencil to make installation easy later on. On the underside of your paver, pencil the best place for your angle brackets to sit. Place the paver down with the markings you just made facing up, and glue the brackets onto their designated space. Once dry, line up your new shelf to the wall markings, use your screws and screwdriver to attach it, and decorate! If an off-white stone isn't the look you had in mind for your floating shelf, there are many ways to customize it. You can always use a different color paver, paint the shelf before it's installed, or implement the same method on a hardwood scrap that fits your home's decor.
