Add Rustic Storage To Any Room In The House With Simple Wooden Pallet Shelves
We may receive a commission on purchases made from links.
If you're searching for an easy and inexpensive way to keep your home more organized, this rustic wood pallet DIY will instantly add storage to your entryway, living room, kitchen, or wherever you need it most. By disassembling the skids, you'll have plenty of wood to build your own free standing shelves. Depending on what size pallets you're working with, you could make a small or medium set of shelves to help store your knick knacks or function as a simple bookshelf. For this project, you'll need a drill, screws, sandpaper, and a saw to build your storage solution. To add more stability to your project, consider using corner braces (16 for $7 on Amazon) to support your shelves and help hold them in place.
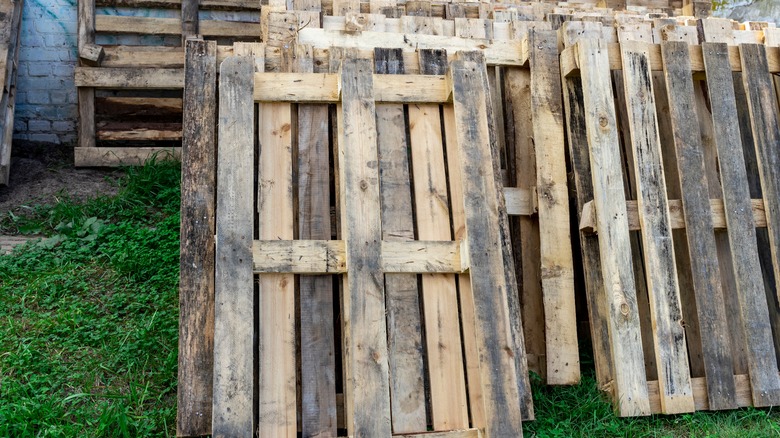
Since there are tons of places to find free pallets, this project should be fairly budget-friendly, especially if you already have all the required tools. To begin making your shelves, completely take apart your pallets, removing all nails. Choose four of the thicker support beams to be the frame and legs of your project, as well as several of the wide planks to act as your shelves. If the dimensions of your pieces don't align, use a saw to make your frame boards all the same length and ensure your shelf planks are the same width and length. Once you've gotten your wood together and sanded everything to a smooth finish, it's time to build your rustic DIY pallet shelves.
DIYing simple pallet shelves for rustic storage
First, decide how you want your shelving to look. For a simpler project, you can screw your shelves directly onto the beams, or you might cut off the corners of your shelves (aside from the top piece) to fit flush against your supports. You'll also need to decide whether you want your top shelf to sit above your frame or be screwed to the side of it instead, sitting in between the beams. Now, you can start assembling your pallet shelves. Screw the corners of your top shelf onto all four pieces of the base, and then use a pencil to mark where the rest of the shelves will sit on the frame. If you're using braces, screw these into the boards before adding your shelves on top of them and screwing into place. Otherwise, simple drill holes into your boards and screw in each shelf where you want it, ensuring that they're level.
You may decide to let your storage solution have legs, or you might attach a shelf to the very bottom for more of a bookshelf look. If you have an abundance of leftover planks, you can use these to enclose the back of your project for a different aesthetic. If you like the way it looks, you can leave the wood as it is or apply your stain once it's fully constructed. This budget-friendly wood pallet DIY will add extra storage around the house and will look perfect in any room.
