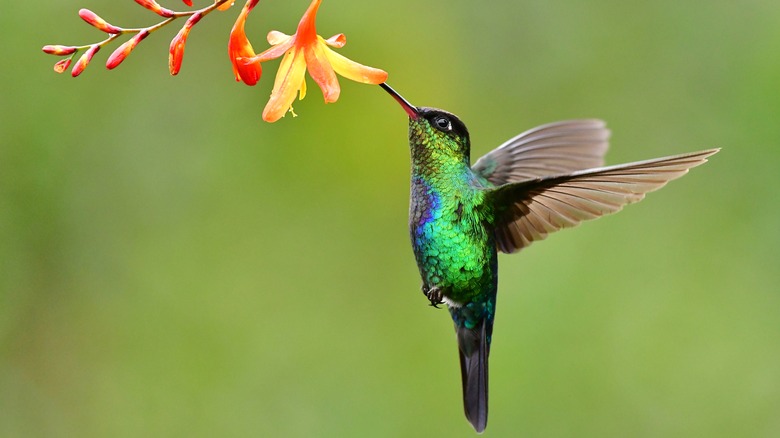
Show Your Love For Hummingbirds With A Stunning Dollar Tree Decorative Tray DIY
Hummingbirds need to migrate at the end of summer, and it can be as hard to say goodbye to them as it is a good friend. Keep them around all year with a low-skill, low-cost, and high-reward decorative tray project adorned with our favorite tiny birds. Dollar Tree has every supply you'll need to paint, decorate, protect, and hang your creation for around $10.
You can tweak this idea to feature images of anything you love, too. Turn out a piece of holiday decor, a kid-friendly wall hanging, or a highlighted inspirational quote. Instead of purchasing stickers to decorate the tray, you can decoupage images from repurposed old magazines or glue on pressed flowers to the tray. The options for this project are endless.
For this decorative tray for hummingbirds, fill up your basket at Dollar Tree with a hummingbird wall decal, floral stickers, a metal serving tray, some turquoise acrylic paint, a bottle of glossy ModPodge, some sandpaper, and a pack of foam paintbrushes. If you plan on hanging your tray, also purchase a package of adhesive hook-and-loop fasteners. Clear off a craft-friendly workspace, roll up your sleeves, and whip out this easy DIY in no time. Plus, you'll have enough leftover paint and stickers to make one or two more for other hummingbird lovers in your life.
Trick out your tray
Give the metal tray a rubdown with sandpaper to help the paint stick. Brush off loose dust, and paint the face of the tray with several coats, allowing it to dry between each coat and before applying the decals. Place one or more hummingbird decals on the face of the tray, and add flower stickers in empty spaces around the hummingbird decal(s). Cover the tray face with a coat or two of ModPodge, focusing on the stickers, and let it dry. If you are using magazine cutouts and/or pressed flowers, paint ModPodge on the surface where you want the image, carefully press them down, and paint over their surface with ModPodge. To hang your tray, first prepare the tray surface with a quick wipe with an alcohol-soaked cotton ball, concentrating on the spots where you'll be placing the hook-and-loop fasteners. Stick a hook-and-loop fastener to each corner of the back of the tray. You may also want to stick an additional fastener to the back center for extra reinforcement.
Like you did for the back of the tray, prepare the spots on the wall where you'll be sticking the other half of the hook-and-loop fastener with a wipe of alcohol. It's wise to adhere each of the fastener halves to the tray and wall separately, since it can take up to a day or two for the adhesive to bind securely to the surfaces. You can also try this aluminum foil hack to make sure your fasteners are firmly pressed. Once you've given the fasteners enough time to bind to the tray and wall, hang and enjoy your new piece.
