10 Genius Hacks To Sharpen Scissors That Work Like Magic
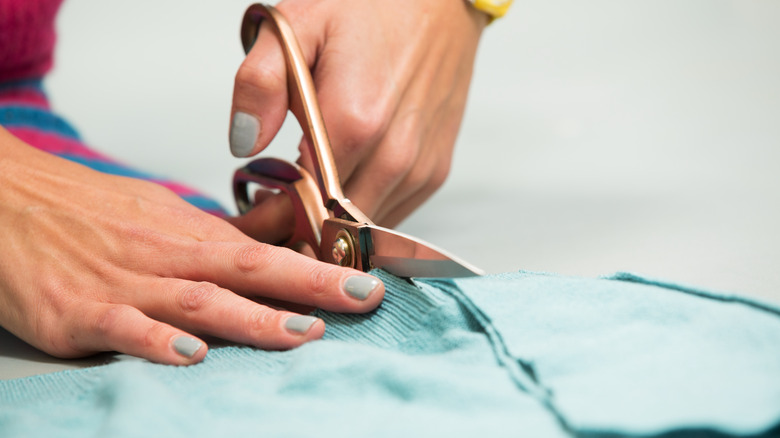
Scissors, like most household tools, become worn out over years of cutting and slicing. They inevitably lose their sharp edge and won't cut as well as they used to, especially if they're used often. One option is to throw the old pair out and replace them. Or, you could buy a sharpener optimized for this dual-bladed hand tool. However, if you want to save money or use a more inventive approach, there are other ways to taper this tool back into shape.
There are all sorts of sharpening methods that hone scissors using common house objects. Some of these tricks directly grind down the metal into proper form, while others just polish the surface and remove debris that could be hindering your scissor's effectiveness. It doesn't take a mastermind to perform these DIY ideas; you just have to work these hacks' magic on the blade until it's functioning properly again. Use one or a combination of these methods to extend the lifespan of your shears, save yourself some money, and reduce unnecessary waste.
Slice up a folded sheet of aluminum foil
Most household essentials are useful beyond their intended purpose, and even aluminum foil has uses outside of the kitchen. Although foil is typically employed for cooking purposes or food storage, folding it up turns it into a helpful hack for sharpening scissors. Take a clean sheet of foil, add about five folds to achieve optimal thickness, and then slice into it a handful of times with your pair of scissors.
This cleaning process doesn't taper them, but does make older scissors cut cleaner and smoother. Cutting into foil smooths out jagged flaws and peels off caked-on debris. The debris could be a build-up of rust, as well as adhesive residue, dirt, hair, and other unpleasant substances that have come into contact with the shears. This build-up is more than an aesthetic issue, for it keeps scissors from cutting cleanly. Using the foil trick removes those imperfections and creates the illusion of a freshly sharpened pair. Since this hack doesn't whet the metal, it will only last until buildup starts gathering on the scissors again. This time frame will vary depending on what you use the scissors for and whether they're exposed to moisture.
Rub a drill bit between the blades
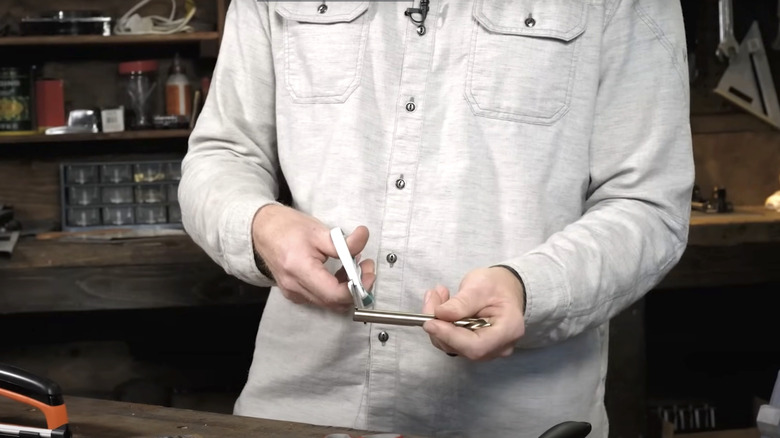
If you have drill bits lying around your toolbox, garage, or shed, you're in luck. Reliable drill bits are made of formidable materials, such as steel and titanium, making them the perfect tool for sharpening household scissors. Seek out any size drill bit, and simply line up the scissor blades as if you are trying to cut the bit in half. Open and close the scissors, running the drill bit up and down the inner edges.
Unlike the aluminum foil hack, this trick does more than remove grime and rust buildup. It literally sharpens metal. Just note that you have to use force to do so, which can damage the drill bit. Bearing this in mind, use a spare piece you don't mind saving for just this purpose. Luckily, drill bits often come in large packs, and sacrificing one from a collection shouldn't have a large financial impact.
Wipe the shears with toothpaste and a paper towel
Put your faith of DIY solutions to the test with this surprisingly genius tip that uses toothpaste to help sharpen your scissors. Toothpaste seems like an unlikely tool for the task, yet it polishes away old grime and dirt that was impeding the scissors' effectiveness. Remove the blades, if possible, and coat them in a fine layer of toothpaste. Wait at least five minutes before wiping them clean with a dry paper towel. You can also give the blades a little scrub with an old toothbrush before going in with the paper towel.
This trick works the same way as the aluminum foil hack: Toothpaste's abrasive ingredients effectively dislodge rust and other buildup from metal. Look for toothpaste brands that advertise whitening teeth to ensure you choose an option with especially abrasive ingredients, such as alumina, baking soda, hydrated silica, and calcium carbonate. According to a relative dentin abrasion chart put together by Austin-based dentist Mike Williamson, Colgate's 2in1 Whitening and Crest's Pro-Health Whitening toothpastes are the most abrasive ones you can buy. Therefore, they're most effective for removing the buildup that dulls your scissor's cutting power. As mentioned above, this trick is similar to the foil trick, meaning it's only effective for as long as your scissors stay clean.
Cut into a sheet of sandpaper
Sandpaper is available at many popular retailers, especially home improvement stores, for under $10. These materials are designed to sand down paint or wood. But when they're folded in half, with the rough sides facing out, they make great sharpening tools for scissors. Cut into a sheet of sandpaper multiple times, similar to the aluminum foil hack. Test the blades every few cuts until they feel adequately honed. Once finished, wipe down the blade with a damp towel to remove any stray grit pieces.
Sandpaper is physically designed to wear down surfaces, making it a naturally perfect fit for this home project. Unlike with the aluminum foil approach, sandpaper will actually sharpen the scissors, rather than just remove buildup. Look for sandpaper with aluminum oxide, zirconia alumina, and ceramic alumina, which are materials especially effective for this purpose. Also, pay attention to the grit type, which ranges from fine to medium to coarse. The lower the grit number, the coarser the sandpaper is, and the more abrasive it is for the task at hand. This process literally sands down and sharpens the blades, meaning you'll only have to do it sparingly — about once or twice a year.
Rub the blade along a whetstone block
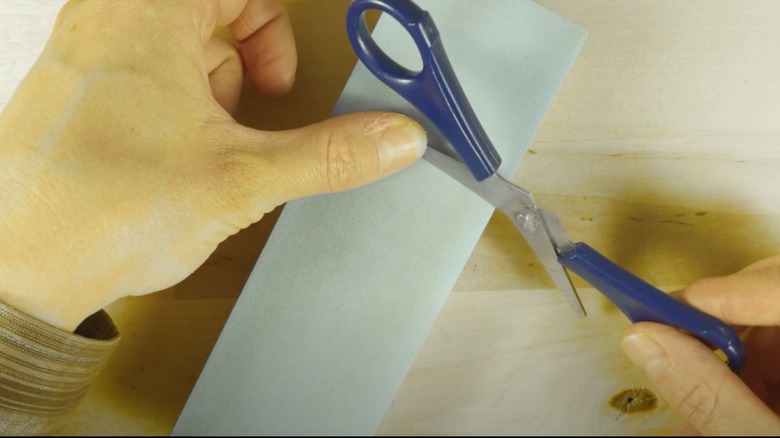
A whetstone is one of the best ways to sharpen garden shears, so naturally, it also works well for household scissors. Whetstones commonly need to be soaked in water before using them, so be sure to check your specific whetstone's manufacturer instructions. Disassemble the scissors or just open them, and position the blade at an angle on the stone. Slide each blade along a whetstone about 10 times. Keep in mind that it may take a few more runs if the cutters are especially dull. It should only take a few minutes before the blade's surface is visibly smooth and sharpened.
Whetstones are used for the purpose of sharpening steel tools — often knives — so it makes perfect sense that they would work great with your scissors. Using stones to sharpen tools is a primitive practice that still reigns strong because it's so easy and efficient. When properly performed, this method should last about six months before you need to put the blades to stone again. Give it a try with your scissors and you'll likely find great success!
Slide the flat side of the blade along the unglazed portion of a ceramic dish
Most people inherit or purchase a set of ceramic dishes for their home at some point in life. This unassuming dishware or cupware set can work wonders for defining scissors. All you have to do is flip a ceramic plate or mug upside down and examine the bottom. If there is an unglazed portion with a natural rock-like texture, run an open blade back and forth across it. The scissors should look restored and make a clean cut after only a few minutes.
This process works in the same way as traditional sharpening methods, such as using the whetstone. The bottoms of ceramic products are often unglazed and unpainted, giving them a coarse and tough texture. In fact, it should feel similar to sandpaper or a whetstone to the touch. Scratching a pair of shears against this rock-like material wears down dulled edges and refines them into finer points for cutting. Inez Stanway, former teacher and the voice behind classroom-focused blog Monday Mandala, told Yahoo! that ceramics work well when you don't have access to professional tools. She explains that the rough surface actually sharpens, making this approach as effective as using a whetstone, meaning it'll also last up to six months.
Perform cutting motions on the outside of a glass bottle
Repurpose an empty bottle and take advantage of the sturdy glass before recycling it or throwing it away. You can turn this seemingly useless item into a free DIY scissor sharpener. All it takes is a fully intact empty bottle and a well-worn pair of shears. Place the blades over the glass neck or body — depending on the size — and perform a cutting motion while sliding the scissors back and forth. Test the sharpened metal on a sheet of paper until it cuts noticeably cleaner than before.
Glass bottles, especially those once used to hold perishables like food, are built for long-term preservation. Therefore, the glass is very sturdy and reliable. It's safe to make cuts in the glass with scissors — you can exert a lot of effort without it shattering. Once finished, remember to rinse off the cutters with water and a clean rag to remove any sharpening debris. Afterward, dispose of the used glass bottle, which probably has small divots on its surface from the scissors. Also be sure to wipe the area where you worked to make sure you clean up any debris. Since stainless steel is stronger than glass, this process mostly removes debris and build-up from scissor blades, rather than truly sharpening them. You can expect this trick to last until debris or rust starts building up on the scissors again. However, you should use this trick sparingly. Sharpening scissors using a glass bottle could damage the blade a little, so this shouldn't be your go-to choice. It also doesn't make the scissors as sharp as a whet stone or sharpener, so it likely won't become sharp enough to cut through something difficult, like thick plastic. Instead, this hack is best used if you're in a pinch.
Swipe a screwdriver shank along the scissor blades
Screwdrivers are designed to insert and remove screws, but also have an unintended and unexpected feature. Their metal shafts are often narrow and cylindrical in shape, making them the right size and material for sharpening. Open your pair of scissors and run the screwdriver back and forth along the blades, tackling each one individually. Put focus on both sides of the shears and test both sides.
The screwdriver shank method works similarly to the aforementioned glass bottle trick. Rubbing the stainless steel cutters against another hard surface at roughly a 60- to 80-degree angle tapers the stainless steel. Ensure you're rubbing them against the functional part of the screwdriver, not the handle. Seeing as screwdriver handles are made up of rubber or plastic material, and slicing those won't sharpen your scissors — it'll just damage the bottom half of the hand tool. As with using a glass bottle, the "sharpness" will last for an indeterminate amount of time based on how often you use the scissors and what they're used for.
Rub a nail file against the edges
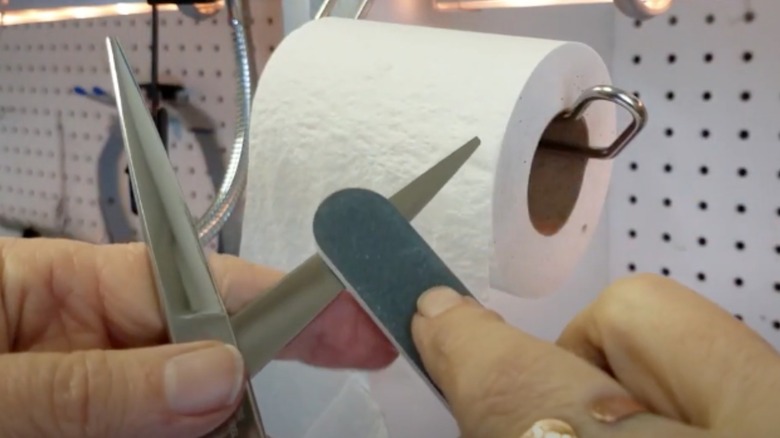
Many of the tips and hacks on this list are great for generic household scissors, such as those you find in office spaces and kitchens. When it comes to beauty shears or children's scissors, previously mentioned sharpeners may be way too large for these dainty objects. Instead, look for something smaller. Steel nail files or nail buffers are intended for finger and toenails. However, when angled at about 45 degrees at the tip of a scissor blade, they are effective sharpeners.
The file's small size makes it easier to make shorter strokes, and its rough edge hones the blade. Similar to other hacks on this list, steel nail files and nail buffers have abrasive surfaces that work great to remove grime and sharpen metal. Other non-metal nail buffers, such as the spongey designs meant for softly smoothing and shining, will be less effective. Using a metal nail file should improve the scissors for about half year to a year.
Repurpose a kitchen knife sharpener for scissor sharpening
Using a knife sharpener isn't as creative as other options on this list, but it can still rescue you from a dull scissor situation. These kitchen tools are used to perfect knives two to three times a year, and if you own a sharpener already, further justify your purchase by using it for scissors too. Most handheld or tabletop knife sharpeners will do the trick, whether they're manually or electrically powered. Be sure to avoid knife sharpeners built for serrated blades unless the scissors you're sharpening have the same jagged edges along one or both sides.
Household shears and scissors are ultimately just fancy, innovative knives. Some types can even be detached to make two separate blades, making it easier to clean and sharpen the tools as needed. Since knife sharpeners are explicitly made for refining more basic versions of these tools, they're just as effective. As mentioned previously, if you sharpen your scissors correctly, they should be good for up to six months, depending on their age and how often you use them.


