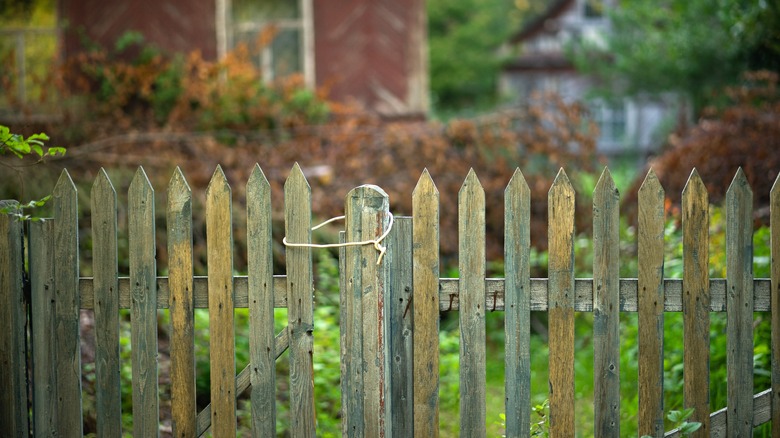
Hide The Eyesore Of Your Neighbor's Fence With A Stylish Privacy Solution
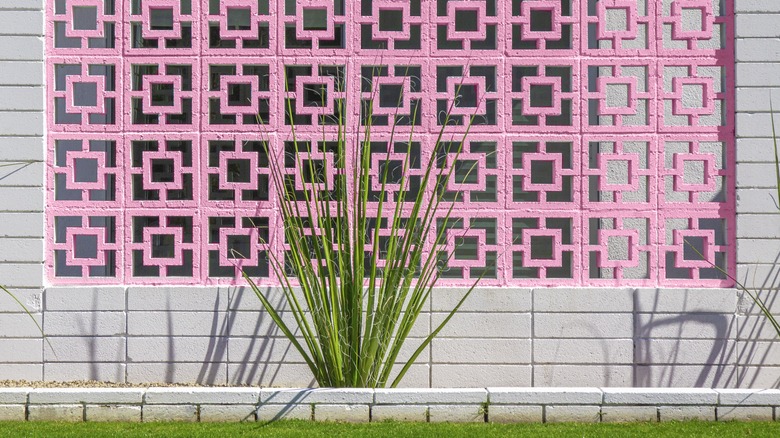
If you're searching for creative ways to hide your neighbor's unattractive fence but don't want to totally block out the world around you, breeze blocks offer a great solution. These decorative concrete blocks, which were once a staple of mid-century modern design, can easily cover an old fence, add privacy, and deliver a big dose of style. Available patterns vary in intricacy and coverage, allowing you to choose the ones that best suit your aesthetic and block out as much (or as little) of your neighbor's fence (and view) as you want.
Unlike a traditional fence, breeze blocks allow sunshine to come through and, as their name suggests, will keep your yard breezy and cool. As designer Pete Kiriakopoulos told The Spruce, this is a real perk as a tall fence "can result in no breeze coming through, creating a suffocated space in the summer especially." Another upside of breeze blocks is that they can be stacked to meet any custom dimension and layout — they can even be laid in a pretty sloping pattern.
Whatever design you decide on, though, breeze blocks need to be carefully and properly installed to ensure they don't fall apart and cause damage or injury. That being said, if you'd rather DIY your partition than hire a professional, you can certainly do so using mortar, rebar, and your desired breeze blocks.
How to correctly install breeze blocks on your own
Before getting started, check to see if you need a permit and confirm what materials and height are allowed, keeping in mind that this might differ between the front, back, and sides of your property. Once approved, put on PPE and start by pouring out a level base of concrete. This step is imperative to ensure that the breeze block wall will sit on a stable structure that's able to support it. Dig a trench that's twice as wide as the blocks, place a layer of gravel at the bottom, then fill it with concrete to the top. Compact and smooth it, ensuring it's perfectly flat before drying.
Next, plan your breeze block layout, keeping in mind that you can't cut the blocks. Wet the stones before installation, mix the mortar following the label instructions, and lay down your first row, applying mortar to the bottom and sides of each block. Use a spirit level to ensure you're building even rows as you move upwards. It's also recommended to insert rebar (steel reinforcement bars) vertically in between every other block for added stability, as well as a horizontal row of rebar at the very top of your DIY structure. Simply push the rebar into the mortar joints, then, once the wall is finished, apply more mortar between all of the visible gaps. Finally, water the full wall four times a day for five to seven days to ensure it cures correctly before painting the blocks, if you so wish.