Craft An Attractive DIY Beer Caddy From Scrap Wood
Are you tired of carrying drinks one by one from the fridge? Or, are you looking to show off a bit of rustic charm when entertaining guests? A simple, DIY beer caddy made from scrap wood can serve both functions, helping you transport your beverages and adding a bit of rural elegance to your home decor. As long as you have basic math skills and know your way around beginner woodworking tools, this fun project should take very little time and effort to complete.
You can use any type of wood to make the caddy. If you have some scraps of plywood, great — these will do if you can get the long and short pieces to the same dimensions. Likewise, soft or hardwood planks that are wide and long enough to make a leftover from a DIY shelf project are excellent candidates for the job. You can use any saw you're comfortable with for cutting the wood — these are small enough pieces that are easy to handle even if all you have is a handsaw. As for putting it all together, butt joints secured with good wood adhesive and nails will do (of course, you're free to flaunt your woodworking skills and join the planks with rabbet or miter joints if you like). Without further ado, let's roll up our sleeves, pop open a cold one (just one!), and head to the shop.
Easy steps for building a wooden beer caddy
Begin by determining the dimensions of the caddy. The size of your available scrap wood will dictate these measurements to an extent. However, you should also consider how many drinks you'd like to fit into the caddy. For example, a typical metal beer can measures 2.6 inches in diameter, while its glass bottle counterpart is slightly narrower, with a diameter of 2.4 inches. A 10.5-inch interior length, and a 7.8-inch interior width give you enough room to comfortably fit 12 bottles or cans, in a three-by-four configuration. If you're happy with this capacity and opt for 1-inch-thick planks, cut the long and short sides to these lengths, and the exterior dimensions will be 10.5 inches by 9.8 inches (the thickness of the long planks will add to the width of the caddy). This is the same measurement you'll want for the bottom piece, which will fit over the bottom edges of the long and short side panels. Feel free to play around with the lengths, widths, and panel heights.
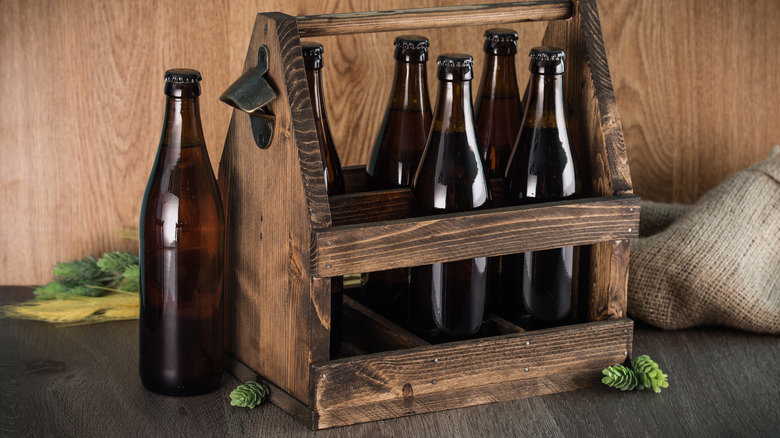
Once you've settled on the panel sizes, cut the planks. The short side panels should comprise a rectangle at the bottom (where it attaches to the long sides), and an isosceles trapezoid at the top. You can affix a wooden dowel between the two opposing trapezoids to serve as the beer caddy's handle.
After cutting the pieces, use a sanding pad to work the wood over and make it smooth. Don't forget to sand all the hard-to-reach places, too. Then glue the pieces together using a wood adhesive, and clamp them together while the wood glue dries. To make the joints stronger, secure them with nails or screws. Finally, paint or stain the caddy, and use a wood sealant to treat the new caddy and protect it from moisture damage.