DIY Burlap Roses Add The Perfect Floral Touch To Your Home
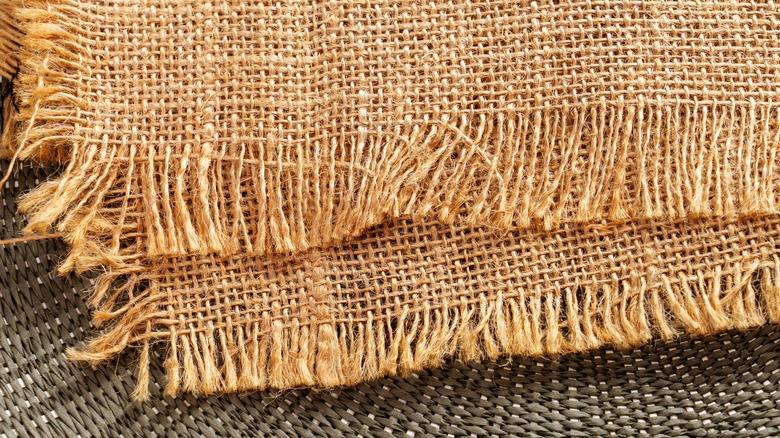
Burlap is an often overlooked textile when decorating a home, but it's actually perfect for incorporating a natural, organic vibe into any space. Whether you use it to add texture to decorations, when lining your flower pots, or for other decorative purposes, burlap's tan color is a fetching neutral, so it's great for adding interest to minimalist spaces as well as to cottagecore, bohemian, rustic, or modern farmhouse style rooms. If you want to add some of this material into your home, check out how to turn it into gorgeous roses. To do this, you'll remove some of the threads and wrap up the burlap onto a wooden dowel to create delicate petals. It's a no-sew project that may be easier than you think.
The result is adorable burlap blooms that are not only easy to assemble but also very inexpensive to create. Use a few of them as part of a larger, green bouquet or create a bunch and place them in a vase by themselves. You can also use them mixed with evergreen branches for a rustic and stunning Christmas garland or put them on a pretty floral door hanging to bring modern charm to your front door any time of year.
Creating roses from burlap
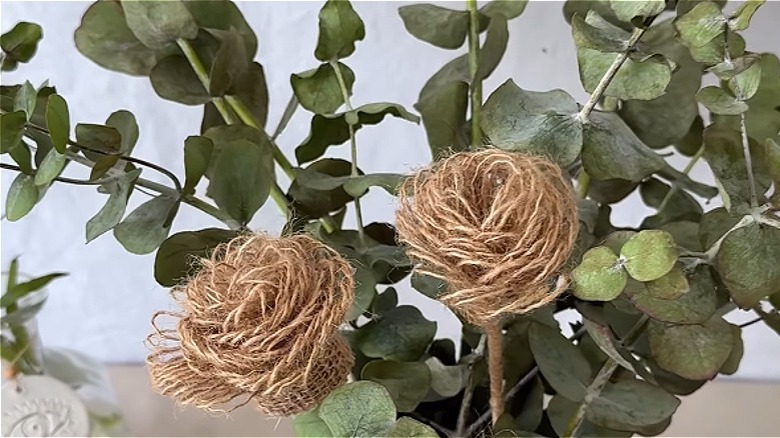
To form your burlap roses, start by cutting 3-inch thick strips of burlap that are about 8 inches long. Down the center of the strip, pull out some of the cross threads from the shorter sides. This will result in a thinner weave through the middle. Next, fold the strip horizontally in the middle so that the thinner woven part is at the top, creating softer fringed petal shapes. Glue the two long thick sides together. Add a dab of hot glue to a wooden dowel and begin rolling the folded strip around it, adding more dabs of glue as you go to secure it. Once completed, fluff out the petals slightly to open up the gorgeous rose, then tuck the stems into your vase.
There are other techniques for making burlap roses as well. If you place them all together, you'll create a varied bouquet. Use a strip of burlap ribbon to form a rose by folding down one corner into a small triangle and rolling the material down sightly, then securing this middle of the rose with glue. Once the roll reaches the end of the triangle fold, you'll fold the ribbon behind the center and continue rolling. Keep folding and rolling until your flower is completed, then add glue into the folds of the flower. Or, you can make more lush flowers by cutting several pieces into petal and flower-shaped layers and sewing or gluing them together for a multi-layered look that mimics actual flowers.