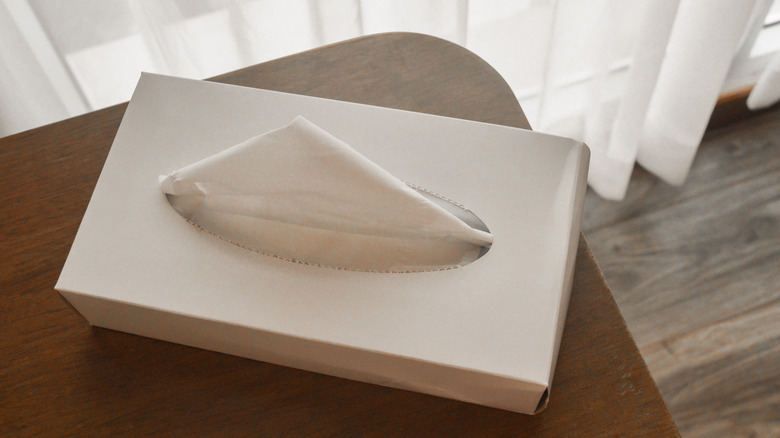
Take Tissues Boxes From Drab To Fab With A Cute DIY Cover
From cold and flu season to annoying allergies, sometimes it's easier to keep a few tissue boxes around the house. That said, tacky-patterned tissue boxes can stick out like a sore thumb in your living space. On the other hand, no need to settle for a bland box either. Instead, you can give your tissue boxes a glamorous makeover with a stylish DIY cover. Not only is this craft fun and easy for all ages, but it's also a creative way to incorporate your kids' artwork in your home. Another great thing about tissue box covers is that they're reusable. Once you've finished a box, simply replace it in the same creative cover. (You can upcylce empty tissue boxes, too). Best of all, you can find many decorative materials for a DIY cover in a dollar store.
The main supplies you'll need for this project are tower building blocks ($1.25 from Dollar Tree), craft paper, and crafting jewels. You'll also need a glue gun, scissors, and a pen and paper for measuring. In this YouTube tutorial, the blocks are the main material for the cover, followed by gift bag cutouts and craft jewels as the embellishments. If you prefer a more personalized design, you can swap these out with other decorative elements to match your home décor. Feel free to get creative with fabric, gift wrapping paper, ribbons, and more.
Add gems to your DIY tissue box cover for a sparkling touch
Start by figuring out how many tower blocks you'll need for your tissue box size. You will use these to build around the tissue box, ensuring the box will fit inside once the exterior is glued together. Feel free to play around with the position of the blocks — such as standing them upright, laying flat, or on their sides — depending on the dimensions of your tissue box. Also make sure you leave an opening when placing blocks around the top. This area will serve as the removable panel as well as the hole for the tissues to come out.
Once your tissue box is fully covered (excluding the top hole), mark the measurements on paper to use as a blueprint for later. Next, begin gluing the base pieces together. YouTuber @CreaTvDIY recommends using wood glue instead of superglue for blocks, explaining that it's more malleable when placing the blocks together. She also suggests using handheld shears to cut building blocks to size, if needed. To add texture and design, @CreaTvDIY's hack is to use gift bags — you may already have these around the house, as well as other paper bags you can repurpose. As for gluing the paper and jewels to the blocks, she suggests tacky glue for its strong and permanent hold once dry. The final step is to add ribbon, beads, and other decorative pieces for a sparkling touch.
