Create Your Own Vintage Ginger Jar Lamp On A DIY Budget
We may receive a commission on purchases made from links.
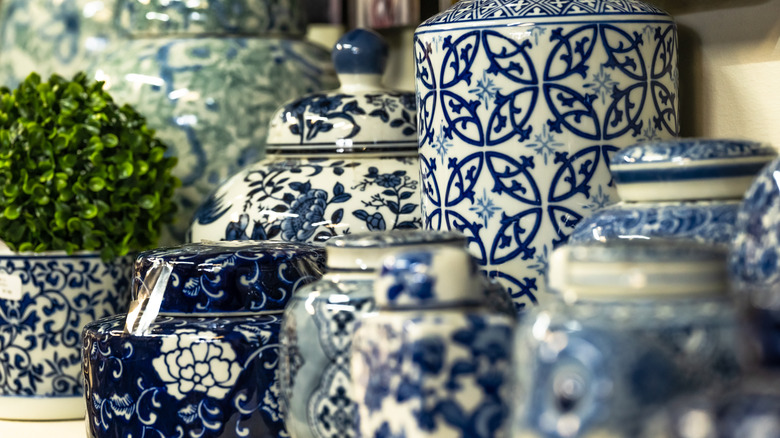
Beautiful and stylish statement lighting can go a long way toward setting the design style and tone of any space, be it overhead fixtures, wall sconces, or beautiful accent lamps. Chinese ginger jar lamps, recently cropping up more and more in design circles, are one way to add both a vintage feel and a classic, traditional look. Ornate ginger jars can be found in rooms embracing a number of styles, from maximalist and Asian-inspired spaces to cozy country cottage interiors. Often sporting a blue and white floral or scenic design, lamps made using these jars as bases are available from many home retailers for several hundred dollars, which can be pricey, especially for a matching set. YouTube DIYer @salavgedbykscott recently showed how to change ordinary and much less expensive ginger jar canisters into stylish accent lighting with the simple addition of a lamp kit.
These kits are widely available at retailers like Amazon and Home Depot for under $20 each. The ginger jars themselves vary in price, from newer canister versions available at places like Home Goods, Home Sense, and Marshalls, as well as online from Amazon and Walmart priced anywhere from $10 to $30 or more. Most jars are based on classic designs from the Chinese Ming Dynasty in blue and white florals, though you can also find variations in coloring and patterning, including solid versions. These newer ceramic jars grant an antique look without the antique price tag.
Turning a canister into an accent lamp
To create a lamp from a ceramic canister, you will need to drill holes in the lamp to accommodate the hardware for the light kit at the top and bottom. Use a diamond drill bit to drill through the ceramic, making sure to keep the area wet as you work, which prevents the bit from overheating and the ceramic from cracking. Or, you can use a plastic lookalike jar which will only require a regular drill. Drill one hole along the bottom to thread the cord out and another through the lid, where your bulb outfitting will go. The size of drill bit needed will be determined by the size of your hardware for the lamp kit. Install the light hardware as per the directions in the kit, making sure to wire the socket correctly before connecting it to a power source.
If you do not want to mess with wiring or will be placing a tamp where there is no outlet, install the kit hardware without the wiring and use a battery-operated screw-in bulb instead. You can also affix a puck light with adhesive or Command strips to the top of your jar. For the final step, choose your shade. The blue florals complement a number of lamp shades from basic white to rich navy blue or rustic looking burlap. While this DIY works with jars, you can also turn similarly patterned old vases into trendy lamps in minutes as well.
