The Sliding DIY That Creates The Ultimate Solution For Organizing Pots & Pans
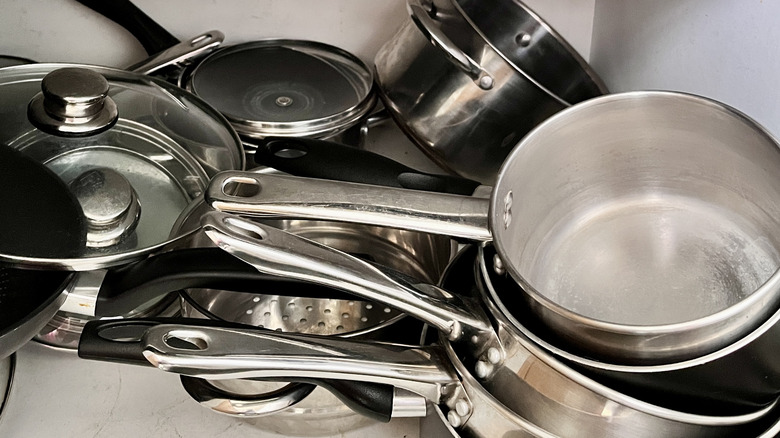
Even if you have a massive kitchen, reaching into a cabinet for your cookware often is a challenge at best and a contortionist's nightmare at its worst. For cooks everywhere, finding a place for every saucier, stock pot, and frying pan plus their lids is bad enough, but getting them out without disrupting every other pot, pan, and lid is worse. Buying a gadget or customizing your cupboard can be an expensive proposition, especially if the customization is happening after you bought or built your house. But, if you're good with basic tools and have some scrap lumber from past projects, you might be able to make a sliding DIY that creates the ultimate solution for organizing pots and pans for a lot less than what manufacturers typically charge.
There are various clever ways to organize your pots and pans with limited cabinet space, but what makes this one unique is that it can be made with wood you already have (if you're a woodworker already) and it's a cinch to customize it to your particular needs. All you need to do is adjust the measurements accordingly and invest in the correct number of hooks for your pots and lids. Ultimately, according to the acclaimed Auguste Escoffier School of Culinary Arts in Boulder, accessibility, or "ease of use" as they call it, is one of the hallmarks of an efficient kitchen, whether it's professional or in your home.
Gather the materials from home, buying as few as possible
To make your own sliding pots and pans holder that becomes your ultimate organizing solution, gather your materials. If you are already a crafty person who works with wood, you may have the scrap wood that can be trimmed to the size you'll need. Begin by taking scrap wood (namely a 2-by-4-inch plank plus ¾-inch and 1½-inch boards) and cut the pieces to the proper sizes using a table saw. If you don't have a table saw, check with your local library; many of them have started setting up makerspaces, and this trend is growing throughout the U.S., allowing people to learn to use a variety of tools they don't own.
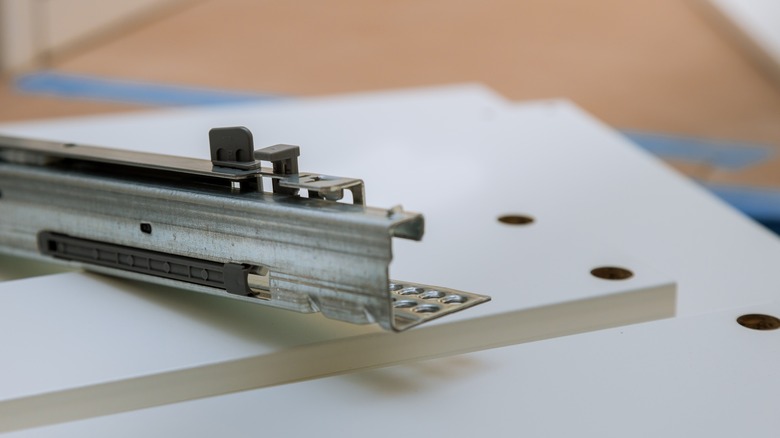
You'll screw in one wooden plank along the top of your cabinet running the depth of the cabinet from back to front. You'll also cut two side pieces of the same depth; these will be from the wood that is ¾ of an inch thick while the top piece is double that. Inside that "box" will be your sliding hardware. A soft-close drawer slide mechanism would work well and keep the pans from clanking wildly if you close it too vigorously. Also needed are hooks for the pots and pans, various screws, wood glue, clamps, a drill, dowels, urethane, and your tools.
The most important thing to remember is safety. There are numerous woodworking safety precautions you should be taking for your home projects. Just a few that you see in the video are the use of a push stick and wearing safety goggles, but it doesn't hurt to explore the tips to help you safely use a table saw.
Sliding into an organized cabinet
Creating an organized cabinet is rewarding under any circumstances, and to do it with some clever woodworking is even better! If you're a novice woodworker, try searching your local community center's programming for a woodworking course to help you feel more confident. Even experienced tinkerers can feel special after accomplishing this organizing feat!
It could make you eager to incorporate other organizing hacks and tips into your home's design. Your kitchen space can get one more added boost for example by attaching Command Hooks for pot lids to the inside of cabinet doors. And you might not be able to resist putting in dowel rods or tension rods on one or both sides of the cabinet to keep your baking sheets organized.
One consideration when installing a sliding kitchen organizer with hanging hooks is that you will lose space inside the cabinet. All the organizers are installed on the "ceiling" of the cabinet with the pot and lids or anything else you hang from the hooks taking up the space below, which means that any shelf inside the cabinet will have to be removed. If you still like the idea of the sliding organizer for ease of access, make up for the lost shelf space by using the area on either side to store tall things like baking sheets or food processors.

