Why Cleaning Your Water Softener Brine Tank Matters (And How To Do So)
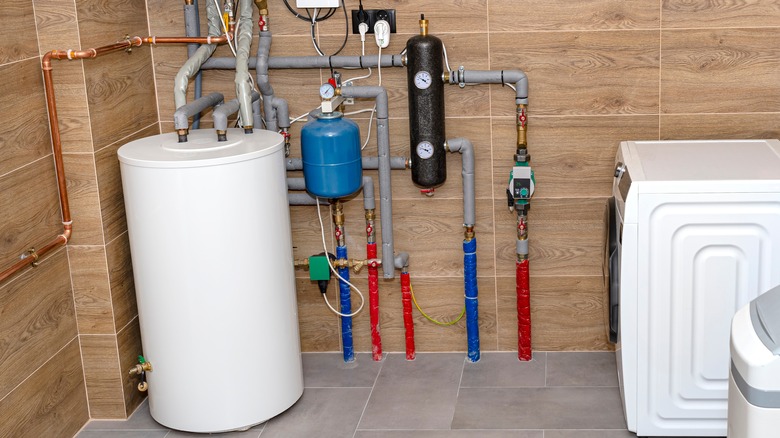
If you struggle with hard water, you already know your home would benefit from a water softener. Once installed, though, what if you start to notice your water softener acting sluggish, producing less than satisfactory water? Chances are, your brine tank needs some attention. A brine tank is where the magic of water softening happens. It's filled with salt, creating a brine solution that recharges the resin beads in the water softener. Over time, this tank can accumulate impurities such as sediment, salt bridges, or sludge. If left unchecked, these impurities can reduce the efficiency of the regeneration process and leave you with hard water.
Cleaning your brine tank might not be the first thing on your to-do list, but it should be if you want to maintain water quality. Doing so once or twice a year improves the overall efficiency of your water softener. It reduces the risk of mold, as well. In a damp environment like a brine tank, mold can thrive and potentially contaminate your water supply.
A clean brine tank also prevents issues such as salt bridges, which occur when salt forms a hard crust that blocks the flow of brine. This blockage can lead to poor performance and higher water bills. When the tank is free from clogs and buildup, the brine solution can flow smoothly, allowing your system to regenerate properly. This means your water will be consistently soft and free from hard minerals that can cause scale buildup in pipes and appliances.
How to clean your water softener brine tank
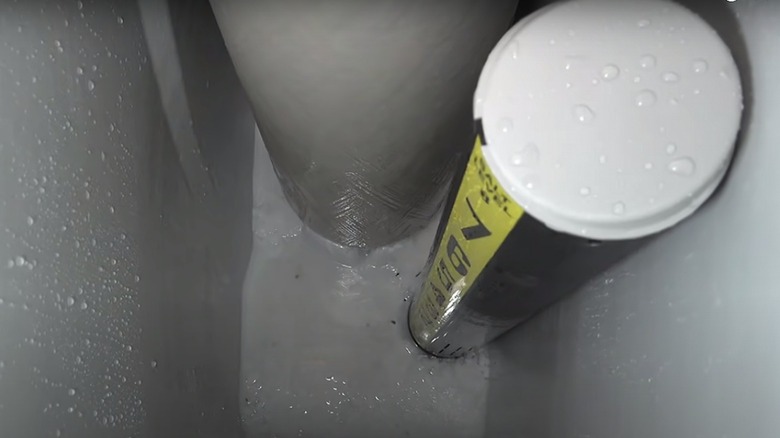
To clean your water softener brine tank, start by turning off the water supply to your softener and disconnect the brine tank from the power supply. Open the tank and empty it by scooping out any leftover salt or sludge using a small shovel or shop vac. If you find any salt bridges, break them up gently using a broom handle. You can also fill the tank with water and let it sit for a few hours to help dissolve them. Drain the tank again, and dispose of the old salt by throwing it out with your regular trash, dissolving it in water until it's safe to run down the drain, or even reusing it on an icy or snowy driveway.
Once emptied, use a mixture of warm water and mild soap to scrub the interior of the tank. A long-handle brush or sponge can help reach all areas. For stubborn residue and scale buildup, a solution of one part white vinegar and three parts water can be more effective. After scrubbing, rinse the tank with clean water to remove residual dirt or grime. Leave the tank to air dry.
Next, clean the brine tank's safety float and other components. Reassemble the tank, refill it with fresh salt, and reconnect it with your water softener system. Finally, turn the water supply back on and let the system run a regeneration cycle to ensure everything works correctly.
Best practices for a top-performing water softener
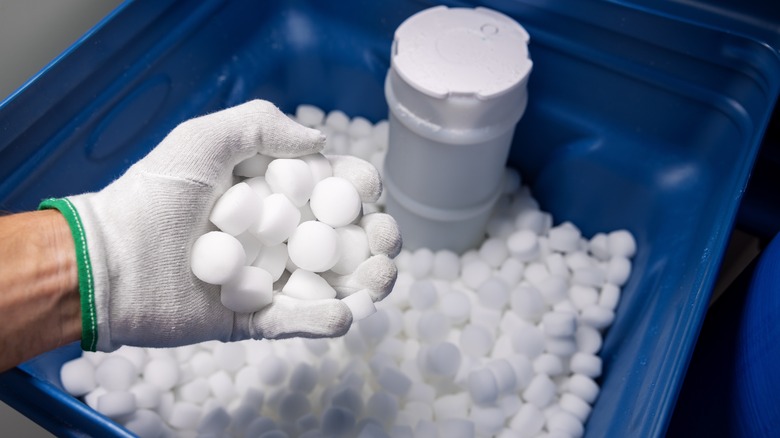
Now that your brine tank is clean, you should ensure it stays that way. One helpful tip is to use high-quality salt pellets rather than rock salt. Rock salt contains impurities that can lead to more frequent buildup. Also, regularly check the salt levels in the brine tank. The system relies on salt to soften the water, so you should check the tank at least once a month to ensure it's not running low. You don't want to stop putting salt in your water softener when it's needed and keep the salt above the water level when refilling, but avoid overfilling it. This way, you give the system enough salt to work while reducing the risk of salt bridging.
It is also a good idea to inspect the resin bed occasionally. If your tank is clean, the salt is being used at a normal rate, and your water still isn't as soft as it used to be, the resin beads likely have become damaged by the amount of iron or chlorine in your water. You may be able to get by with adding extra salt for a time, but the resin beads will eventually need a professional replacement. This, along with regularly cleaning your tank, will keep your system in good condition.


