How To Remove The Keurig Pod Holder For A Thorough Clean
Have you ever gone through the process of cleaning your Keurig in a precise way, only to still taste something strange after brewing your next cup? Your machine might need a more thorough clean than a traditional descaling to remove calcium deposits. The design of a Keurig machine allows for the easy removal of the entire pod holder assembly. After removing this, you can reach areas of your Keurig that typically don't get cleaned. To maintain the quality of your coffee-making experience, you should clean the pod holder once a week.
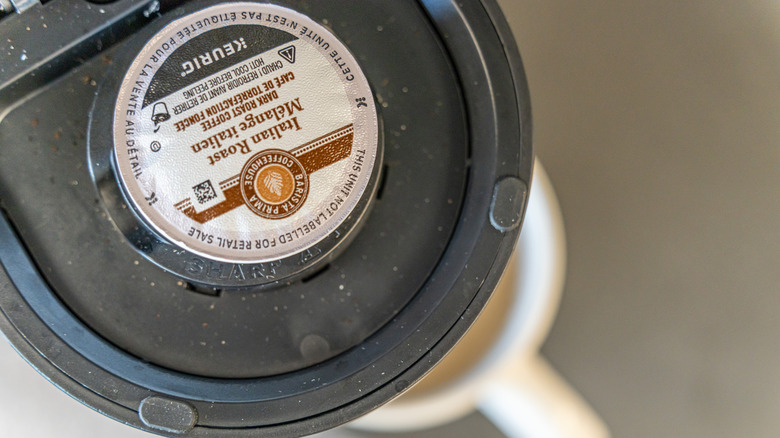
First, lift the handle of your Keurig as though you were going to load a pod. Locate the small circle on the bottom near the spout end of the funnel. Next, while pressing that circle, pull up on the pod holder. The main two pieces should pop out of the machine. You will see a removable tray below that catches liquids and coffee grounds directly below the pod holder assembly.
Make sure to separate the first two parts before cleaning them. Disengaging both parts is easy — simply press tabs on either side of the pod holder and pull the inner piece out. Be careful to avoid poking your finger on the needles located directly above the pod holder assembly and at the bottom of the pod holder.
Help your Keurig machine last longer
After removing the pod holder assembly, you will have three separate pieces. Try soaking these parts in a diluted vinegar solution to fully banish any burnt plastic taste from your Keurig coffee maker. Use a small brush, like an old toothbrush, to scrub the nooks and crannies of the plastic pod holder. You also want to take advantage of this opportunity to clear away any calcium buildup or dried liquid hiding below the pod holder assembly. Ignoring mineral deposits can lead to mold and bacterial growth, especially in the dark and warm inner area of a Keurig machine.
To replace the pod holder, work in reverse order. Set the tray back in the machine, then snap the two main pod holder pieces back together gently. Align the pod holder with the opening, using the two ribs on the top to guide you. Press on the top until the pod holder snaps back into place.
One of the hidden downsides to Keurigs is how tedious and frustrating cleaning it can be. Don't worry if you have trouble removing a piece of the pod holder assembly. Older Keurig models also might follow alternative steps. When in doubt, check your specific model's Keurig manual for the most accurate diagram of your machine and details for removing the pod holder assembly.