The Disco Decor DIY You've Been Waiting For This Fall Season
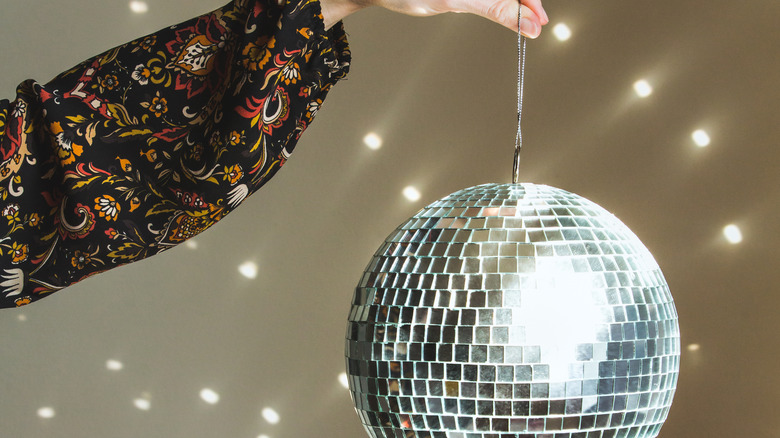
You don't have to know how to disco to love the hype around this style. It seems the 70s are making a comeback in many different aspects, but none so fun as the disco ball decor. These shimmering additions have been taking over the design and DIY world, with hanging disco ball planters, dishware, coffee tables, and even disco ball spiders for Halloween cropping up on every social media and blog site. Whether you want to jump on this glittery bandwagon or if you've been a fan for a long time, the latest spooky craft that incorporates flashy disco balls is a simple work of art that can easily become a staple in your household year-round, too. All you need to complete this decadent DIY is a plastic skeleton, some Styrofoam disco balls, a frame, and some cardboard, and you'll be ready to get in the Halloween groove.
You can find a basic frame and a plastic decorative skeleton from Spirit Halloween (20 inches for $7.99), Party City (8 inches for $1.99), or any other stores/online shops that sell them. Keep in mind that the larger the frame, the more space you'll have to create your disco ball work of art. Remove the glass and any matting, then grab a piece of cardboard and trim it so that it fits exactly inside the frame. Paint the cardboard black, white, gold, even pastel pink, just play around with different colors and see what you like. Allow to dry fully.
Decorate your disco ball with fall foliage
With scissors or a knife, remove the bottom half of your skeleton so that only the rib cage and above remain. You can either keep the arms and use pipe cleaners to stick them outwards, then glue a candle inside the hands to upgrade this craft, or you can remove the arms completely so it's just the torso, neck, and head. Glue the skeleton to the cardboard, and then slice varying-sized disco balls in half. This is why you want Styrofoam over hollow balls, because you need to glue the halves around the skeleton.
Adhere your disco balls across and around your cardboard, making sure not to go too far out so the frame will be able to lay flush around the edges when you put it on. Once you've glued all the disco balls that you want, it's time to fill in the gaps. You can use faux roses or other flowers like Baby's Breath and fall foliage, or even use ribbons you tied into bows. Get creative here with what you surround the disco balls with. You can use fake fruit, bats, toilet paper ghosts (with small foam balls inside to keep their shape), or other seasonal items (Halloween or autumn-themed). Place your artwork into the frame and hang up for a truly groovy addition to your walls!