How To Replace Your Keurig Water Filter In A Few Simple Steps
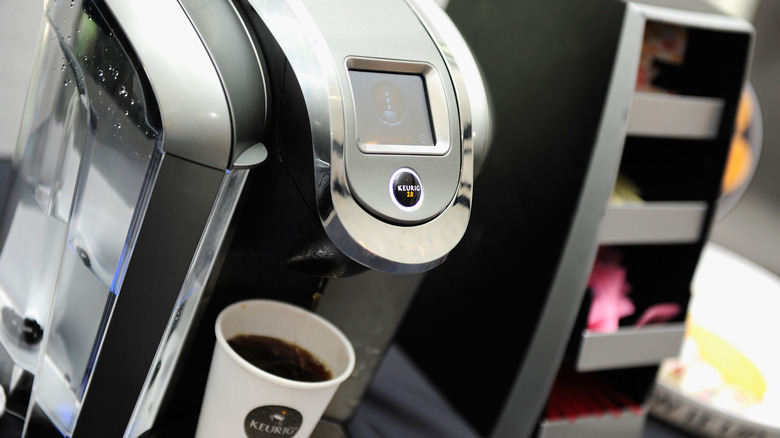
Keurig single-serve coffee makers need adequate maintenance to keep brewing a rich, delicious cup of joe. Typical maintenance for a Keurig includes washing external parts, cleaning, and descaling. Depending on your Keurig model, in addition to your water reservoir, you might have a water filter that needs maintenance as well. The manufacturer recommends you replace the water filter every two to three months to ensure the best performance of your coffee maker, and the process is easier than you think.
Changing your water filter helps keep your Keurig running smoothly. Like the filters you might use for a shower head or sink, Keurig filters help remove impurities and reduce chlorine in the water your machine uses to brew with the K-pods. If you neglect your water filter, it can become a breeding ground for bacteria, yeast, and mold, which may make you ill. Among the dirtiest things in your kitchen are coffee makers; a 2011 NSF International Household Germ Study found that 50% of the surveyed households had yeast and mold in theirs. To reduce the chances of mold and bacteria growing in your coffee maker, follow these simple steps to replace your Keurig water filter.
Replacing your Keurig water filter
If you've never changed your water filter before, you will need to read your owner's manual or locate your Keurig model number to determine what replacement filter you need. Keurig reports most serial numbers appear on the side of the brewer behind the water reservoir. Serial numbers that begin with 44, 45, and 48 need a K-Classic Water Filter, but you need a Tall Handle Water Filter if your serial number starts with 55.
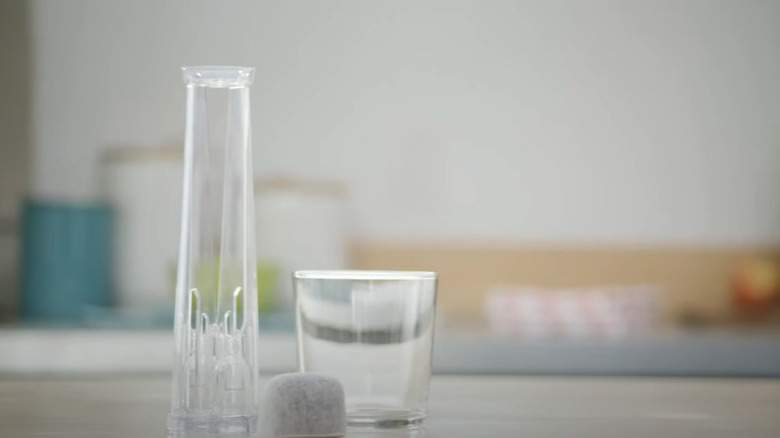
Fill a clean glass with water. Remove your new filter from the packaging, and dip it into the water. Let it soak for at least five minutes, remove, then rinse with cold, clean water for 30 seconds. Empty your water reservoir completely so you can remove the old filter. Press the side tabs on the filter holder and pull up to remove the filter, then throw it away. Take the mesh bottom of the holder, and give it a brief rinse as well. Place the new filter into the holder, snapping the tabs back into place until it clicks. Fill up your glass or dish with water again, and dip the new filter and holder in for 30 seconds to activate the filter's charcoal. Replace the filter holder into the water reservoir, and then fill it up with water, preferably filtered. For the best results, run a brew cycle with just water before you brew your coffee to remove the remaining residue.