These Repurposed Milk Carton Storage Containers Are Such A Fun And Easy DIY
Does your family go through milk like they're training for an Olympic milk-chugging contest? If you're constantly cleaning up and recycling calcium containers, why not repurpose your milk cartons to make a few clever (not to mention stylish) storage containers? With just a few simple steps, you can get even more from the drink you love and add organization to any room of your house. You don't have to be a crafting whiz to try this DIY; just save your milk cartons and make sure to thoroughly clean them so you aren't left with a less-than-pleasant aroma inside your very pleasant decor. You can wrap the carton in any material you choose, including ribbon, rope, or even strips of patterned fabric, and you have a simple holder great for jewelry, keys, knick-knacks, coins, or any other item that is small and needs a home!
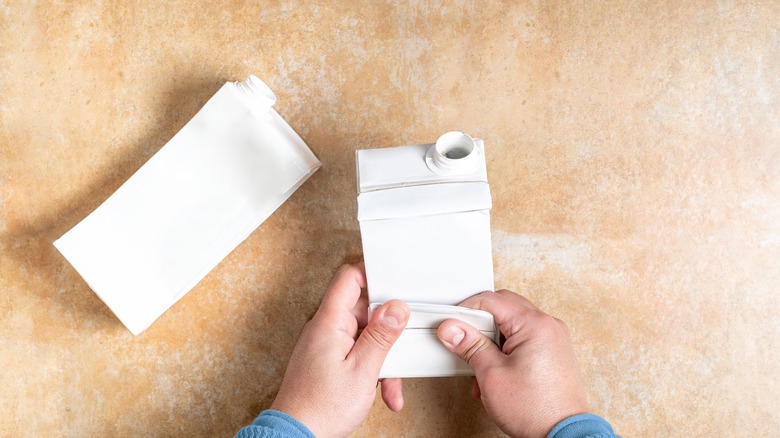
Whenever you finish a carton of milk (plastic jugs won't work as easily for this craft), cut off the top so you're left with half or a quarter of the box. The size depends on your preference, whether you want a smaller container or a taller one. Deciding ahead of time what you want to store inside will help you determine the height: for example, to keep remotes neat and tidy, a taller container would be ideal. Then rinse the interior with warm soap and water. Allow your carton to dry thoroughly before starting to wrap it.
Decorate your milk carton for stylish storage
Starting underneath or along the bottom edge of your container (this is personal preference as the bottom doesn't have to be covered), work your way up and around the cardboard with ribbon, twine, rope, or fabric, gluing sections down as you go. If you prefer to use larger scraps of fabric to cover more area, it is still advisable to cut these into strips rather than just adding squares, as this will aid in precision.
Once you've completely covered the outside of the milk carton, it's time to decide how you want to embellish it, if at all. You can use a different kind of ribbon or string to wrap along the top and bottom of your container, or even make small tassels with thinner string and glue the tops to the inside edge of your carton. If you do this, wrap another length of ribbon or rope over the tassel ends on the inside edge of the container so they don't show and make the box look messy.
If wrapping seems a little too time-consuming or you're finding that the string or rope isn't staying in place properly, you could always Mod Podge the carton first and either leave this as the decor or wrap your ribbon over the top so if there are any gaps all you see is the decorative paper underneath. Make sure to allow your Mod Podge to dry thoroughly before adding rope or twine to avoid unwanted sticky scenarios as you wrap. Try this clever and customizable DIY to help organize your home, and you might never need to spend money on store-bought containers again!